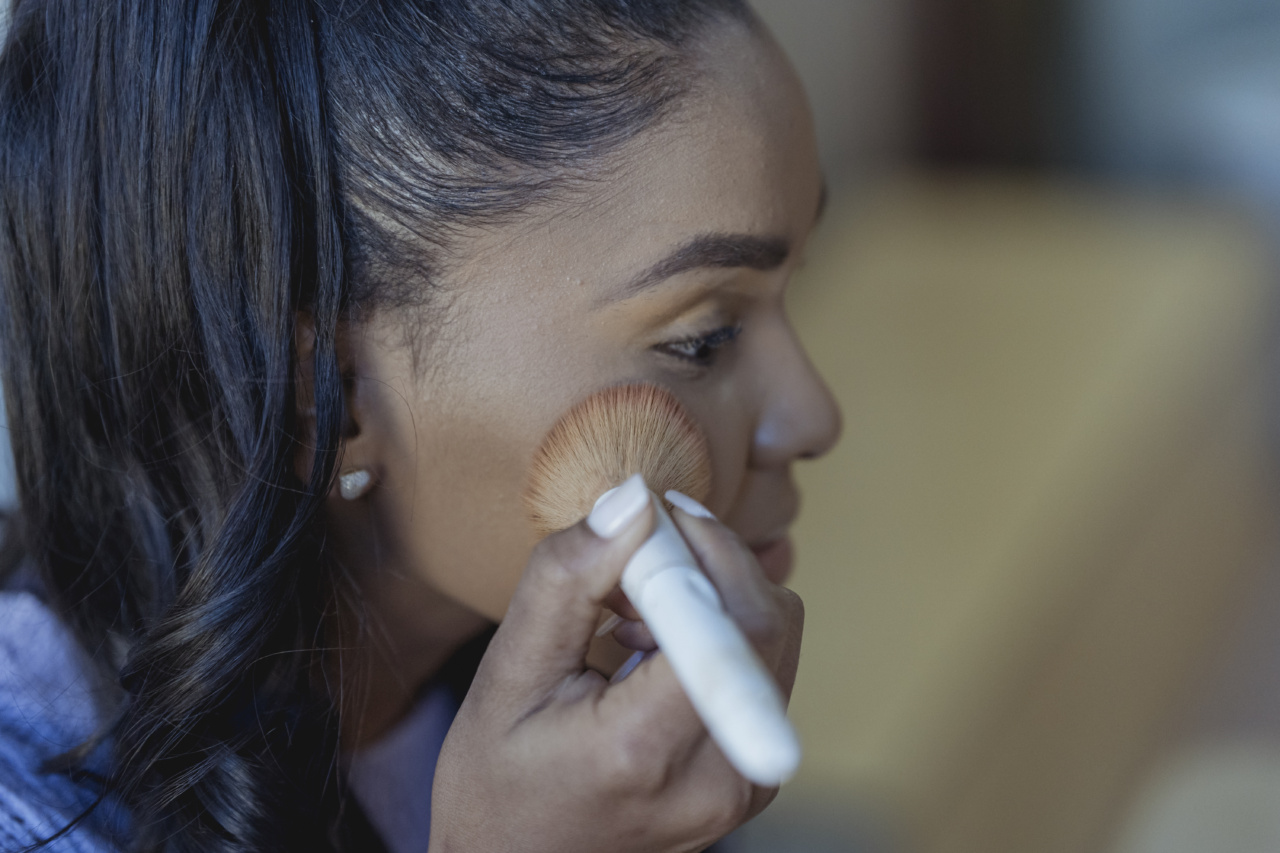
Contouring has become a popular beauty technique that involves using makeup to enhance certain features of your face, such as your cheekbones, jawline, and forehead.
It’s a great way to sculpt and define your face, giving you a more chiseled and polished appearance. But for those who are new to contouring, the process can seem quite daunting. In this article, we will break down the basics of contouring and show you how to enhance your features with makeup.
What is contouring?
Contouring involves using a combination of shades lighter and darker than your skin tone to create the illusion of depth, shadow, and shape.
By applying darker shades to the areas of your face that typically recede, like your temples or the hollows of your cheeks, and lighter shades to areas that you want to highlight, like the tops of your cheekbones, you can create the appearance of a more defined and sculpted face. The beauty of contouring is that it is customizable to your specific face shape, so you can tailor the technique to enhance your unique features.
How to contour
Before you start contouring, it’s important to have a clean, moisturized face as a base.
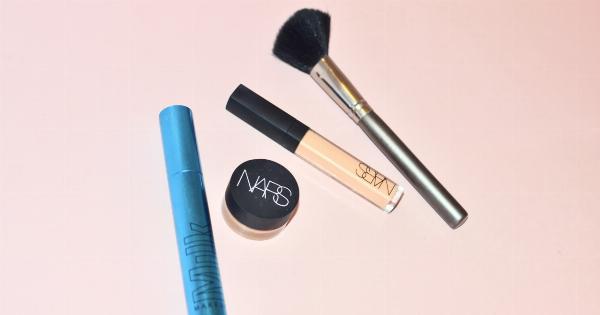
You’ll also need a few supplies: a contour palette or individual cream or powder products in your chosen shades, a blending brush, and a highlighter (optional). Here’s a step-by-step guide on how to contour your face:.
Step 1: Choose your shades
The first step is to choose the shades that will work best for your skin tone and desired look. For the darker shade, you’ll want to select a color that is two shades darker than your natural skin tone.
For the lighter shade, choose a color that is two shades lighter than your skin tone. You may also want to select a shade that is the same as your skin tone for blending purposes.
Step 2: Apply your base
Apply your base makeup, including foundation and concealer, as you normally would. Make sure all of your makeup is blended well, especially around the areas where you will be applying your contour and highlight shades.
Step 3: Apply your darker shade
Using the darker shade, apply the product to the areas of your face that you want to recede or create more shadow. This typically includes the hollows of your cheeks, your temples, along your hairline, and under the jawline.
Start with a small amount of product and build up as needed, blending well with a brush or sponge.
Step 4: Apply your lighter shade
Using the lighter shade, apply the product to the areas of your face that you want to highlight or bring forward. This typically includes the tops of your cheekbones, the center of your forehead, down the bridge of your nose, and your cupid’s bow.
Like with the darker shade, start with a small amount of product and build up as needed, blending well with a brush or sponge.
Step 5: Blend, blend, blend
Once you have applied your contour and highlight shades, it’s time to blend them together for a seamless finish. Use a clean brush or sponge to blend the two shades together, focusing on the areas where they meet.
It’s important to blend well to avoid any harsh lines or obvious makeup.
Step 6: Apply your highlight (optional)
If you want to add an extra touch of glow to your look, you can apply a highlighter to the areas where you applied your lighter shade.
Use a brush or sponge to apply the highlighter to the tops of your cheekbones, the center of your forehead, down the bridge of your nose, and your cupid’s bow. Blend well to avoid any harsh lines.
Step 7: Finish your look
Once you have finished contouring and highlighting your face, complete your makeup look with your favorite products like blush, mascara, and lipstick. You’re now ready to show off your beautifully enhanced features!.
Tips for successful contouring
Contouring can be tricky at first, but with practice and patience, you can master this technique and achieve flawless results. Here are a few tips to keep in mind when contouring your face:.
- Blend, blend, blend: This cannot be emphasized enough. Blending is key to achieving a natural, seamless finish.
- Start with a light hand: It’s easier to add more product than to take it away. Start with a small amount of product and build up as needed.
- Choose the right shades: Make sure the shades you choose complement your skin tone and the look you’re trying to achieve.
- Take your time: Contouring can take some time, so make sure you have enough time to dedicate to this technique.
- Practice makes perfect: The more you practice, the better you will become at contouring.
Conclusion
Contouring is a great way to enhance your natural features and achieve a more defined, sculpted look. With the right shades, tools, and techniques, you can contour like a pro and feel confident in your makeup skills.
Remember to take your time, blend well, and practice, and you’ll be contouring like a beauty guru in no time!.
