Blush can instantly transform your appearance, giving you a healthy flush and enhancing your natural beauty. But applying blush correctly can be a bit tricky, especially if you want it to last all day.
In this article, we will discuss four key moves that will help you achieve long-lasting, professional-looking blush that will stay put from morning to evening.
1. Prep your skin
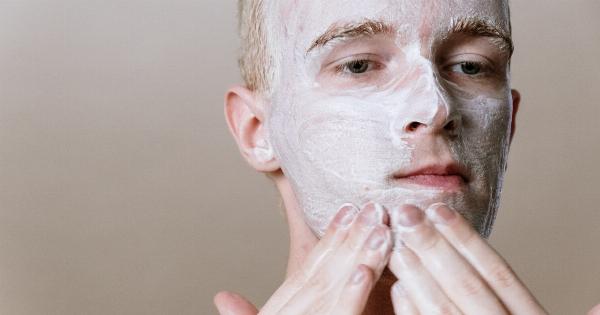
Before applying any makeup, it is important to properly prepare your skin. Start by cleansing your face using a gentle cleanser to remove any dirt, oil, or previous makeup.
Follow up with a toner to ensure your skin is clean and ready to absorb the products you will be applying.
Next, moisturize your skin with a lightweight, oil-free moisturizer. This will help create a smooth canvas for your makeup and prevent the blush from clinging to dry patches.
2. Choose the right blush shade
When selecting a blush shade, it is important to consider your skin tone. The goal is to choose a shade that mimics a natural flush and complements your complexion. Here are some general guidelines:.
For fair skin: Opt for light pinks or soft peaches. Avoid shades that are too dark or intense, as they can overwhelm your fair complexion.
For medium skin: Go for rosy pinks or coral shades. These shades add warmth and dimension to medium skin tones.
For dark skin: Deep berries, plum, or rich reds work best for dark skin tones. These shades create a beautiful contrast and provide a natural-looking flush.
Remember, these are just suggestions, and you should feel free to experiment with different shades to find the one that suits you best.
3. Use the right tools
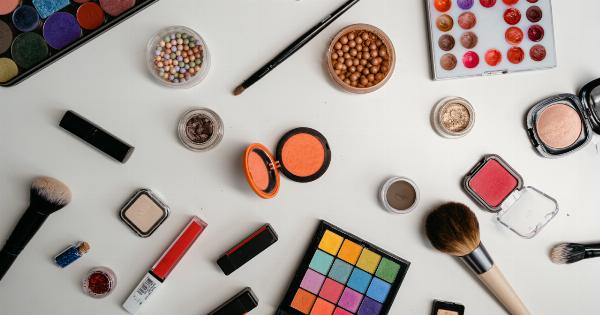
The tools you use to apply your blush can make a significant difference in the longevity and finish of your makeup. Here are a few options to consider:.
Brush: A fluffy blush brush is a staple tool for applying blush. The soft bristles help distribute the product evenly and blend it seamlessly into the skin.
Opt for a brush that fits the size of your cheek and allows you to have control over the application.
Beauty sponge: A damp beauty sponge can also be used to apply blush. The sponge helps to press the product into your skin, giving it a more natural and airbrushed finish.
Fingers: In a pinch, clean fingers can be used to apply cream blush. The warmth of your fingers helps melt the product into your skin, creating a seamless, natural look.
Choose the tool that you feel most comfortable with and consider the texture of your blush (powder or cream) to determine the best application method.
4. Apply and set your blush
Now that you’ve prepped your skin, chosen the perfect shade, and selected the right tools, it’s time to apply your blush. Follow these steps for a flawless application:.
Step 1: Dip your brush, sponge, or fingers into the blush, tapping off any excess product.
Step 2: If using a brush, smile slightly to locate the apples of your cheeks. Gently swirl the brush on the apples of your cheeks and blend the color outwards towards your temples.
If using a beauty sponge, dab the product onto the apples of your cheeks and blend it outwards using bouncing motions. If using your fingers, lightly pat and blend the cream blush onto the apples of your cheeks.
Step 3: Build up the intensity gradually. Start with a light application and add more if needed. This allows you to have better control over the color and prevents you from applying too much blush at once.
Step 4: Set your blush to make it last all day. Gently sweep a translucent or matching powder blush on top of your cream or powder blush. This will help lock the color in place and prevent it from fading throughout the day.
Conclusion
By following these four key moves, you can blush like a pro and achieve all-day wear. Prepping your skin, choosing the right shade, using the right tools, and applying and setting your blush will ensure a long-lasting and flawless finish.
Experiment with different techniques and products to find what works best for you. So, go ahead and rock that perfect flush throughout the day!.


