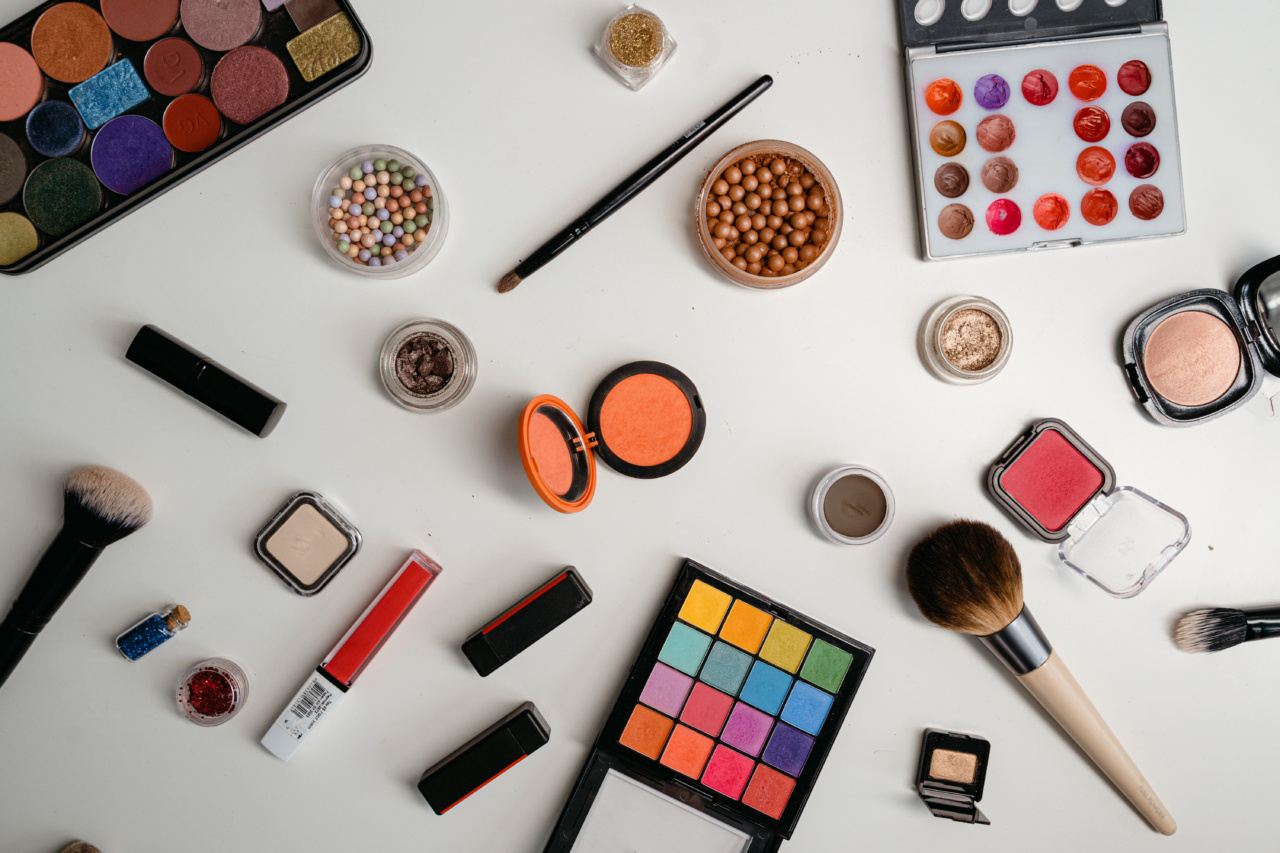
Makeup brushes are an essential part of every makeup kit. They help in achieving a flawless look and blend the products perfectly. But it’s equally important to ensure that these brushes are clean and free from bacteria.
Dirty brushes can cause acne, skin irritation, and other skin issues. Therefore, it’s necessary to clean your makeup brushes regularly and properly. In this article, we will discuss the safe ways to wash your makeup brushes.
Why is it important to clean your makeup brushes?
Makeup brushes accumulate dirt, oil, bacteria, and dead skin cells every time we use them. These dirty brushes can cause a lot of harm to our skin. Using unclean brushes can lead to acne breakouts, skin infections, and other serious problems.
Besides, dirty brushes can also affect the quality of your makeup. So, it’s essential to clean your makeup brushes regularly to ensure flawless makeup application and good skin health.
How often should you clean your makeup brushes?
The frequency of cleaning your makeup brushes depends on how often you use them. If you use your brushes daily, then you should clean them every week. But if you rarely use them, then you can clean them once a month.
Also, if you have acne-prone skin or sensitive skin, then you should clean your brushes more frequently.
What are the safe ways to wash your makeup brushes?
There are different ways to wash your makeup brushes, but not all of them are safe for your brushes. Here are some safe ways to wash your makeup brushes:.
Method 1: Using a gentle shampoo
One of the safest ways to wash your makeup brushes is by using a gentle shampoo. You can use any baby shampoo, or a shampoo that’s specifically designed for cleaning makeup brushes. Here’s how you can do it:.
- Wet the bristles of your brush under running water.
- Take a small amount of shampoo in your palm.
- Gently swirl the brush in the shampoo, making sure that you cover all the bristles.
- Rinse the bristles under running water until the water runs clear.
- Use a clean towel to gently dry the brush.
- Reshape the bristles and let the brush air dry.
Method 2: Using a makeup brush cleansing solution
You can also use a makeup brush cleansing solution to clean your brushes. There are different types of cleansing solutions available in the market, such as sprays, foams, and liquids. Here’s how you can do it:.
- Spray the cleansing solution directly on the bristles of your brush.
- Gently swirl the brush on a clean tissue or towel until the bristles are clean.
- Reshape the bristles and let the brush air dry.
Method 3: Using a DIY brush cleaner
If you don’t have a shampoo or cleansing solution at hand, you can make your DIY brush cleaner using household items. Here’s how you can do it:.
- Mix 1 tablespoon of dish soap with 1 tablespoon of olive oil.
- Dip the bristles of your brush into the mixture and swirl gently.
- Rinse the bristles under running water until the water runs clear.
- Use a clean towel to gently dry the brush.
- Reshape the bristles and let the brush air dry.
How to store your makeup brushes after washing them?
After washing your makeup brushes, you need to store them properly to ensure that they dry completely and retain their shape. Here are some tips to help you store your brushes:.
- Always store your brushes in an upright position. This will help the bristles retain their shape.
- Never store your brushes in a sealed container. This can trap the moisture and bacteria, leading to mold growth and unpleasant odor.
- Use a brush holder or cup to store your brushes. This will help you keep them organized and prevent them from touching each other, which can cause the bristles to bend and lose their shape.
- Always let your brushes air-dry completely before storing them.
Conclusion
Keeping your makeup brushes clean and free from bacteria is essential for good skin health and flawless makeup application. We hope this article has given you some safe ways to wash your makeup brushes.
You can choose any of these methods based on your preference and convenience. Always remember to store your brushes properly after washing them and replace them if they’re too old or damaged. Happy cleaning!.
