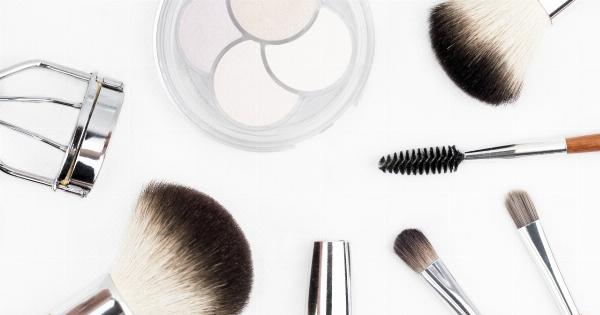
Makeup brushes are essential tools for achieving flawless makeup application. However, over time, these brushes accumulate oil, dirt, and bacteria, which can pose several risks to your skin.
Regularly cleaning your makeup brushes not only helps maintain their longevity but also ensures the health and hygiene of your skin. In this article, we will share effective tips and techniques to get rid of grime on your makeup brushes.
The Risks of Not Cleaning Your Makeup Brushes
1. Clogged Pores: When you apply makeup with dirty brushes, you transfer oil, dead skin cells, and bacteria to your face, which can clog your pores. This can lead to breakouts, acne, and other skin problems.
2. Skin Irritation: Dirty brushes can harbor allergens and irritants, causing redness, itching, and allergic reactions on your skin. This is particularly problematic if you have sensitive skin.
3. Uneven Makeup Application: Grime buildup on your brushes can affect the performance of your makeup. You may notice streaks, patchiness, or uneven blending when using dirty brushes.
4. Decreased Brush Lifespan: Neglecting to clean your makeup brushes can lead to product buildup, causing them to become stiff, discolored, and less effective over time.
How Often Should You Clean Your Makeup Brushes?
The frequency of cleaning your makeup brushes depends on how often you use them. Generally, it is recommended to clean foundation and concealer brushes at least once a week.
Brushes used for powder products, such as blush or eyeshadow, can be cleaned every two weeks. However, if you have acne-prone skin or sensitive skin, it’s best to clean your brushes more frequently.
Step-by-Step Guide to Cleaning Your Makeup Brushes
Follow these simple steps to effectively clean your makeup brushes:.
Step 1: Gather Your Cleaning Supplies
Before starting the cleaning process, gather the necessary supplies:.
– Mild shampoo or brush cleanser – Warm water – A clean towel or paper towels – A brush cleaning mat or glove (optional)Once you have everything ready, you can proceed to the next step.
Step 2: Wet the Bristles
Hold your brushes under warm running water with the bristles facing downwards. Avoid wetting the ferrule (the metal part that holds the bristles) as it can weaken the glue over time.
Step 3: Apply Cleanser
Pour a small amount of mild shampoo or brush cleanser into your palm or directly onto a brush cleaning mat or glove. Gently swirl the brush bristles in the cleanser, working it into a lather.
Step 4: Cleanse the Bristles
Using your fingers or a brush cleaning mat/glove, gently massage the bristles in circular motions. Pay attention to all areas of the bristles to ensure a thorough cleanse. If necessary, you can repeat steps 3 and 4 until the water runs clear.
Step 5: Rinse and Squeeze Out Excess Water
Rinse the cleansed brushes under warm running water until no soap or cleanser residue remains. Gently squeeze the bristles from the ferrule to the tip to remove excess water. Repeat this step for all brushes.
Step 6: Reshape the Brushes
After squeezing out excess water, gently reshape the bristles to their original form. This will prevent them from drying in a misshapen manner.
Step 7: Air Dry the Brushes
Lay your brushes flat on a clean towel or paper towels to air dry. Ensure that the bristles are not touching any surfaces, as this can lead to bacterial growth or deformation of the bristles.
Additional Tips for Maintaining Clean Makeup Brushes
1. Spot Clean: If you don’t have time to deep clean your brushes regularly, spot cleaning can help remove excess product buildup. Use a brush cleaner spray or a gentle makeup remover on a tissue to swipe the bristles until clean.
2. Store Brushes Properly: Store your makeup brushes upright in brush holders or containers to prevent dust and dirt from settling on them.
3. Avoid Sharing Brushes: Sharing makeup brushes can transfer bacteria and increase the risk of infections. Encourage others to use their own brushes.
4. Replace Old Brushes: As much as you love your favorite brushes, it’s essential to replace them when they start shedding excessively or become hard to clean.
By incorporating these tips into your beauty routine, you can enjoy clean and hygienic makeup brushes that contribute to flawless makeup application and healthy skin.
