Shower gels are an essential part of our daily routine. They cleanse our skin and leave us feeling fresh and rejuvenated. However, many commercial shower gels contain harsh chemicals that can harm our skin and the environment.
Making your own homemade shower gel using natural materials is not only safer for your skin, but it’s also environmentally friendly and cost-effective. In this article, we’ll explore the benefits of homemade shower gels and provide a step-by-step guide on how to make your own using natural materials.
Benefits of Homemade Shower Gels
There are several benefits of homemade shower gels that make them a popular choice among those who prefer natural products:.
- They are chemical-free and gentle on the skin.
- They are customizable, so you can choose the ingredients that work best for your skin type.
- They are environmentally friendly, as you can use biodegradable ingredients.
- They are cost-effective, as you can reuse the same ingredients for multiple batches.
Ingredients for Homemade Shower Gel
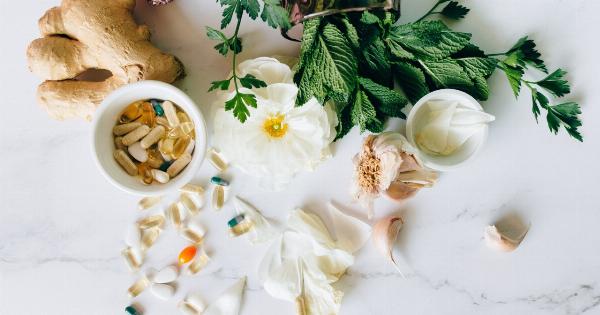
The ingredients for homemade shower gel are easily available and affordable. Here’s what you’ll need:.
- Castile soap
- Vegetable glycerin
- Essential oils for fragrance (optional)
- Filtered water
- Jojoba oil or sweet almond oil (optional)
Step-by-step Guide on Making Homemade Shower Gel
Here’s a step-by-step guide on how to make your own homemade shower gel using natural materials:.
Step 1: Mix the Castile Soap and Vegetable Glycerin
Take a clean container and mix 1 cup of castile soap and 2 tablespoons of vegetable glycerin. Mix well so that the ingredients combine evenly.
Step 2: Add Essential Oils (Optional)
If you want to add fragrance to your homemade shower gel, add a few drops of your favorite essential oils to the mixture. Lavender, tea tree, and peppermint are some popular choices. Mix well.
Step 3: Add Filtered Water
Add 1 cup of filtered water to the mixture and stir well. Make sure the water is at room temperature, as adding hot or cold water can affect the consistency of the shower gel.
Step 4: Add Jojoba Oil or Sweet Almond Oil (Optional)
If you have dry skin, you can add a tablespoon of jojoba oil or sweet almond oil to the mixture. Mix well.
Step 5: Store the Shower Gel
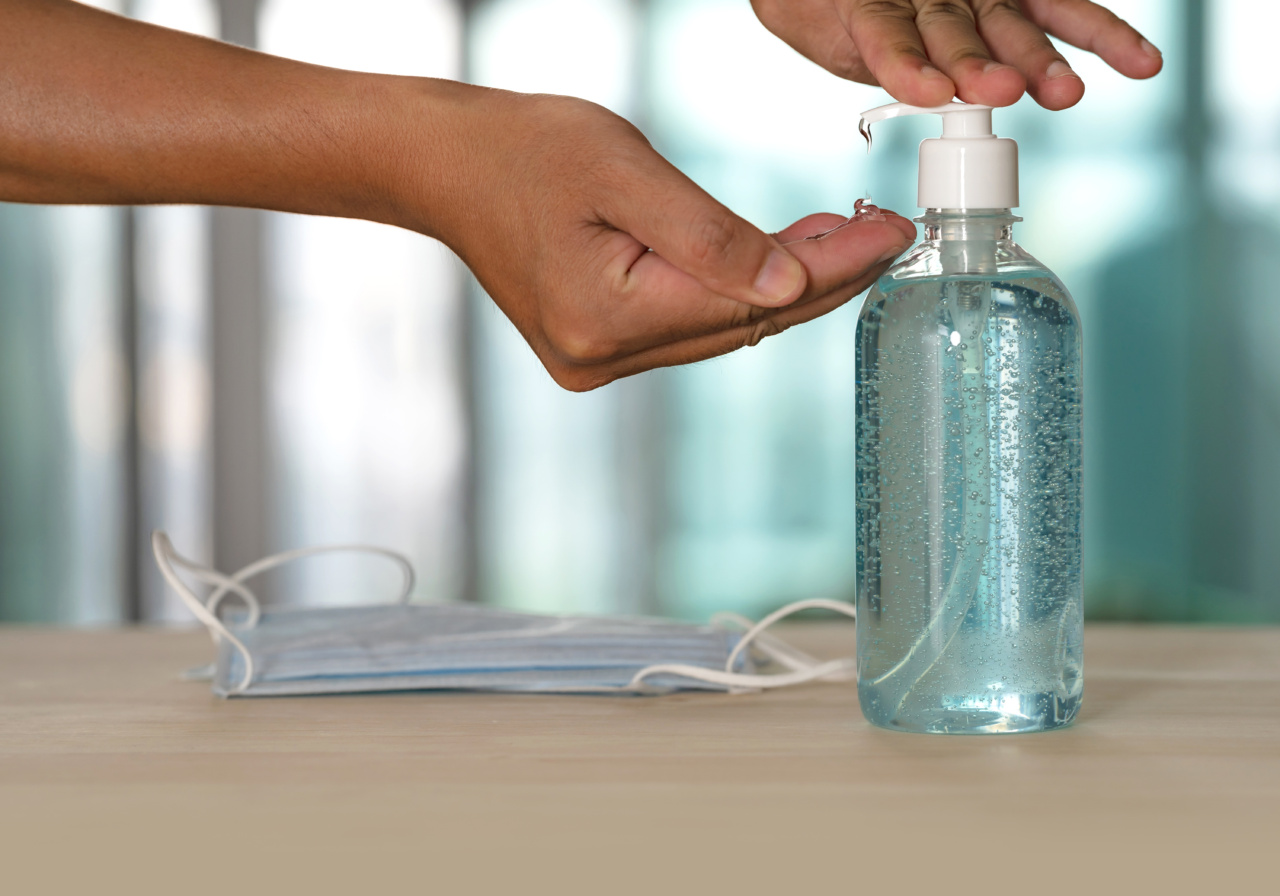
Pour the mixture into a clean, empty bottle with a pump or a flip-top cap. Store the shower gel in a cool, dry place.
Tips for Using Homemade Shower Gel
Here are some tips on using homemade shower gel:.
- Shake well before use, as the ingredients may separate.
- A little goes a long way, so don’t use too much at once.
- Rinse well to avoid leaving any residue on your skin.
- Store the shower gel in a container with a pump or a flip-top cap for easy dispensing.
- Avoid getting the mixture in your eyes, as it may cause irritation.
Conclusion
Making your own homemade shower gel using natural materials is easy, affordable, and environmentally friendly. By choosing natural ingredients, you can avoid harsh chemicals that may harm your skin and the environment.
Plus, you can customize the ingredients to suit your skin type and fragrance preferences. Follow the step-by-step guide provided in this article to make your own homemade shower gel today!.
