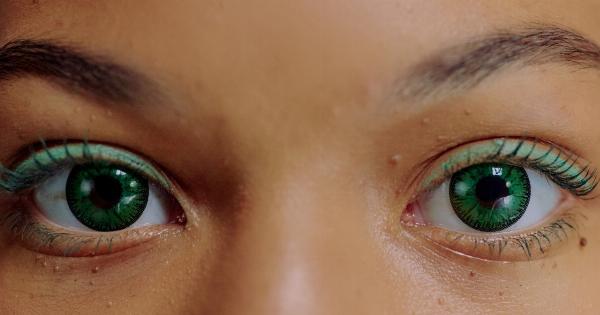
Mascara is a makeup essential that enhances the beauty of our eyes by adding length, volume, and depth to our lashes.
While there are numerous options available in the market, sometimes it’s hard to find the perfect shade to match our desired look. Fortunately, you can make your very own custom-colored mascara at home using just a few simple ingredients. This article will guide you through the process, step by step, to help you achieve your desired look.
Ingredients and Equipment
In order to make your own custom-colored mascara, you will need the following ingredients:.
- A clean mascara wand or brush
- A small mixing bowl
- A clean and empty mascara tube or a small container with a tight lid
- A base mascara (clear or white)
- Your choice of pigments (eyeshadows or liquid pigments)
- A small spatula or a toothpick for mixing
- Optional: Vaseline or a similar petroleum jelly
Step-by-Step Guide
Step 1: Prepare Your Workstation
Before you begin, ensure that your workstation is clean and organized. This will help you work efficiently and prevent any contamination. Wash your hands thoroughly and gather all the required ingredients and equipment in one place.
Step 2: Choose Your Base Mascara
The first step in creating your custom-colored mascara is to select a suitable base mascara. You can choose a clear mascara if you want a more subtle color, or a white mascara if you want a more vibrant and noticeable shade.
Make sure the base mascara is clean and free of any clumps or residue.
Step 3: Select Your Pigments
Next, choose the pigments that you want to add to your mascara to create your desired color. You can use eyeshadows in the desired shades or liquid pigments specifically designed for mixing with cosmetic products.
Keep in mind that the intensity of the color will depend on the amount of pigment you add, so start with a small amount and gradually add more if needed.
Step 4: Preparing the Pigment
If you are using eyeshadows as pigments, use a clean spatula or toothpick to scrape off a small amount of the desired shades into a mixing bowl.
If you are using liquid pigments, follow the instructions provided by the manufacturer for the recommended amount.
Step 5: Mixing the Pigment
Add a small amount of your chosen base mascara to the mixing bowl containing the pigments. Use the spatula or toothpick to mix the pigments and mascara thoroughly until you achieve a smooth and even consistency. Make sure there are no clumps or lumps.
Step 6: Adjusting the Color
If the color of the mixture is too light or subtle, add a bit more pigment and mix again. Repeat this process until you achieve the desired color intensity.
Take your time to experiment and find the perfect shade that flatters your eyes and complements your overall makeup look.
Step 7: Optional: Adding Vaseline
If you want to make your homemade mascara more conditioning and nourishing for your lashes, you can add a small amount of Vaseline or a similar petroleum jelly to the mixture. This will help moisturize and protect your lashes during wear.
Step 8: Transferring to a Mascara Tube
Using a small spatula or a clean toothpick, carefully transfer the custom-colored mascara mixture into a clean and empty mascara tube. Alternatively, you can use a small container with a tight lid if you prefer a different packaging option.
Make sure the container is clean and dry before transferring the mixture.
Step 9: Labeling and Storage
Label the mascara tube or container with the name of the color or any other identifying information. This will help you keep track of your creations if you decide to make more shades in the future.
Store your custom-colored mascara in a cool and dry place to ensure its longevity.
Step 10: Applying Your Custom-Colored Mascara
Now that your custom-colored mascara is ready, it’s time to apply it to your lashes. Begin by curling your lashes with an eyelash curler, if desired.
Then, starting from the base of your lashes, gently wiggle the mascara wand or brush back and forth to coat each lash evenly. Build up the intensity by applying additional coats as needed, allowing each coat to dry before adding another layer.
Enjoy Your Custom-Colored Lashes!
Congratulations! You have successfully created your own custom-colored mascara. Now you can enjoy the freedom of experimenting with different shades to complement your eye color, makeup looks, or even special events.
Whether you prefer a subtle enhancement or a bold statement, your custom-colored mascara will allow you to express your unique style and creativity.
