A facial massage can provide numerous benefits to your skin and overall health. It offers a relaxing experience that can help to reduce stress, clear the mind, and improve blood circulation.
Additionally, it can help to boost collagen production, which can result in smoother looking skin over time. Here is a step-by-step guide on how to perform a facial massage and its benefits.
The Benefits of Facial Massage
Here are some of the benefits of facial massage that you can experience:.
- Reduce Stress: Facial massage can provide relaxation and reduce stress and anxiety levels
- Improve Blood Circulation: Facial massage helps in improving blood circulation on the face and neck
- Reduce Swelling and Inflammation: Facial massage can reduce puffiness, swelling and inflammation
- Improve Lymphatic Drainage: Facial massage can help improve lymphatic drainage by promoting the removal of waste and toxins from the skin
- Relieve Tension: Facial massage can also help relieve tension in the facial muscles
- Promote Collagen Production: Facial massage can stimulate collagen production, which can help in achieving firmer, more youthful-looking skin over time.
A Step-by-Step Guide on How to Perform a Facial Massage
Here is a step-by-step guide on how to perform a facial massage:.
Step 1: Cleanse Your Face
Before starting with a facial massage, make sure to cleanse your face thoroughly. Use a gentle cleanser that doesn’t strip your skin’s natural oils.
This will help to remove any impurities and dirt that have accumulated on your face throughout the day.
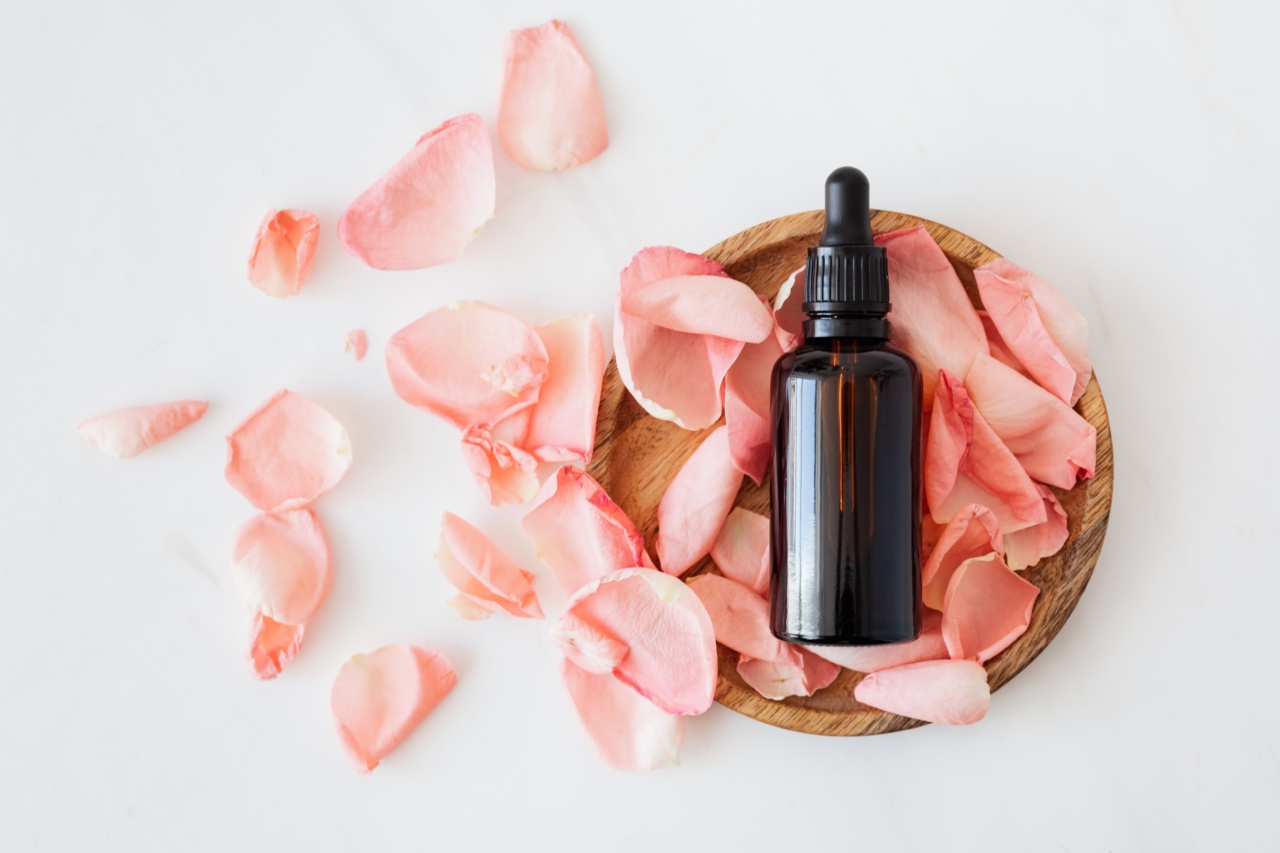
Step 2: Apply a Facial Oil or Cream
Apply a facial oil or cream to your face and neck. Make sure to use one that is suitable for your skin type. The oil or cream will help to provide lubrication to your skin, which will prevent any tugging or pulling on your skin during the massage.
You can mix a few drops of essential oil to your cream or oil for added benefits.
Step 3: Warm Up Your Hands
Rub your palms together to generate some warmth. This will help to activate the facial muscles during the massage. You can also use a warm towel to cover your face to open up pores and aid relaxation.
Step 4: Start Massaging Your Forehead
Place your palms on your forehead, starting from the center of your forehead and moving outwards towards your temples. Use gentle pressure and circular motions to massage your forehead. Repeat this movement a few times.
This will help to release tension stored in your forehead muscles.
Step 5: Move to Your Temples
Next, move your fingers to your temples, using a circular motion to massage the area. Apply gentle pressure and work in downward strokes towards your ear. This will help to release tension in your temples and jaw area.
Step 6: Massage Your Cheeks
Place your fingers on the center of your cheekbones and use circular motions to massage outward towards your ear. Use gentle pressure and repeat this movement a few times. This can help to reduce puffiness and improve circulation in the cheeks.
Step 7: Work on Your Eyes
Use your index and middle fingers to massage the area around your eyes in a circular motion. This will improve circulation and help reduce the appearance of dark circles and puffiness.
Step 8: Move to Your Chin and Jawline
Place your fingers on your chin and jawline, using circular motions to massage the area. Apply gentle pressure and work in upward strokes towards your ears.
This can help to reduce tension in the jaw area and improve the overall contour of your face over time.
Step 9: Finish with Your Neck
Use upward strokes with your fingers to massage your neck. This can help to improve lymphatic drainage and reduce puffiness.
Conclusion
Facial massage is a great way to improve your skin health, boost circulation and reduce stress. Use this step-by-step guide to perform a facial massage in the comfort of your own home.
With regular sessions, you can achieve glowing, beautiful skin effortlessly.
