Waterfalls are captivating natural wonders that have a mesmerizing effect on people. The sight and sound of rushing water can evoke feelings of tranquility and awe.
In photography, capturing the beauty and motion of waterfalls can be a rewarding and visually striking endeavor. This article will guide you through the process of creating stunning waterfall motion effects, using a technique commonly known as the matte effect.
What is the Waterfall Matte Effect?
The waterfall matte effect is a technique used to create a dreamy and ethereal look in waterfall photographs.
Instead of freezing the motion of the water, this technique involves capturing the movement and flow of the water over an extended period of time. The result is a smooth and silky appearance, as if the water is a soft, flowing curtain.
Equipment and Settings
To create the waterfall matte effect, you will need the following equipment:.
1. A camera with manual settings.
2. A sturdy tripod.
3. A neutral density (ND) filter.
4. A remote shutter release or a timer.
Once you have gathered your equipment, follow these steps to achieve the perfect waterfall matte effect:.
Step 1: Choose the Right Location
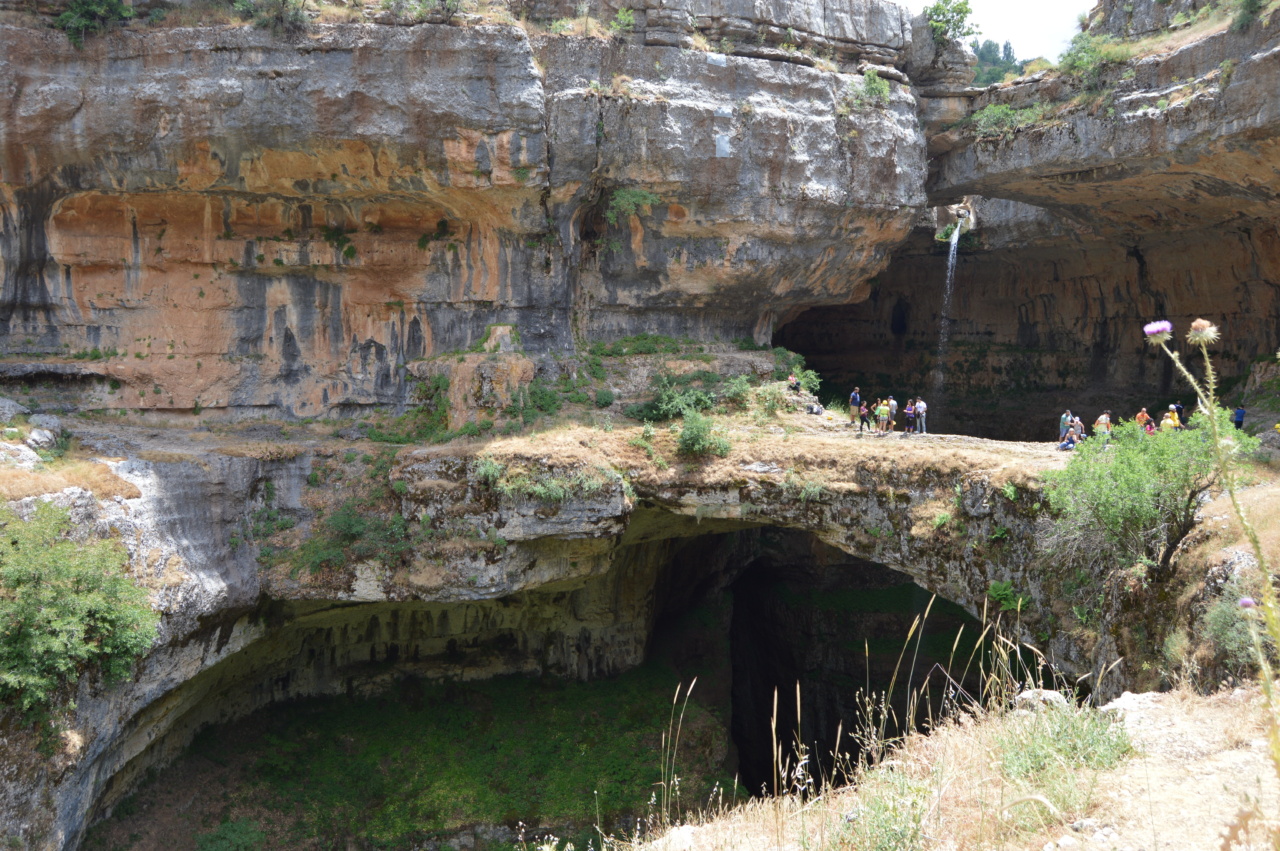
When selecting a waterfall for your matte effect photography, look for cascades with a consistent flow of water.
Ideally, you want to choose a location with interesting foreground elements such as rocks or foliage to add depth and context to your composition.
Step 2: Set Up Your Tripod
Place your tripod on stable ground near the waterfall. Make sure it is secure and won’t wobble during the long exposure. Adjust the height and angle of the tripod to frame your desired composition.
Step 3: Attach the ND Filter
An ND filter is essential for creating longer exposures in daylight conditions. Screw the ND filter onto your lens, ensuring it is securely attached.
The ND filter will help reduce the amount of light entering the lens, allowing you to use longer shutter speeds without overexposing the image.
Step 4: Set Your Camera Settings
Switch your camera to manual mode and select a low ISO to reduce noise in the final image. Set your aperture to a medium to small value (e.g., f/8 to f/16) to maintain a good depth of field. Lastly, adjust your shutter speed to achieve the desired effect.
Typically, a shutter speed of around 1-4 seconds works well for waterfall matte photography, but feel free to experiment and adjust depending on the flow and appearance of the water.
Related Article
Flowing Water: Reduce Risk and Create Motion with Matte

Step 5: Compose and Focus
Compose your shot, keeping in mind the rule of thirds and leading lines to create a visually pleasing image. Take your time to find the perfect composition.
Once you are satisfied with the framing, switch your lens to manual focus and carefully focus on the waterfall or a specific point in the scene. Double-check your focus to ensure sharpness throughout the image.
Step 6: Use a Remote Shutter Release or Timer
To avoid any camera shake during the exposure, it is best to use a remote shutter release or the self-timer function on your camera.
This allows you to trigger the shutter without physically touching the camera, producing sharper and more professional-looking results.
Step 7: Capture the Shot
Press the shutter release button on your remote or activate the timer and let the exposure begin.
Allow the camera to capture the waterfall for the desired duration, typically between a few seconds to several seconds, depending on the effect you want to achieve.
Step 8: Post-Processing
Once you have captured your waterfall matte shots, it’s time to bring them to life through post-processing. Import your images into your preferred editing software.
Apply basic adjustments such as exposure, contrast, and white balance to enhance the overall look of your image. Next, focus on bringing out the details and softness of the water.
This can be achieved by selectively reducing the clarity or sharpness in your editing software. You can also experiment with adjusting the vibrance and saturation to enhance the colors and tones in the image.
Don’t be afraid to experiment with different editing techniques to achieve your desired results. Remember, the goal is to create a dreamy and artistic interpretation of the waterfall.
Tips and Tricks
1. Visit waterfalls during the golden hour or blue hour for magical lighting conditions.
2. Experiment with different shutter speeds to achieve varying degrees of water motion.
3. Include foreground elements to add depth and scale to your photographs.
4. Bracket your exposures to ensure you capture the perfect shot in challenging lighting conditions.
5. Utilize leading lines and symmetry in your compositions for a more dynamic image.
6. Consider shooting in RAW format to retain maximum image information for post-processing.
7. Be patient and take your time to perfect your composition and settings.


