There’s a lot that goes into taking a pregnancy test, and if you’ve never done it before, it can be overwhelming.
But it doesn’t have to be! This beginner’s guide to taking a pregnancy test will walk you through everything you need to know to take a test, read the results, and get the answers you’re looking for.
Step 1: Determine When to Test
The most important step in taking a pregnancy test is knowing when to take it. Most tests are designed to be taken after you’ve missed your period, but some can be taken before.
If you take a test too early, it might not accurately detect the pregnancy hormone in your urine, which can lead to a false negative result.
If you’re not sure when to take a test, use our handy calculator to help you determine the best time based on your cycle length.
Step 2: Choose a Test
There are two main types of pregnancy tests: urine tests and blood tests. Urine tests are the most common and can be done at home or at a doctor’s office.
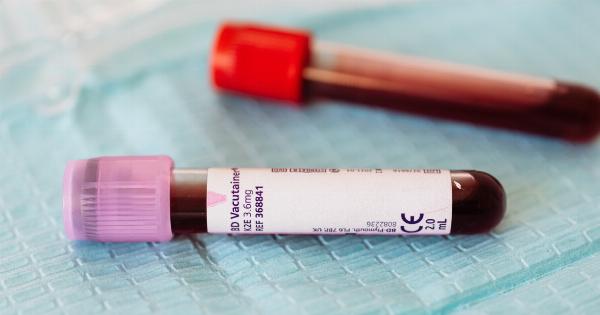
Blood tests are usually done at a doctor’s office and can detect pregnancy earlier than urine tests.
When choosing a urine test, look for one that is FDA-approved and has a sensitivity level of at least 25 mIU/ml. It’s also important to check the expiration date and follow the instructions carefully.
Step 3: Collect Urine Sample
Once you’ve chosen a test, it’s time to collect a urine sample. Most tests come with a small collection cup or you can use a clean, dry container.
It’s important to read the instructions carefully to determine how much urine is needed and how long to hold the test in the sample.
Step 4: Take the Test
Now it’s time to take the test. Most urine tests involve dipping a stick into the urine sample or using a dropper to apply urine to a special test strip. Be sure to follow the instructions carefully to ensure the most accurate results.
Once you’ve taken the test, you’ll need to wait for the results. Most tests take a few minutes to produce results, and some may take longer.
It’s important to read the instructions to determine how long to wait before reading the results.
Step 5: Read the Results
When reading the results of a pregnancy test, there are a few things to keep in mind. First, make sure you’re reading the results within the specified time frame. If you wait too long, the results may not be accurate.
Most tests will display results in one of two ways: a positive sign (+) or a negative sign (-) or two lines (one control line and one test line).
A positive result indicates that you are pregnant, while a negative result indicates that you are not pregnant.
Some tests may also display a faint line or a line that is not as dark as the control line. This could indicate a very early pregnancy or a potential problem with the test.
If you’re not sure how to read the results, check the instructions or consult with a healthcare provider.
Step 6: Follow Up with a Healthcare Provider
Regardless of the results of your pregnancy test, it’s important to follow up with a healthcare provider. If the test is positive, your provider can confirm the pregnancy and provide guidance on prenatal care.
If the test is negative but you’re still experiencing symptoms or have concerns, your provider can help determine the underlying cause.
Conclusion
Taking a pregnancy test can be nerve-wracking, but it doesn’t have to be. By following these simple steps, you can take a test with confidence and get the answers you need to move forward.
Remember, if you have any questions or concerns, don’t hesitate to consult with a healthcare provider.


