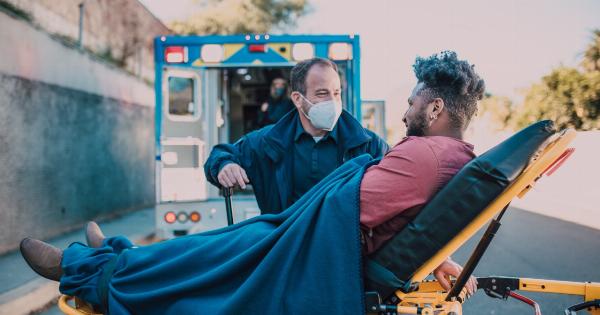
Accidents and injuries can happen anytime and anywhere. While waiting for medical professionals to arrive, knowing how to control bleeding is a crucial skill that can save lives.
In this article, we will discuss essential bleeding control tips for first aid.
1. Assess the Situation
Before rushing to control bleeding, it’s important to assess the situation. Determine the severity of the bleeding by examining the wound. Is it a minor cut or a deep gash? Is there arterial bleeding or venous bleeding?.
2. Ensure Personal Safety
Prioritize your safety and wear disposable gloves to protect yourself from potential infection. If gloves are not available, use a clean cloth or any makeshift barrier to avoid direct contact with the blood.
3. Apply Pressure
In most cases, applying direct pressure is the first step in controlling bleeding. Use a sterile gauze pad or a clean cloth to apply firm pressure on the wound. Maintain pressure until the bleeding subsides or until medical help arrives.
Avoid lifting the cloth to check the wound frequently, as it may disrupt the clotting process.
4. Elevate the Wounded Area
If possible, elevate the wounded area above the heart level. This can help reduce blood flow to the area, consequently minimizing bleeding.
Elevating the affected limb is particularly effective for extremity injuries, such as bleeding in the arms or legs.
5. Apply Pressure Points
In some cases, direct pressure alone may not be sufficient to control bleeding. Knowledge of pressure points can be valuable. Applying pressure to specific points can help slow down or stop bleeding.
Two commonly used pressure points are the brachial artery (in the upper arm) and the femoral artery (in the groin).
6. Use a Tourniquet (As a Last Resort)
In severe situations where bleeding cannot be controlled by the above methods, a tourniquet may be necessary. Tourniquets should only be used as a last resort, as they can cause potential damage to tissues.
Apply the tourniquet a few inches above the bleeding site and tighten until the bleeding stops. Remember to note the time of application and inform medical professionals.
7. Maintain Reassurance and Comfort
Bleeding can be a frightening experience for the injured person. Stay calm and reassure them that help is on the way. Position the person comfortably and provide reassurance until professional medical assistance arrives.
8. Dress and Bandage the Wound
When bleeding is controlled, it’s important to clean the wound and dress it appropriately. Rinse the wound gently with clean water, if available, or use a sterile saline solution. Apply an antibiotic ointment to help prevent infection.
Cover the wound with a sterile dressing and secure it with a bandage or medical tape.
9. Monitor and Observe
After implementing bleeding control measures, continue monitoring the injured person. Look out for signs of shock, such as pale skin, rapid breathing, dizziness, or altered consciousness. Maintain vigilance until professional medical help arrives.
10. Seek Medical Attention
While you may have been able to control bleeding, it is crucial to seek professional medical attention as soon as possible.
Doctors can evaluate the wound, administer appropriate treatments, and provide necessary vaccinations or other preventive measures.
Remember that these bleeding control tips are meant to provide temporary aid until medical professionals arrive. First aid should never be considered a substitute for professional medical care.


