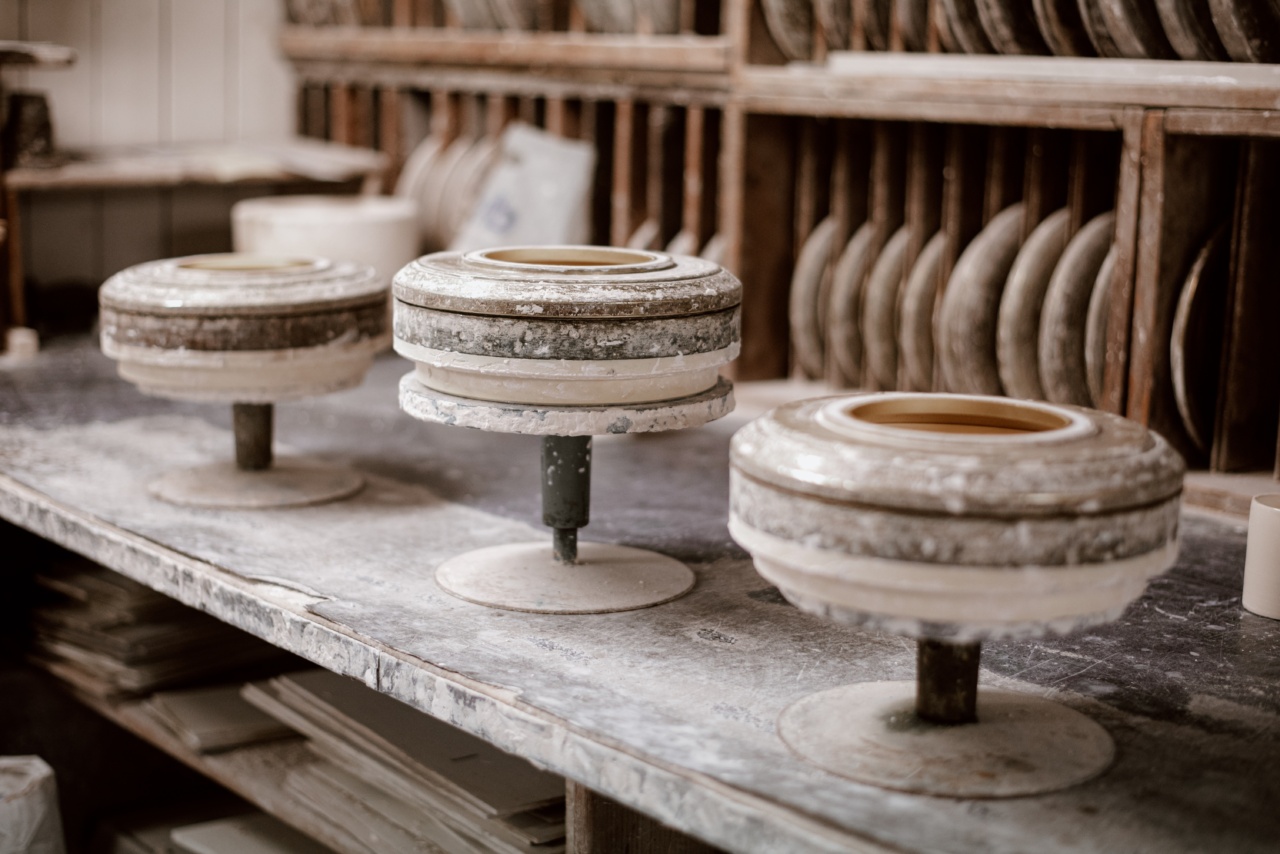
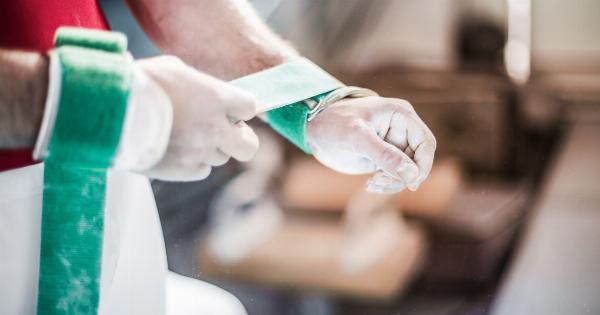
Creating a ceramic plate is a rewarding and creative process that allows you to add a personal touch to your dining experience. Whether you are a beginner or an experienced ceramic artist, the steps involved in creating a ceramic plate remain similar.
In this article, we will guide you through the process of making a beautiful ceramic plate that you can showcase in your kitchen or gift to a loved one.
Gathering Materials
The first step in creating a ceramic plate is to gather all the necessary materials. Here is a list of items you will need:.
- Ceramic clay
- Pottery wheel or slab roller
- Clay tools (such as a carving tool, sponge, wire cutter)
- Rolling pin
- Canvas or cloth
- Water spray bottle
- Kiln
- Glaze
- Brushes
- Kiln furniture (shelves, posts)
Preparing the Clay
Before you begin working with the clay, it is essential to prepare it properly. Start by wedging the clay to remove any air bubbles and to make it more pliable. Wedging involves kneading the clay on a clean surface with your hands.
This process helps to improve the clay’s elasticity and removes any inconsistencies in its texture.
Shaping the Plate
There are two main methods for shaping a ceramic plate – using a pottery wheel or a slab roller. Let’s explore both techniques:.
Using a Pottery Wheel
If you have access to a pottery wheel, it can be an excellent tool for creating symmetrical and uniform plates. Here’s how you can use a pottery wheel:.
- Center the clay on the wheel head and secure it in place.
- Moisten your hands and slowly increase the wheel’s speed.
- Apply gentle pressure with your hands to shape the clay into a plate form.
- Use your fingers or a carving tool to create the desired design or pattern on the plate’s surface.
- Smooth out any imperfections with a sponge.
Using a Slab Roller
If you don’t have access to a pottery wheel, you can use a slab roller to create your ceramic plate. The slab roller allows you to roll out even sheets of clay, which you can then shape into a plate. Follow these steps:.
- Prepare a canvas or cloth surface dusted with a thin layer of sand or cornstarch.
- Take a portion of wedged clay and roll it out using a rolling pin until you have a flat, even slab of clay.
- Transfer the slab onto a plate template or draw the desired shape directly onto the slab.
- Use clay tools to cut around the template or shape and remove any excess clay.
- Smooth the edges of the plate using a sponge or your fingers.
- Add decorative elements or patterns using clay stamps or carving tools.
Drying and Trimming
Once you have shaped the plate, it needs to go through a drying and trimming process. Place the plate in a cool, dry place and allow it to dry slowly. Check the plate regularly for any cracks or warping.
If you notice any imperfections, gently trim and smooth the edges using clay tools. This step ensures that your plate maintains its desired shape during firing.
Bisque Firing
After the drying and trimming process, it is time for bisque firing. Bisque firing involves firing the plate in a kiln at a relatively low temperature to transform it into a durable, ceramic material. Follow these steps for successful bisque firing:.
- Place the plate on a kiln shelf with kiln posts to create enough space between the shelves for proper air circulation.
- Program the kiln according to the specific clay and glaze manufacturer’s instructions.
- Start the firing process, ensuring that the kiln gradually reaches the desired temperature to prevent thermal shock.
- Keep a close eye on the kiln’s temperature and make any necessary adjustments to avoid over or underfiring.
- Once the kiln reaches the desired temperature and holds that temperature for the recommended time, allow it to cool down before removing the plates.
Glazing
The next step in creating a ceramic plate is glazing. Glaze adds color, texture, and a protective coating to the plate’s surface. Here’s how you can glaze your plate:.
- Clean the bisque-fired plate by brushing off any dust or debris.
- Choose the desired glaze color and texture from your collection.
- Using a brush or a dipping method, apply the glaze to the plate’s surface, ensuring even coverage.
- Allow the glaze to dry completely before proceeding.
Final Firing
After glazing, the plate needs to go through a final firing to set the glaze and give it a finished look. Follow these steps:.
- Place the glazed plates on kiln shelves with proper spacing between them.
- Program the kiln according to the specific glaze manufacturer’s instructions.
- Start the firing process, gradually increasing the kiln’s temperature to reach the recommended firing range.
- Maintain the desired temperature for the recommended time, allowing the glaze to melt and fuse with the plate’s surface.
- Once the firing process is complete, turn off the kiln and let it cool down before removing the plates.
Conclusion
Congratulations! You have successfully created a ceramic plate from start to finish. It is now ready to be used or displayed proudly. Remember, creating a ceramic plate is a combination of skill, creativity, and patience.
With practice, you can experiment with different shapes, designs, and glazes to create your unique collection of ceramic plates.
