Earwax candles, also known as ear candles, ear cones, or auricular candles, are used for removing earwax and impurities from the ear canal. The candles are made up of natural ingredients like beeswax, essential oils, and cotton or linen fabrics.
Despite their numerous benefits, earwax candles are not medically proven and can cause severe damage if not used properly. In this article, we will discuss the process of making earwax candles.
Ingredients Used in Earwax Candles
Following are the ingredients that are required to make earwax candles:.
- Beeswax: Beeswax is a natural wax secreted by bees. It is used to make earwax candles because of its therapeutic properties.
- Cotton or Linen Fabric: A thin, natural cotton or linen fabric is used to create the candle’s shaft.
- Essential Oils: Essential oils like tea tree, chamomile, and lavender are used to give the candle a pleasant aroma and therapeutic effect.
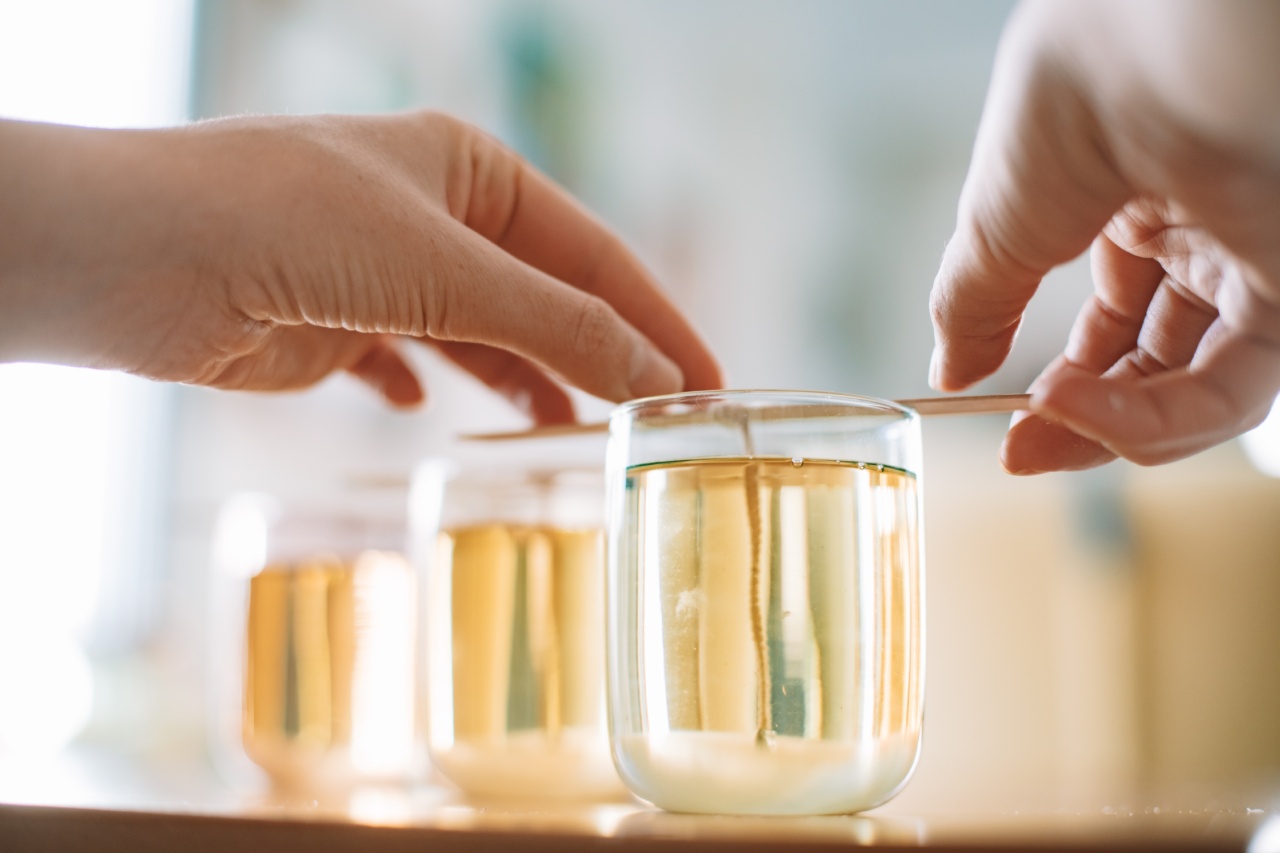
Process of Making Earwax Candles
The process of making earwax candles is straightforward and requires basic tools. You can use the following procedure to make earwax candles at home:.
Step 1: Preparing the Mixture
To prepare the mixture, place the beeswax in a double boiler and melt it on low heat. You can also use a pot and a heatproof bowl to melt the wax. Keep stirring the beeswax until it melts completely.
Once melted, remove the double boiler from the heat and let it cool for 2-3 minutes.
Step 2: Preparing the Fabric
Cut a cotton or linen fabric into a rectangular shape. The fabric should be thin and natural to prevent any harm to the ear canal. The length of the fabric should be equal to your ear’s depth, plus an extra inch or two.
The width of the fabric should be around 3-4 inches.
Step 3: Rolling the Fabric
Place the fabric on a clean surface and roll one end of the fabric tightly until it forms a cone. The cone’s opening should be small enough to fit into your ear canal. Roll the other end of the fabric over the top of the cone to secure it.
Step 4: Dipping the Fabric
Dip the tapered end of the cone into the melted beeswax and let it coat the fabric evenly. You can use a wooden stick or spoon to flip the cone if needed.
Step 5: Adding Essential Oils
Once the beeswax is coated evenly on the fabric, add a few drops of essential oil to give the candle a pleasant aroma. You can use tea tree oil for its antiseptic properties, chamomile oil for its calming effect, or lavender oil for its relaxing aroma.
Related Article
The Process of Creating Ear Candles

Step 6: Drying the Candle
Once the candle is coated and scented, hang the unrolled end of the fabric to let it dry. It would be best if you hung it vertically to prevent any dripping. Let the candle dry for at least 30-40 minutes, until it hardens completely.
Step 7: Cutting the Candle
Once the candle hardens, cut the unrolled end of the fabric with scissors. This will unroll the fabric and reveal the hardened beeswax candle. You can trim the edges if needed.
How to Use Earwax Candles
Earwax candles should be used with extreme caution, and it is always better to consult a doctor before using them. To use earwax candles, follow the steps below:.
Step 1: Lie Down
Lie down on your side before inserting the candle into your ear to prevent any wax from dripping inside.
Step 2: Light the Candle
Light the wide end of the candle and place the tapered end into your ear canal. The flame and heat should create a vacuum that will soften and draw out the earwax and other impurities from the ear canal.
Step 3: Remove the Candle
Once the candle burns down to a certain point, remove it gently and extinguish the flame in water. You can cut the tip of the earwax candle to examine the wax and impurities removed from your ear.
It is normal to see some earwax and debris stuck in the hardened beeswax.
Step 4: Clean Your Ear Canal
Once you remove the candle, clean your ear canal with a gentle ear cleaning solution. You can also use warm water and a cotton ball to remove any residue left inside.
Safety Measures while Using Earwax Candles
Earwax candles are not medically proven and may cause severe harm if not used properly. Following are some safety measures to keep in mind while using earwax candles:.
- Do not use earwax candles if you have an ear infection, perforated eardrum, or any other ear disorder.
- Do not use earwax candles on children, as their ear canals are smaller and can cause severe harm.
- Always use earwax candles under the supervision of a professional, and never leave them unattended while burning.
- Do not use earwax candles if you have any allergies to the ingredients used in them.
Conclusion
Earwax candles can be an effective and natural way to remove earwax and impurities from the ear canal. The process of making earwax candles is simple and requires only natural ingredients like beeswax, essential oils, and cotton or linen fabrics.
However, always consult a doctor before using earwax candles and follow all safety measures while using them.


