Performing regular breast self-examinations (BSE) is crucial for early detection of breast cancer.
By conducting a self-examination, you can familiarize yourself with your breast tissue, identify any changes or abnormalities, and seek medical attention if necessary. In this article, we will provide a step-by-step guide along with a helpful video tutorial to assist you in performing a breast self-examination with ease.
Why is a Breast Self-Examination Important?
A breast self-examination is an essential tool for identifying any changes in your breast tissue. Detecting breast cancer early significantly increases the chances of successful treatment and recovery.
By performing regular self-examinations, you become more aware of your breasts’ normal appearance and can immediately notice any unusual lumps, texture changes, or other signs that may require medical attention.
Step 1: Preparation
Before you start the examination, ensure you have adequate privacy and a comfortable setting. It is advisable to perform the examination a few days after your menstrual period when your breasts are least likely to be tender or swollen.
If you have reached menopause, choose a specific day of the month that is convenient for you and remember to stick to that particular day each month.
Step 2: Position
Stand in front of a mirror with your arms relaxed at your sides. Observe your breasts carefully to see if there are any visual changes or abnormalities.
Look for changes in size, shape, or contour, any visible swelling or distortion, dimpling, or changes in the skin texture.
Step 3: Raise Your Arms
Raise your arms above your head while examining your breasts in the mirror. Pay attention to the same visual cues as in step 2 and observe if there are any significant differences or changes when your arms are raised.
Step 4: Examine Your Breasts with Your Fingertips
Lie down on your back, with a pillow under your right shoulder, and raise your right arm behind your head. Using the pads of the three middle fingers on your left hand, apply gentle pressure in a circular motion all over your right breast.
Begin from the outer edges and slowly move towards the center. Ensure you cover the entire breast, including the area extending to your armpit.
Step 5: Examine Your Breasts with Your Fingertips (Continued)
Next, sit up or stand, and explore your breast using the same circular motion described in step 4. This time, ensure your arm is relaxed by your side. Repeat this process for your left breast.
Step 6: Examine Each Nipple
Gently squeeze each nipple to check for any discharge. If you notice any unusual discharge, such as blood or a clear fluid, consult a healthcare professional.
Note that most nipple discharge is not a sign of breast cancer but should be evaluated to determine the cause.
Step 7: Repeat the Process in the Shower
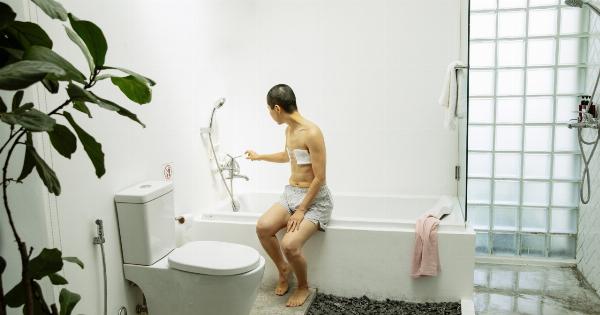
When your skin is wet, use the same circular motion to examine your breasts while bathing or showering. The water will help your fingers glide smoothly over your skin, facilitating a more thorough examination.
Step 8: Evaluate Changes
Any changes, lumps, or abnormalities detected during the examination should be promptly reported to your healthcare provider.
While most lumps turn out to be benign, only a healthcare professional can accurately diagnose their nature through further evaluation, such as a mammogram or ultrasound.
Step 9: Schedule Regular Mammograms and Check-ups
Performing breast self-examinations should not replace regular mammograms and clinical check-ups. These screenings are crucial for detecting breast cancer early and should be scheduled as recommended by your healthcare provider.
Step 10: Stay Informed and Seek Support
Continually educate yourself about breast health, risk factors, and the latest advancements in breast cancer detection and treatment. Reach out to support groups or healthcare professionals if you have any concerns or queries.

