Ear cleaning is an essential part of personal hygiene. It helps in keeping the ears clean and healthy. However, it is necessary to follow the right steps while cleaning the ears to prevent any damage or infection.
In this guide, we will discuss the step-by-step process of cleaning ears.
Step 1: Gather the Necessary Supplies
Before starting the cleaning process, it is crucial to collect all the necessary supplies. You will need:.
- Clean towels
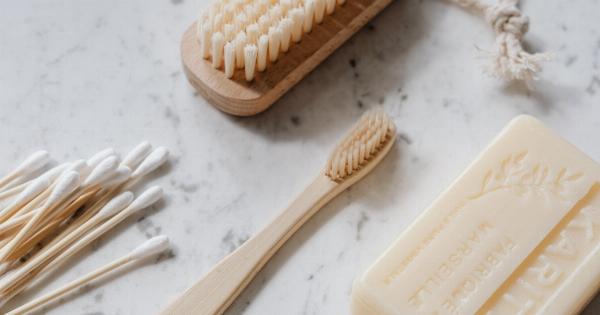
- Cotton balls or swabs
- Ear cleaning solution
Make sure the towels and cotton balls are clean to avoid any bacteria or germs.
Step 2: Choose the Right Ear Cleaning Solution
There are various types of ear cleaning solutions available, such as hydrogen peroxide, saline solution, and ear drops. It is essential to choose the right solution that suits you.
Generally, hydrogen peroxide is not recommended for regular use as it can cause irritation and dryness in the ear canal. Saline solution and ear drops are safer to use.
Step 3: Clean the Outer Ear
Before cleaning the ear canal, It is essential to clean the outer ear that is visible. Use a clean cotton ball or swab and gently wipe the area around the ear.
Avoid pushing the cotton ball or swab too deep inside the ear canal as it can lead to earwax accumulation or damage the eardrum.
Step 4: Use Ear Cleaning Solution
After wiping the outer ear, pour a few drops of ear cleaning solution into the ear canal. Tilt your head slightly to let the solution settle down into the ear canal. Stay in this position for a few minutes to let it work on the earwax.
Step 5: Drain the Ear Cleaning Solution
To drain the ear cleaning solution, tilt your head in the opposite direction and let the solution drain out of the ear canal. You can use a clean towel to wipe off any excess solution or buildup.
Step 6: Repeat the Process
If you feel there is still some earwax buildup, you can repeat the process of using the ear cleaning solution. However, do not overdo it as it can lead to dryness or irritation.
It is recommended to use ear cleaning solutions not more than once or twice a week.
Step 7: Avoid Using Cotton Swabs
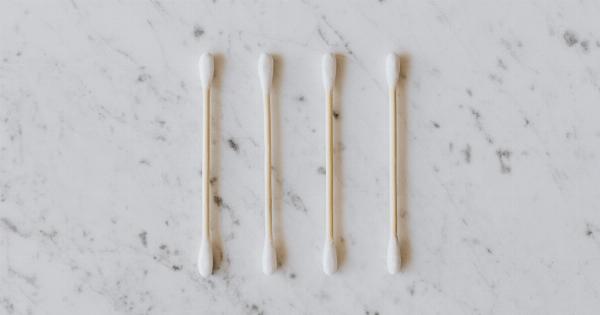
Cotton swabs can be dangerous while cleaning the ears as it can push the earwax further deep inside the ear canal, leading to blockage or damage to the eardrum. Avoid using cotton swabs to clean the ear canal.
If needed, use them only to clean the outer ear.
Step 8: Know When to Stop
If you experience any discomfort or pain while cleaning your ears, stop the process immediately and consult an ear specialist. Also, if you have any history of ear infections or ear surgeries, consult an ear specialist before cleaning the ears.
Step 9: Keep the Ears Dry
Keeping the ears dry is essential to prevent any bacteria or fungi buildup. After cleaning the ears, make sure to dry them completely using a clean towel or dryer. Avoid swimming or any water activities for a few hours after cleaning your ears.
Step 10: Regular Checkup
It is necessary to get regular checkups with an ear specialist to ensure the ears’ overall health. Frequent cleaning of the ears can lead to dryness or irritation and affect the ear’s overall health.
Professional cleaning of the ears will help you avoid any ear infections or damage.
