Mold is a common problem that many homeowners face, and it can often be found in places that are damp and dark, such as refrigerator rollers.
Mold not only affects the appearance of your fridge, but it can also release harmful spores into the air, which can be a health hazard for you and your family.
Identifying Mold on Fridge Rollers
Before you start the process of removing mold from your fridge rollers, it’s important to properly identify whether it is actually mold or not. Mold on fridge rollers can appear as dark green or black spots and usually has a musty smell.
If you notice these signs, it’s safe to assume that you are dealing with mold.
Safety Precautions
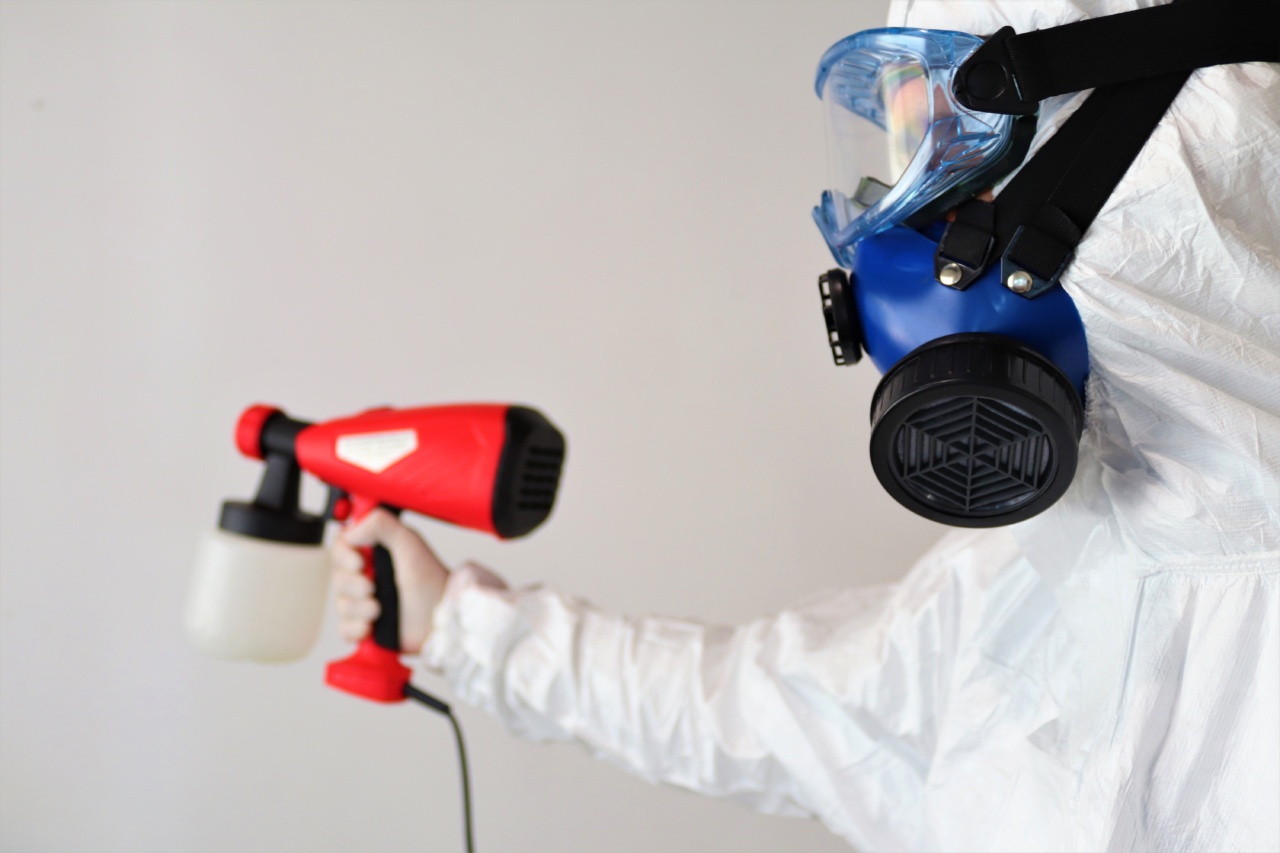
Before you begin the mold removal process, it’s essential to take some safety precautions to protect yourself:.
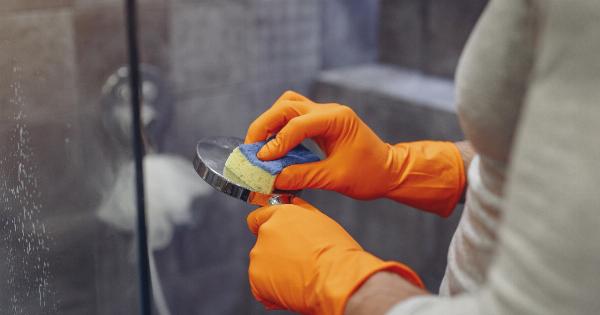
- Wear protective gloves
- Wear safety goggles
- Ensure proper ventilation by opening windows or using a fan
- Use a mask or respirator to avoid inhaling mold spores
Gather the Necessary Materials
Before starting the mold removal process, make sure you have the following materials ready:.
- Hot water
- Dish detergent
- Baking soda
- Vinegar
- Toothbrush or scrub brush
- Clean cloth or sponge
- Bucket
Step-by-Step Guide to Remove Mold from Fridge Rollers
Step 1: Unplug the Fridge
For safety reasons, it’s important to unplug your fridge before starting the mold removal process. This will prevent any accidents or damage to the appliance while you work.
Step 2: Remove Loose Mold
Using a toothbrush or scrub brush, gently remove any loose mold from the fridge rollers. Be careful not to scrub too hard, as this could cause damage to the rollers.
Step 3: Create a Cleaning Solution
In a bucket, mix hot water with dish detergent. Stir the mixture until it becomes soapy and sudsy. This cleaning solution will help to eliminate the mold and any accompanying odors.
Step 4: Scrub the Rollers
Dip the toothbrush or scrub brush in the soapy water solution and start scrubbing the fridge rollers. Use circular motions to effectively remove the mold. Pay close attention to all sides of the rollers and ensure you cover every area.
Step 5: Rinse with Vinegar
Pour vinegar on a clean cloth or sponge and wipe down the fridge rollers. Vinegar is known for its natural antifungal properties and will help eliminate any remaining mold spores.
Step 6: Baking Soda Paste
If there are still visible mold stains on the rollers, create a paste using baking soda and water. Apply the paste to the affected areas and let it sit for a few minutes. Then, scrub gently with a toothbrush or scrub brush.
Step 7: Rinse and Dry
Rinse the fridge rollers thoroughly with clean water to remove any cleaning solution or baking soda residue. Use a clean cloth or paper towel to dry the rollers completely.
Step 8: Clean the Surrounding Area
Wipe down the inside of your fridge and the surrounding area with a mixture of water and vinegar. This will prevent any remaining mold spores from spreading and growing.
Step 9: Preventing Future Mold Growth
To avoid mold growth on your fridge rollers in the future, consider the following preventive measures:.
- Regularly clean and inspect your fridge rollers
- Ensure proper ventilation in your kitchen
- Keep the area around your fridge dry
- Check for any leaks or water damage near the refrigerator
- Avoid leaving food or liquids spilled around the fridge
Professional Help
If you find that the mold growth is extensive, or if you have respiratory issues that could be aggravated by mold removal, it’s advisable to seek professional help.
Professional mold remediation experts can safely and effectively remove mold from your fridge rollers.
Conclusion
Removing mold from fridge rollers is an essential step in maintaining a clean and healthy home.
By following the aforementioned tips and taking the necessary safety precautions, you can successfully eliminate mold growth and prevent it from recurring in the future.
