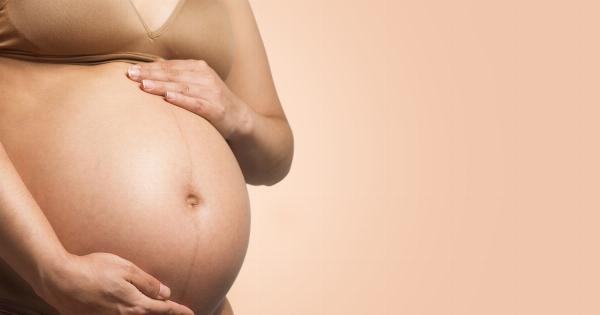
Regular breast self-exams are an essential part of maintaining good breast health. By performing these exams regularly, you become familiar with how your breasts normally look and feel, making it easier to identify any changes or abnormalities.
Detecting breast cancer early greatly improves the chances of successful treatment and survival. With that in mind, it is crucial for all women to learn how to perform a breast self-exam correctly. In this video, we will guide you through the entire process, step by step.
Step 1: Preparation
Before starting the self-exam, find a quiet and comfortable space where you will not be disturbed. Stand in front of a mirror with your upper body undressed. Inspect your breasts visually, looking for any changes in size, shape, or skin texture.
Note any visible abnormalities or asymmetry between your breasts. It is also common for one breast to be slightly larger than the other, so do not be alarmed if you notice this.
Step 2: Inspection
Once you complete the visual inspection, it is time to move on to a more thorough examination. Start by raising your arms above your head and observe if there are any changes in your breasts’ shape or contour.
Next, place your hands on your hips and push firmly to flex your chest muscles. Look for any signs of dimpling, puckering, or changes in skin texture.
Step 3: Lying Down
Lie down on your back and place a pillow under your right shoulder. This will help spread your breast tissue more evenly, making it easier to examine. Using your opposite hand, gently feel your right breast using small, circular motions.
Start from the outer edges and work your way towards the nipple. Take your time to cover the entire breast, making sure to feel both the surface and the deeper tissue beneath.
Step 4: Vertical Strips
Continue the examination by using vertical strips. Begin at the outermost edge of your breast and move your fingers up and down, gradually moving inward to cover the entire breast.
Be sure to apply different pressure levels, as some lumps or abnormalities may be more noticeable when pressed firmly.
Step 5: Nipple Examination
Gently squeeze the nipple between your thumb and index finger. Look for any discharge, such as blood or clear fluid.
Unexpected nipple discharge should always be reported to a healthcare professional, as it may indicate an underlying issue that needs attention.
Step 6: Repeat Steps 3 to 5
Repeat steps 3 to 5 for your left breast. Remember to use the same systematic approach, covering the entire breast using circular motions and vertical strips.
Step 7: Final Inspection
Return to the mirror for a final visual inspection. Look for any changes in the size, shape, or appearance of your breasts. If you notice any new moles, bumps, or other abnormalities, consult a healthcare professional as soon as possible.
When to Consult a Healthcare Professional
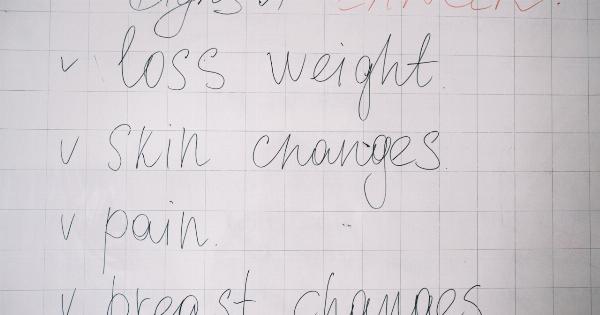
While performing regular breast self-exams is important, it’s equally vital to seek professional medical advice if you notice any of the following:.
- New lumps or areas of thickened tissue
- Swelling or redness
- Pain or tenderness
- Changes in breast size or shape
- Changes in nipple appearance
- Nipple discharge (other than breast milk)
- Persistent itching or rash on the breast
Remember, most breast changes are not cancer-related, but it is always better to get them checked by a healthcare professional to be safe.
Conclusion
Breast self-exams are an essential part of maintaining breast health. By performing these exams regularly, you become more aware of your breasts’ normal characteristics and make it easier to identify any changes.
Early detection of breast cancer significantly increases the chances of successful treatment. So, start incorporating regular breast self-exams into your routine, and if you are unsure about the process, watch the helpful video included in this article.
