As the winter season approaches, it becomes even more important to prioritize our health and protect ourselves from harmful bacteria and viruses. One of the most effective ways to do this is by regularly using a disinfection gel.
While there are numerous options available in the market, creating your own DIY disinfection gel can be a cost-effective and convenient solution. This article will guide you through the process of making your own winter protection disinfection gel at home.
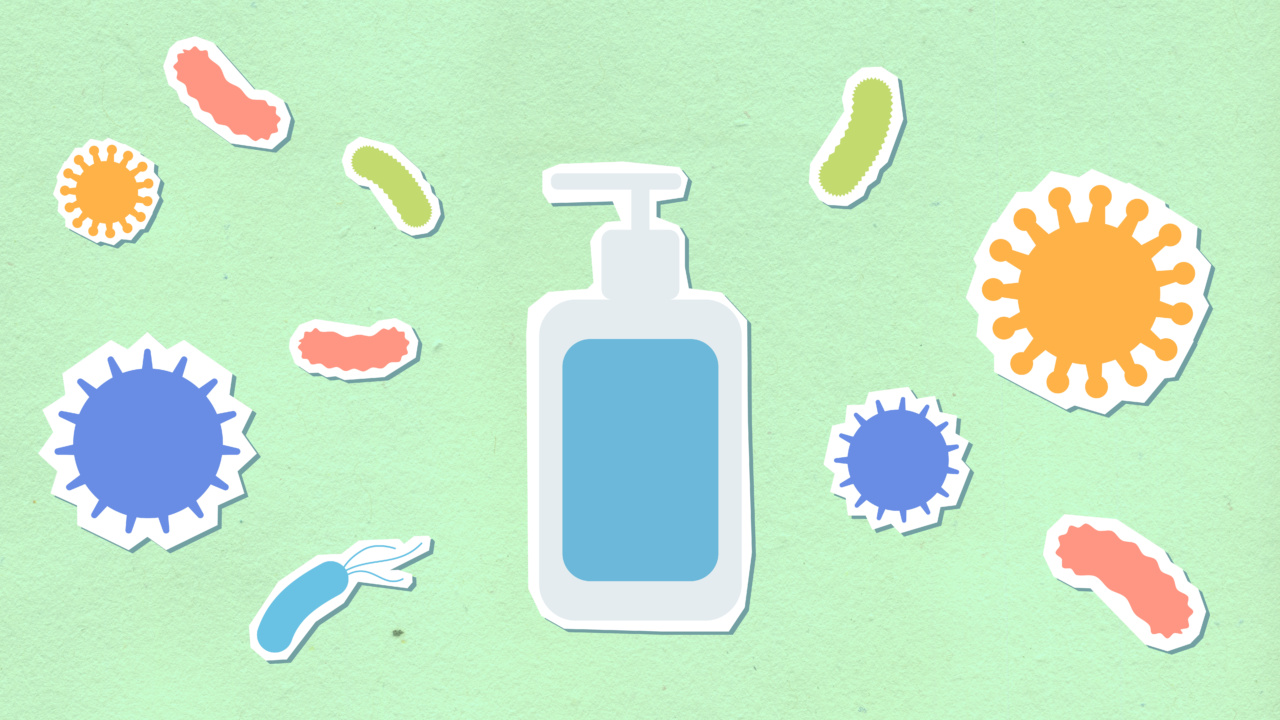
Why is Disinfection Important During Winter?
Winter is a notorious season for the spread of various illnesses, including the common cold, flu, and even more serious viruses like COVID-19. The cold weather drives people indoors, where the close proximity facilitates the transmission of germs.
Moreover, people tend to cough, sneeze, and touch surfaces more frequently during winter, increasing the chances of spreading infectious agents.
By using a disinfection gel, you can significantly reduce the risk of contracting and spreading these winter illnesses.
Regular application of a disinfection gel can effectively kill the majority of bacteria and viruses on your hands, preventing their entry into your body through contact with your face, eyes, or mouth.
Related Article
Stay Germ-free this Winter with Your Own Disinfection Gel

Gather Your Ingredients
Before you start making your DIY disinfection gel, it is important to gather all the necessary ingredients. Here’s what you’ll need:.
- Isopropyl Alcohol (99%): This acts as the main disinfectant and should be available at your local pharmacy.
- Aloe Vera Gel: Aloe vera acts as a soothing agent for the skin and helps prevent dryness caused by alcohol. You can extract aloe vera gel from the plant itself or purchase it from a store.
- Essential Oil (optional): Adding a few drops of essential oil will not only enhance the fragrance but also provide additional antimicrobial properties. Tea tree oil is a popular choice due to its natural disinfecting properties.
- A container: You’ll need a bottle or container to store your disinfection gel. Make sure it is clean and has a tight lid to prevent evaporation.
- A spoon or whisk: To mix all the ingredients thoroughly.
The DIY Disinfection Gel Recipe
Now that you have all the ingredients ready, it’s time to make your own DIY disinfection gel. Follow these simple steps:.
- In a clean container, pour 2/3 cup of isopropyl alcohol (99%).
- Add 1/3 cup of aloe vera gel to the container. Aloe vera gel acts as a moisturizer and prevents the alcohol from drying out your skin.
- If desired, add a few drops (5-10) of your preferred essential oil. Mix well to ensure all ingredients are thoroughly combined.
- Using a spoon or whisk, stir the mixture for about 30 seconds to a minute.
- Transfer the prepared disinfection gel to a clean bottle or container with a tight lid.
- Your DIY disinfection gel is now ready to use!
Using Your DIY Disinfection Gel
Proper usage of the DIY disinfection gel is crucial to ensure maximum effectiveness. Here’s how to use it correctly:.
- Squeeze a small amount of the disinfection gel (about a dime-sized portion) onto the palm of one hand.
- Rub both hands together, ensuring that the gel covers the entire surface of your hands, including the back of hands, between fingers, and around nails.
- Continue rubbing your hands together for at least 20 seconds or until the gel has completely dried.
- Be mindful to not touch your face or any other surfaces until the gel has dried.
- Use the disinfection gel whenever you come into contact with potentially contaminated surfaces or after being in crowded spaces.
- Remember, the disinfection gel is for external use only. Avoid ingesting or applying it to open wounds.
Additional Tips
To make the most out of your DIY disinfection gel, here are some additional tips:.
- Store your disinfection gel in a cool, dry place away from direct sunlight, as extreme temperatures can affect its effectiveness.
- Label the container with the date of preparation to ensure you use the gel within its recommended shelf life, which is typically around 6 months.
- If you find the consistency of your gel to be too runny, you can add a small amount of xanthan gum or vegetable glycerin to thicken it.
- Consider making multiple small bottles of disinfection gel to keep in different locations, such as your home, office, car, or bag, so you always have easy access to it.
Conclusion
Making your own DIY disinfection gel for winter protection is a simple and economical way to ensure your hands stay clean and free from harmful bacteria and viruses.
By following the steps and tips mentioned in this article, you’ll be well-equipped to combat the winter illnesses and keep yourself and others safe.


