Energy bars are popular among athletes and fitness enthusiasts for their nutritional value and convenience. However, store-bought energy bars can be expensive and may contain preservatives and additives.
Instead of buying pre-packaged bars, you can easily make your own homemade energy bars using healthy and natural ingredients. Here’s a step-by-step guide to help you create your own delicious and nutritious DIY energy bars.
Step 1: Gather Your Ingredients
The first step is to collect all the necessary ingredients for your energy bars. The basic ingredients needed for most energy bars include:.
- Oats
- Nuts (such as almonds, cashews, and pecans)
- Seeds (such as chia, flax, pumpkin, and sunflower)
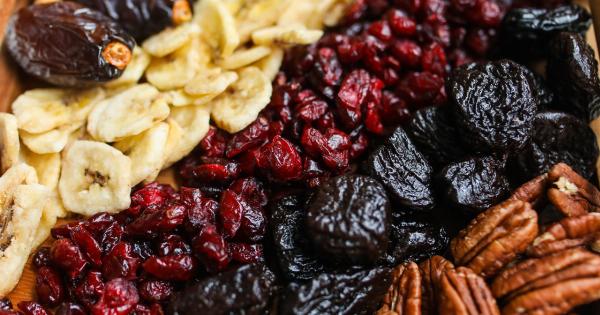
- Dried fruits (such as raisins, apricots, and cranberries)
- Sweeteners (such as honey, maple syrup, and dates)
- Peanut butter or almond butter for binding
- Spices (such as cinnamon or nutmeg)
You can always mix and match ingredients to create a variety of flavors. For example, you can use pecans, dried cranberries, and maple syrup to create a sweet and nutty flavor, or use almonds, chia seeds, and cinnamon for a spicier taste.
Step 2: Prepare Your Ingredients
Before you start mixing your ingredients, you need to prepare them properly. Here’s a guide on how to prepare each ingredient:.
- Oats – Toast the oats in a preheated oven at 350°F for 10-15 minutes or until lightly toasted.
- Nuts – Roast the nuts in a preheated oven at 350°F for 8-10 minutes or until fragrant and lightly toasted. Allow them to cool before chopping them into small pieces.
- Seeds – Toast the seeds in a preheated oven at 350°F for 5-7 minutes or until lightly toasted.
- Dried fruits – Chop the dried fruits into small pieces using a sharp knife or food processor.
- Sweeteners – If using dates, soak them in hot water for 10-15 minutes or until soft. Drain the water and blend them in a food processor until they form a paste. If using honey or maple syrup, you can use them as they are.
- Peanut butter or almond butter – Warm the nut butter in a microwave or on a stovetop until it becomes soft and easily spreadable.
- Spices – Measure out the desired amount of spices and set them aside.
Step 3: Mix the Ingredients
Now that you’ve prepared all the ingredients, it’s time to mix them together. Here’s the basic recipe for making energy bars:.
- 2 cups of oats
- 1 cup of chopped nuts
- 1 cup of chopped dried fruits
- 1/2 cup of seeds
- 1/2 cup of sweetener
- 1/2 cup of peanut butter or almond butter
- 1 teaspoon of cinnamon (optional)
Place all the ingredients in a large bowl and mix them together using a wooden spoon or your hands. The mixture should become sticky and clump together.
Step 4: Shape and Bake the Bars
Preheat your oven to 350°F and grease a 9×13 inch baking pan. Scoop the mixture into the pan and press it down firmly using your hands or a spatula. Make sure the mixture is evenly distributed and pressed down firmly.
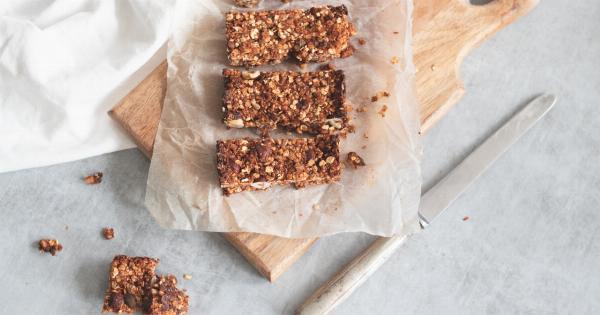
Bake the mixture in the preheated oven for 20-25 minutes or until the edges are lightly browned. Allow it to cool completely before slicing the mixture into small bars or squares.
Step 5: Store the Bars
Once the bars are cooled and sliced, you can store them in an airtight container. Energy bars can be stored at room temperature for up to 5 days or in the refrigerator for up to 2 weeks.
Conclusion
With these simple steps, you can create your own delicious and healthy energy bars at home. By making your own energy bars, you can control the ingredients and avoid added preservatives and additives.
These energy bars are perfect for on-the-go snacking during workouts or in between meals. So, give it a try and customize the recipe to suit your taste!.

