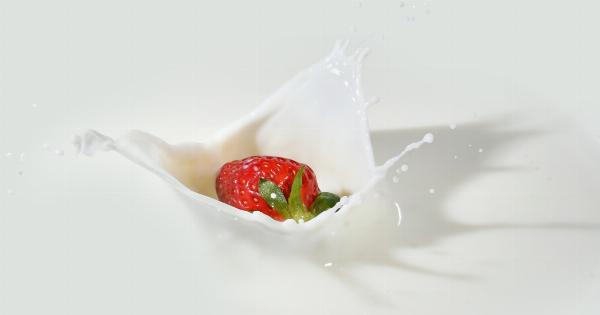
Nothing beats the refreshing and indulgent taste of homemade strawberry ice cream. With the right ingredients and a simple process, you can easily make your own creamy strawberry delight at home.
This DIY strawberry ice cream recipe requires only a few steps and guarantees a burst of fruity goodness in every bite. Follow this guide and treat yourself to a delicious homemade treat!.
Ingredients:
Before diving into the recipe, make sure you have the following ingredients on hand:.
- 2 cups of fresh strawberries, hulled and chopped
- 1 cup of granulated sugar
- 2 cups of heavy cream
- 1 cup of whole milk
- 1 teaspoon of vanilla extract
- A pinch of salt
Instructions:
Follow these step-by-step instructions for irresistibly creamy strawberry ice cream:.
Step 1: Prepare the Strawberries
Clean the strawberries thoroughly and remove the stems. Chop the strawberries into small pieces until you have approximately 2 cups.
Step 2: Macerate the Strawberries
In a medium bowl, combine the chopped strawberries and half a cup of sugar. Mix well until the sugar has dissolved. Cover the bowl and let the strawberries macerate in the refrigerator for about 30 minutes.
Macerating the strawberries helps release their juices and intensifies their flavor.
Step 3: Blend the Berry Mixture
After the strawberries have macerated, transfer the mixture into a blender or food processor. Blend the strawberries until you achieve a smooth puree. If you prefer some small strawberry chunks in your ice cream, blend it to your desired consistency.
Step 4: Prepare the Ice Cream Base
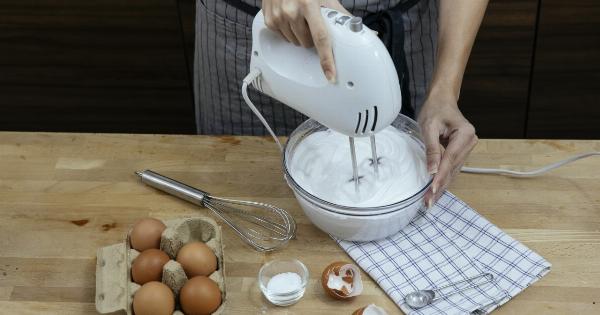
In a separate bowl, combine the heavy cream, whole milk, vanilla extract, remaining half cup of sugar, and a pinch of salt. Whisk the mixture together until the sugar is fully dissolved.
Step 5: Combine the Strawberry Puree and Ice Cream Base
Now, it’s time to incorporate the strawberry puree into the ice cream base. Pour the strawberry puree into the bowl with the ice cream base and stir gently until well combined.
Step 6: Chill the Mixture
Cover the bowl containing the ice cream mixture and place it in the refrigerator to chill for at least 4 hours or overnight. Chilling the mixture enhances its flavor and ensures a creamy texture.
Step 7: Churn the Ice Cream
Once the ice cream mixture has chilled thoroughly, it’s ready to be churned. Transfer the mixture to your ice cream maker and follow the manufacturer’s instructions to churn it into a creamy consistency.
This process usually takes around 20-30 minutes.
Step 8: Freeze the Ice Cream
After churning, the ice cream will be soft and ready to eat. For a firmer consistency, transfer the ice cream to an airtight container and place it in the freezer for at least 4 hours or until firm.
Step 9: Serve and Enjoy
Once the strawberry ice cream is fully frozen, it is ready to be enjoyed! Serve it in bowls or cones and savor the sweet and refreshing taste of your homemade treat.
Variations:
To add an extra twist to your strawberry ice cream, consider trying these variations:.
- Add chocolate chips or crushed cookies for a delightful texture.
- Swirl in some homemade strawberry sauce for a burst of fruitiness.
- Mix in a handful of chopped nuts for added crunch.
- Experiment with different fruit combinations like strawberry-raspberry or strawberry-banana for unique flavors.
Conclusion
Creating your own strawberry ice cream is a rewarding experience that allows you to enjoy the freshness and natural flavors of this beloved fruit.
With minimal effort and a few simple ingredients, you can create a mouthwatering dessert that will impress family and friends. So, grab those strawberries and start making your homemade strawberry ice cream today!.
