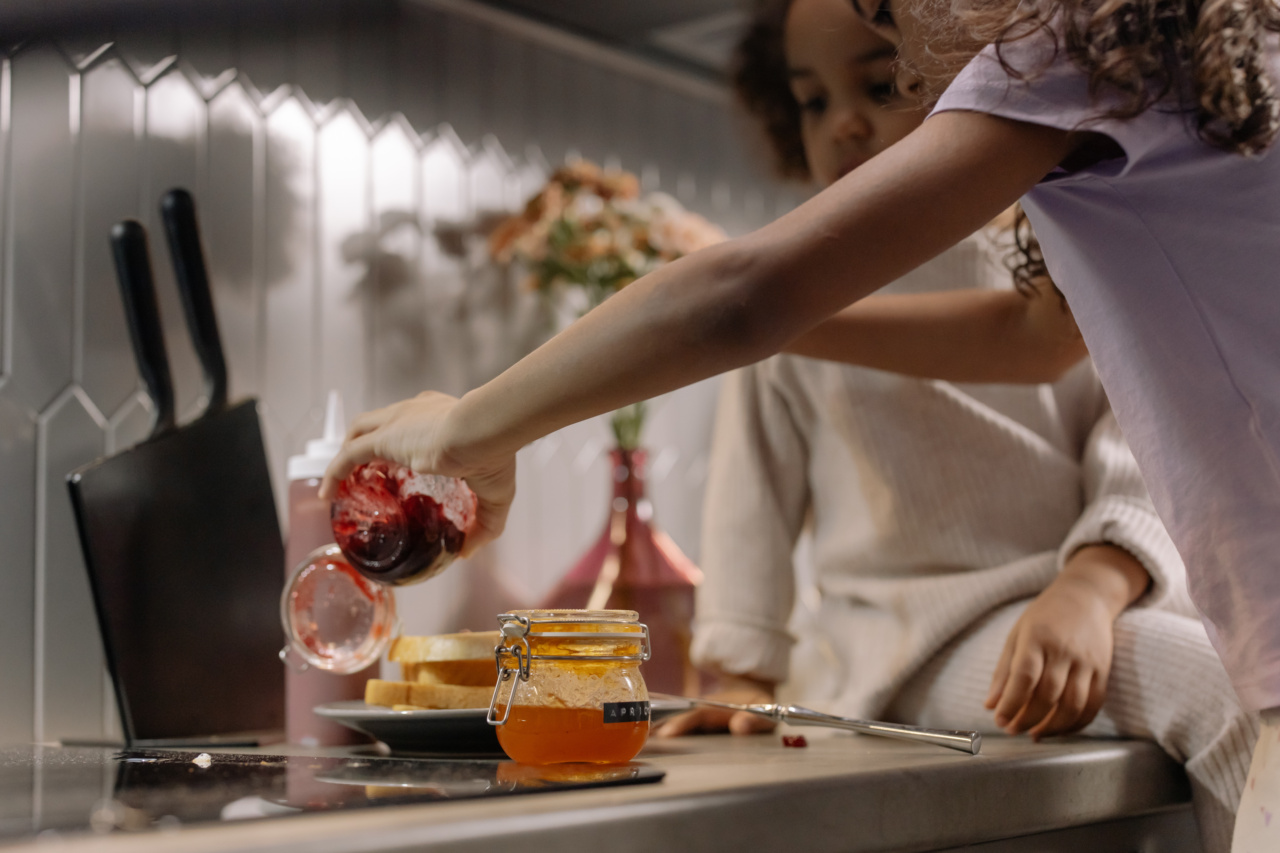
When it comes to preserving seasonal fruits and enjoying their flavors long after they’re gone, there’s nothing quite like making your own homemade jam.
George Tsoulis, a renowned expert in the field, shares his expertise on the basics of jam making.
The Importance of Quality Ingredients
Before delving into the world of jam making, it’s crucial to start with the freshest and highest quality ingredients possible.
Whether you’re using strawberries, raspberries, peaches, or any other fruit, make sure they are ripe but not overly soft or damaged. Using organic and locally sourced fruits will not only enhance the taste of your jam but also provide a healthier option.
Equipment Needed
While jam making doesn’t require elaborate equipment, having a few essential tools will make the process much easier and enjoyable. You will need:.
1. A large, heavy-bottomed stainless steel pot: This will help distribute heat evenly and prevent burning.
2. A wooden spoon: Opt for a long-handled wooden spoon as it will not conduct heat and is gentle on the fruits.
3. Mason jars with lids: Ensure the jars are sterilized properly to prevent contamination.
4. A canning funnel: This will help you pour the hot jam into the jars without any mess.
5. A ladle: Use this to scoop the hot jam into the jars.
6. A candy thermometer: This will help you monitor the temperature and ensure proper gel formation.
The Basic Jam Making Process
Now that you have your ingredients and equipment ready, let’s dive into the step-by-step process of making jam:.
Step 1: Prepare the Fruit
Wash your fruits thoroughly and remove any stems, leaves, or damaged parts.
For smaller fruits like berries, you can leave them whole, but for larger fruits like peaches or apricots, chop them into small pieces or mash them slightly with a fork or potato masher.
Related Article
George Tsoulis: An Introduction to Jams

Step 2: Cook the Fruit
In your large stainless steel pot, combine the prepared fruit with sugar and a small amount of lemon juice. The sugar helps preserve the jam and enhances its flavor, while the lemon juice adds acidity, aiding in the setting process.
Cook the mixture over medium heat, stirring regularly until the sugar dissolves and the fruit softens.
Step 3: Test for Gel Formation
Using a candy thermometer, monitor the temperature of the mixture. The gel point, where the jam starts to thicken, is around 220°F (104°C).
To test if your jam has reached the desired consistency, place a small spoonful on a chilled plate and let it cool for a minute. If it wrinkles when pushed with your finger, it has reached the gel stage. If not, continue cooking and test again at regular intervals.
Step 4: Remove any Foam
While your jam is cooking, you may notice foam rising to the surface. Skim off this foam using a spoon or a fine mesh skimmer. This step is optional, but removing the foam will result in a clearer and more visually appealing jam.
Step 5: Fill and Seal the Jars
Once your jam has reached the desired consistency, carefully ladle it into the sterilized mason jars using a canning funnel, leaving about ¼ inch (0.6 cm) of headspace at the top.
Seal the jars tightly with the lids while the jam is still hot for a proper seal. Allow the jars to cool at room temperature, and you may hear the satisfying “pop” sound indicating a successful seal.
Step 6: Store and Enjoy
Your homemade jam is now ready to be stored and enjoyed! Store the sealed jars in a cool, dark place like a pantry or cellar. Once opened, keep the jam refrigerated and consume within a few weeks.
Tips and Variations
Here are a few additional tips and variations to consider:.
1. Experiment with flavors: Don’t be afraid to mix different fruits or add spices like cinnamon or vanilla for a unique twist.
2. Adjust sugar amount: Depending on the sweetness of your fruit or personal preference, you can reduce or increase the amount of sugar used in the recipe.
3. Pectin addition: Some fruits naturally contain more pectin, a natural thickening agent. However, if using fruits with low pectin levels, consider adding commercial pectin to ensure a proper gel.
Conclusion
Making homemade jam can be a fun and rewarding experience, allowing you to savor the flavors of summer throughout the year.
With the guidance of George Tsoulis and the right ingredients and equipment, you’ll be well on your way to creating delicious jars of jam that can be enjoyed or gifted to loved ones.


