Almond milk is a popular dairy-free alternative to cow’s milk, and making it at home is not only cost-effective but also allows you to control the ingredients and flavor.
Whether you have dietary restrictions or simply want to try something new, homemade almond milk is a nutritious, delicious, and versatile option. Here’s a step-by-step guide to making almond milk at home.
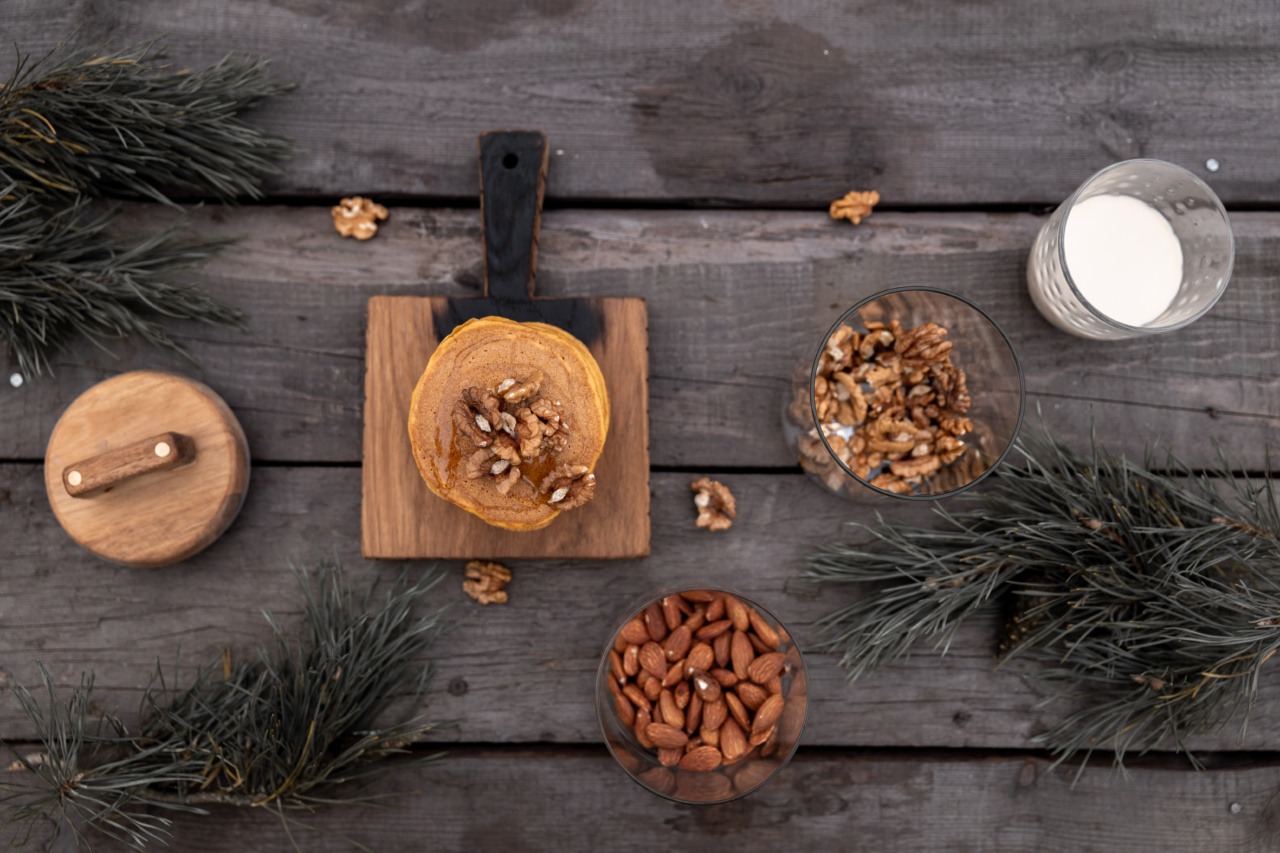
Gather Your Ingredients and Equipment
Before diving into the process of making almond milk, make sure you have the following:
- 1 cup of raw almonds
- 4 cups of filtered water
- A blender
- A cheesecloth or nut milk bag
- A glass jar or bottle for storage
Soak the Almonds
To create a smooth and creamy almond milk, it’s essential to soak the almonds before blending. Soaking helps soften the almonds, making them easier to blend, and also removes any bitter taste.
Follow these steps:
- Place the almonds in a bowl and cover them with water.
- Allow the almonds to soak for at least 4 hours or overnight.
- After soaking, drain and rinse the almonds thoroughly.
Blend the Almonds with Water
Once you’ve soaked and rinsed the almonds, it’s time to blend them with water. This step extracts the almond flavor and creates the base for your almond milk.
Here’s what you need to do:
- Add the soaked almonds and 4 cups of filtered water to a blender.
- Blend on high speed until you achieve a smooth consistency.
Strain the Mixture
To remove any remaining almond pulp and ensure a silky texture, strain the blended mixture. The most common method is to use a cheesecloth or nut milk bag.
Follow these simple steps:
- Place the cheesecloth or nut milk bag over a large bowl or pitcher.
- Gently pour the almond mixture onto the cloth or bag.
- Gather the corners of the cloth or bag and carefully squeeze out the liquid into the bowl or pitcher.
Optional: Add Flavor and Sweeteners
While plain almond milk is delicious on its own, you can enhance the flavor by adding a few optional ingredients.
If desired, consider incorporating:
- A teaspoon of vanilla extract
- A tablespoon of honey, maple syrup, or agave nectar for natural sweetness
- A pinch of salt to balance the flavors
Store and Enjoy
Transfer your freshly made almond milk into a glass jar or bottle for storage. Make sure to refrigerate it promptly and consume it within 3-4 days. Homemade almond milk tends to separate as it sits, so give it a good shake before using each time.
Enjoy your homemade almond milk in smoothies, coffee, cereal, or any other way you prefer.
Troubleshooting Tips
If your homemade almond milk doesn’t turn out perfectly the first time, don’t worry! Here are a few troubleshooting tips to help you along the way:
- If your almond milk comes out too watery, reduce the amount of water used during blending.
- If your almond milk appears too thick or has excessive pulp, add more water during the blending process and strain the mixture again.
- To enhance the creaminess, try increasing the amount of almonds in the recipe.
- Experiment with different flavors and sweeteners to find your perfect blend.
Conclusion
Making almond milk at home is a simple and rewarding process. By following these steps, you can create a fresh, flavorful, and nutritious dairy-free milk alternative right in your own kitchen.
Enjoy the freedom to customize the flavor, control the quality of ingredients, and save money in the long run. Start experimenting and enjoy the many benefits of homemade almond milk!.


