Dyeing your hair at home can be a fun and cost-effective way to change up your look.
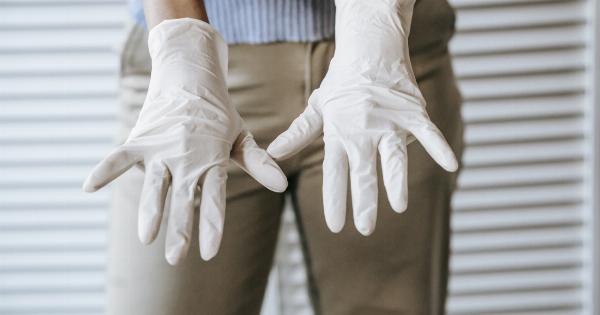
Whether you’re looking for a bold new color or just want to cover up some grays, there are a few key insights and recommendations to keep in mind before you dive in. In this article, we’ll explore the do’s and don’ts of dyeing your hair at home, including tips for choosing the right color, preparing your hair, and avoiding common mistakes. So, grab your gloves and let’s get started!.
1. Choosing the Right Color
The first step to successful at-home hair dyeing is choosing the right color. Consider factors such as your skin tone, eye color, and natural hair color when making your selection.
It’s also important to keep in mind that the color on the box may not look exactly the same on your hair, especially if you have previously dyed or damaged hair. When in doubt, opt for a shade slightly lighter than what you desire, as it’s easier to darken your hair later if needed.
2. Understanding Your Hair Type
Understanding your hair type is crucial when dyeing your hair at home. Different hair types absorb and retain color differently, so it’s important to take this into consideration.
Porous hair, for example, is more likely to absorb color quickly, while resistant hair may require extra processing time. Knowing your hair type will help you determine the appropriate dyeing technique and timing.
3. Preparing Your Hair
Properly preparing your hair before dyeing is essential for achieving the best results. Start by washing your hair with a clarifying shampoo to remove any product buildup or oils.
Avoid using any conditioning treatments or styling products that can create a barrier between the hair and the dye. Additionally, if you have previously colored hair, consider using a color remover or bleaching agent to remove any existing dye and create a clean canvas.
4. Protecting Your Skin and Clothing
Dyeing your hair at home can get messy, so it’s important to take precautions to protect your skin and clothing.
Apply a layer of petroleum jelly or a thick moisturizer along your hairline, ears, and neck to act as a barrier between your skin and the dye. Wear old clothing or use a hair dye cape or towel to protect your outfit from any potential stains.
5. Following the Instructions
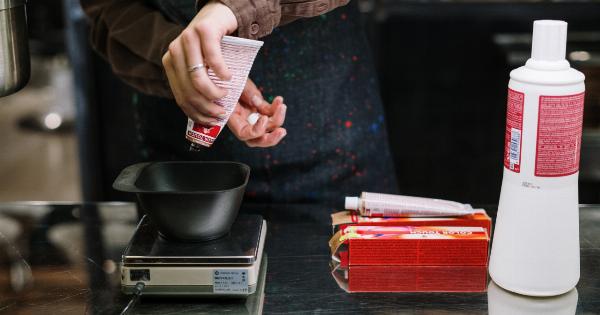
When it comes to dyeing your hair at home, it’s crucial to carefully read and follow the instructions provided with the hair dye kit.
Each brand and product may have specific instructions and mixing ratios that need to be followed for optimal results. Ignoring or deviating from these instructions can lead to uneven color or even hair damage, so it’s best to play it safe and stick to the guidelines.
6. Performing a Strand Test
Before applying the dye to your entire head, it’s highly recommended to perform a strand test. This involves applying a small amount of dye to a hidden section of your hair and monitoring the results.
By doing this, you can ensure that you’re satisfied with the color and avoid any potential allergic reactions or unwanted outcomes. It may take a bit of extra time, but this step is well worth it.
7. Applying the Dye
When applying the dye, section your hair using clips or hair ties and work from the roots to the ends. Start at the back of your head and move forward, applying the dye evenly to each section.
Be sure to saturate the hair thoroughly to ensure even color distribution and avoid patchiness. Consider using a brush or applicator bottle for precision and easier application.
8. Timing and Processing
The timing and processing of the dye are crucial factors in achieving your desired color. Follow the instructions provided, but also keep an eye on your hair during the process.
If you’re aiming for a lighter color, you may need to keep the dye on for a longer time. On the other hand, leaving the dye on for too long can result in darker and potentially uneven results. Keep track of the time and monitor your hair to achieve the best outcome.
9. Rinsing and Aftercare
Once the processing time is up, it’s time to rinse out the dye. Use lukewarm water to rinse until the water runs clear. Avoid using hot water, as it can strip the color and leave your hair looking dull.
After rinsing, apply the conditioner provided in the kit or a color-safe conditioner to lock in moisture and enhance the color. Avoid shampooing for at least 24-48 hours to allow the color to set properly.
10. Maintenance and Touch-ups
After successfully dyeing your hair at home, it’s important to maintain your new color and address any root growth or fading over time.
Invest in color-safe shampoos and conditioners to extend the life of your color and avoid harsh sulfates that can strip the dye. Schedule regular touch-ups to tackle any visible root growth and maintain a consistent color throughout your hair.
Conclusion
Dyeing your hair at home can be a rewarding experience if done correctly. By following the insights and recommendations outlined in this article, you can achieve beautiful, salon-like results from the comfort of your own home.
Remember to be patient, take the necessary precautions, and always read and follow the instructions provided. With a little practice and proper care, you’ll be able to rock your new hair color with confidence!.
