Our eyes are not only the windows to our soul, but also one of the first areas on our face to show signs of aging. Fine lines, wrinkles, dark circles, and puffiness can make us look tired and older than we actually are.
To combat these issues, many people turn to expensive eye creams that promise magical results. However, these store-bought products often contain chemicals and additives that can be harmful to our skin in the long run.
Why not try making your own eye cream at home using natural ingredients? With a few simple steps, you can create a safe and effective eye cream that will nourish and rejuvenate your delicate under-eye skin.
Benefits of Making Your Own Eye Cream
Before we get into the recipe, let’s take a moment to understand why making your own eye cream is a great idea. Here are some benefits:.
1. Cost-effective
Store-bought eye creams can be quite expensive, especially if you’re looking for a high-quality product. By making your own eye cream, you can save a significant amount of money in the long run.
2. Customizable
When you make your own eye cream, you have full control over the ingredients. You can choose the ones that work best for your skin type and address your specific concerns. The possibilities for customization are endless!.
3. Natural Ingredients
Commercial eye creams often contain synthetic fragrances, preservatives, and other potentially harmful chemicals. By making your own eye cream, you can ensure that only natural ingredients come into contact with your skin.
Ingredients You’ll Need
Now that you understand the benefits, let’s move on to the ingredients you’ll need for your homemade eye cream:.
- 1 tablespoon of raw shea butter
- 1 tablespoon of organic coconut oil
- 1 teaspoon of vitamin E oil
- A few drops of your favorite essential oil (optional)
Step-by-Step Instructions
Now that you have gathered all the ingredients, let’s dive into making your very own eye cream:.
Step 1: Melt the Shea Butter and Coconut Oil
In a small heat-safe bowl, combine the shea butter and coconut oil. Place the bowl in a saucepan filled with a few inches of simmering water. Allow the ingredients to melt slowly over low heat, stirring occasionally.
Step 2: Add the Vitamin E Oil
Once the shea butter and coconut oil have melted completely, remove the bowl from the heat. Add the vitamin E oil to the mixture and stir well to combine. Vitamin E oil is rich in antioxidants and will help nourish and protect your under-eye skin.
Step 3: Optional – Add Essential Oil
If you prefer a scented eye cream or want to enhance the skincare benefits, you can add a few drops of your favorite essential oil to the mixture. Lavender or rose oil are excellent choices for their soothing and rejuvenating properties.
Step 4: Allow the Mixture to Cool
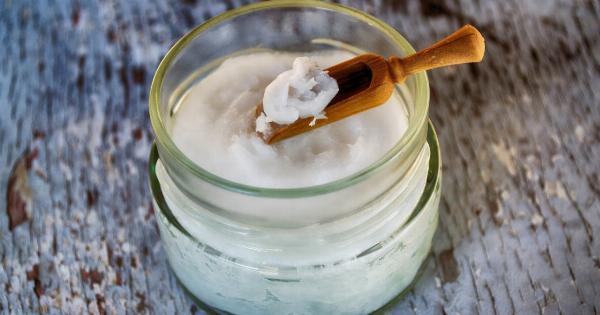
Pour the melted mixture into a clean container of your choice, such as a small glass jar. Let it sit at room temperature until it solidifies. This may take a few hours, so be patient.
Step 5: Application and Storage
Your homemade eye cream is now ready to use! Gently pat a small amount of the cream around the eye area, using your ring finger. Be careful not to tug or pull on the delicate skin.
Store the remaining eye cream in a cool, dry place and use within six months for optimal freshness.
Conclusion
Creating your own eye cream at home allows you to take control of what goes onto your skin.
By using natural ingredients and customizing the recipe to suit your needs, you can effectively nourish and rejuvenate your under-eye area without exposing yourself to harmful chemicals. Give it a try and see the amazing results for yourself!.

