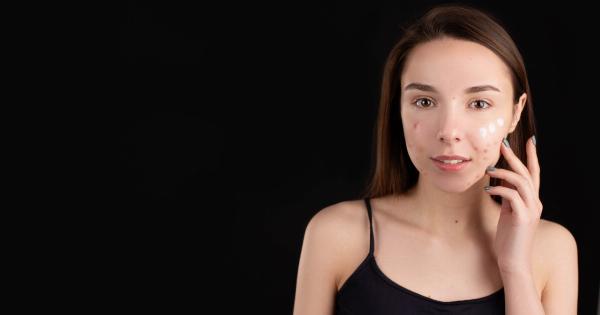
Pimples are pesky, unwanted blemishes that most of us experience at some point in our lives. While it can be tempting to pop them, doing so without proper preparation and technique can cause further damage to your skin.
In this article, we will guide you through the ten essential steps to properly break a pimple without causing any irritation, scarring, or infection.
Step 1: Cleanse the affected area
Before popping a pimple, it is critical to ensure that your hands, skin, and any tools you might use are clean and free of bacteria. Begin by washing your hands with soap and water thoroughly.
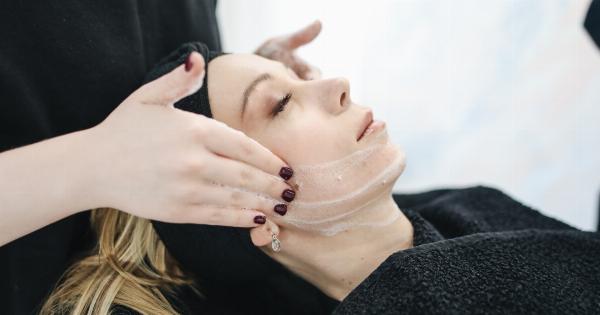
Then, cleanse the affected area with a mild, non-fragrant cleanser to remove any dirt, oil, or makeup that might be present. Pat the skin dry with a clean towel.
Step 2: Wait for the right time
Pimples typically go through different stages of development and take several days to reach the surface fully. Attempting to pop a pimple before it is ready can be painful and ultimately ineffective.
You should only start the pimple-popping process when you see a visible white or yellowish head on the surface; this indicates that the pimple is mature enough to be safely extracted.
Step 3: Sterilize your tools
If you decide to use a tool to extract the pimple, such as a comedone extractor, sterilize it beforehand. This process ensures that there will be no bacteria present on the surface of the tool, which can lead to infection.
Boil water in a pot, submerge the tool in the boiling water for several minutes and then rinse it with alcohol or hydrogen peroxide.
Step 4: Treat the area with heat
Applying heat to the affected area will make the pimple come closer to the skin’s surface, making it easier to extract. Using a warm, damp compress is an easy, effective way to soften the skin and draw the pimple closer to the surface.
All you need to do is wet a washcloth with warm water, lightly wring it out and hold it on the pimple for several minutes.
Step 5: Prepare the skin
To prepare the skin for the actual extraction, apply a small amount of salicylic acid or benzoyl peroxide treatment to the pimple. These acne-fighting ingredients will help to reduce inflammation and bacteria on the surface of the skin.
Step 6: Begin the extraction
Using your tool, gently apply pressure around the sides of the pimple. Apply slight pressure upwards and downwards, not sideways, to squeeze out the white or yellow pus.
Do not push too hard, as this can cause inflammation, further damage, and a more extended healing process.
Step 7: Cleanse the area again
After extraction, cleanse the affected area again with a gentle, non-fragrant cleanser. Rinse with cool water to close the open pores and remove any remaining residue.
Step 8: Apply toner
Using a toner can help to restore your skin’s pH balance and reduce any redness or inflammation caused by the extraction process. Dab a small amount of toner on a cotton pad and gently apply it to the affected area.
Step 9: Apply a hydrocolloid bandage
A hydrocolloid bandage acts as a barrier to reduce the chance of infection and speed up the healing process. These thin, clear adhesive bandages absorb moisture from the wound and keep the area sterile and protected.
Step 10: Moisturize the area
Moisturizing the affected area is essential to keeping it hydrated and promoting quick healing. Use a non-comedogenic, fragrance-free moisturizer applied only on the treated area.
Conclusion
Pimple-popping can be a risky business if not done correctly. By following these ten essential steps, you can help to ensure that the extraction process goes smoothly without causing any further damage, infection, or irritation.
Remember always to be patient, gentle, and treat your skin with respect.
