Dry and dehydrated skin can be a real nuisance, causing discomfort and making your complexion look dull and lackluster.
Fortunately, there is a simple and cost-effective solution – a homemade cream that can provide much-needed moisture and relief for your skin. In this article, we will guide you through the process of making a DIY cream to soothe dry and dehydrated skin, using all-natural ingredients that are gentle and effective.
Understanding Dry and Dehydrated Skin
Before we delve into the recipe for the DIY cream, it is important to understand the difference between dry and dehydrated skin.
Dry skin refers to a skin type that naturally lacks oil or sebum, which is responsible for keeping the skin hydrated and supple. On the other hand, dehydrated skin is a condition that can affect any skin type, including oily skin, when there is a lack of water content in the skin.
Both dry and dehydrated skin can cause similar symptoms such as tightness, flakiness, and rough texture.
The Benefits of DIY Cream
Commercial creams often contain synthetic ingredients or harsh chemicals that can further irritate dry and dehydrated skin.
Creating your own cream allows you to have full control over the ingredients, ensuring that you are only using natural and nourishing substances. Moreover, making your own cream can be a fun and rewarding experience, allowing you to customize the formulation according to your specific needs and preferences.
Ingredients You Will Need
To make the DIY cream, you will need the following ingredients:.
- 2 tablespoons of shea butter
- 1 tablespoon of coconut oil
- 1 tablespoon of almond oil
- 1 tablespoon of aloe vera gel
- 10 drops of lavender essential oil
- 10 drops of chamomile essential oil
- 5 drops of geranium essential oil
- 2 capsules of vitamin E oil
Instructions
Follow these simple steps to create your soothing DIY cream:.
- In a double boiler or a heat-safe bowl placed over a pot of simmering water, melt the shea butter and coconut oil together.
- Once melted, remove from heat and let it cool down for a few minutes.
- Add the almond oil, aloe vera gel, and essential oils to the melted mixture. Stir well to combine.
- Using a sterilized tool, puncture the vitamin E capsules and squeeze the oil into the mixture.
- Transfer the mixture into a clean, airtight container and let it cool completely.
How to Use the DIY Cream
Once your cream has cooled down and solidified, it is ready to use. Follow these steps to incorporate it into your skincare routine:.
- Start with cleansed and toned skin.
- Scoop a small amount of the cream onto your fingertips.
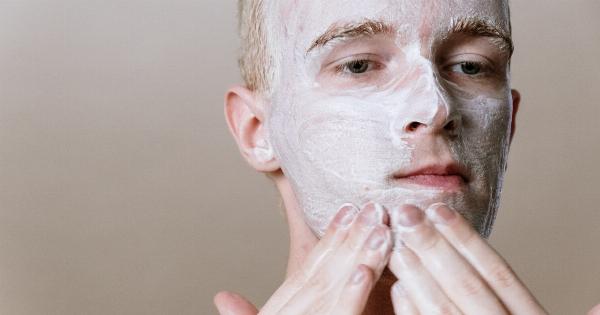
- Gently massage the cream onto your face using upward circular motions.
- Pay extra attention to areas that are particularly dry or dehydrated.
- Allow the cream to fully absorb before applying any additional products or makeup.
- Use the cream twice daily, in the morning and evening, for best results.
Tips and Precautions
Here are a few tips and precautions to keep in mind when using the DIY cream:.
- Store the cream in a cool, dry place away from direct sunlight.
- If you have sensitive skin, perform a patch test before applying the cream to your face.
- Avoid getting the cream into your eyes or mouth.
- Discontinue use if you experience any irritation or allergic reactions.
- Remember that consistency is key, so incorporate the cream into your daily skincare routine for long-lasting results.
Conclusion
Dry and dehydrated skin can now be a thing of the past with this homemade DIY cream. By using natural ingredients that are readily available, you can create a cream that not only replenishes moisture but also soothes and nourishes your skin.
Give this DIY cream a try and say hello to a hydrated and healthy complexion.
