Many women dream of having sun-kissed blonde highlights in their hair, but achieving that look at a salon can be expensive and time-consuming.
However, with a few simple ingredients and techniques, you can create beautiful natural-looking blonde highlights at home. In this article, we will guide you through the step-by-step process of achieving stunning blonde highlights without damaging your hair.
1. Choose the Right Shade
Before starting the highlighting process, it is essential to choose the right shade of blonde that complements your skin tone. If you have fair or cool-toned skin, platinum or icy blonde shades will suit you best.
For those with warmer or medium skin tones, honey or golden blonde shades can be more flattering.
2. Gather Your Supplies
Ensure you have all the necessary supplies before starting your DIY highlighting process:.
- A highlighting brush
- A mixing bowl
- A highlighting cap or foils
- A high-quality blonde hair dye or bleach
- A developer
- A clarifying shampoo
- A deep conditioner
- A wide-tooth comb
- Protective gloves
- Old towel or cape to protect your clothing
3. Prepare Your Hair
Start the process by washing your hair with a clarifying shampoo to remove any product buildup or residue. Towel-dry your hair until it is slightly damp and detangle it gently with a wide-tooth comb.
4. Mix the Hair Dye or Bleach
Follow the instructions on your hair dye or bleach kit and mix the product in a mixing bowl. Always wear gloves to protect your hands from the chemicals.
It is advisable to do a patch test before applying the mixture to your entire head to check for any allergic reactions.
5. Apply the Highlights
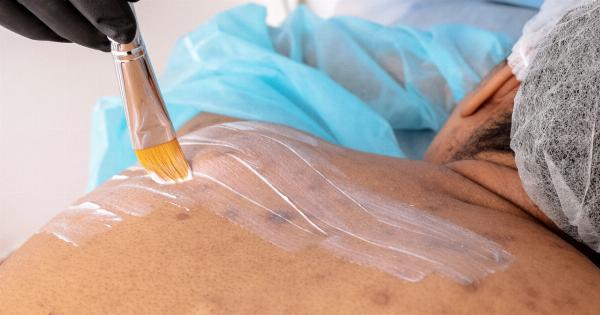
If you have chosen a highlighting cap, place it on your head and use the highlighting brush to pull strands of hair through the cap’s holes. Apply the hair dye or bleach evenly to the selected strands and ensure they are thoroughly saturated.
Alternatively, if you are using foils, apply the mixture to small sections of your hair, wrapping them tightly in the foil to isolate the highlights.
6. Development Time
The development time will vary depending on the strength of the developer and the desired level of lightness. Read the instructions on your hair dye or bleach kit for the recommended time.
It is crucial not to exceed the maximum recommended time as it may damage your hair.
7. Rinse and Condition
Once the development time is complete, rinse your hair thoroughly with lukewarm water until the water runs clear. Apply a deep conditioner to nourish and moisturize your hair after the highlighting process.
Leave the conditioner on for the recommended time and then rinse it out.
8. Post-Highlighting Care
To maintain the vibrancy and health of your newly highlighted hair, follow these post-highlighting care tips:.
- Use a color-safe shampoo and conditioner to prevent premature fading.
- Avoid excessive heat styling tools that can damage your hair.
- Apply a hair mask once a week to keep your hair hydrated.
- Get regular trims to remove any split ends and maintain the overall health of your hair.
9. Monitor and Touch Up
Observe the growth of your hair and monitor how your highlights fade over time. When you notice that your natural hair color starts to grow out, you can retouch your highlights using the same techniques as before.
This will help to maintain a seamless blend between your natural hair color and the highlights.
10. Consult a Professional
If you feel unsure about performing the highlighting process at home, or if you desire a more complex highlighting technique, it is always best to consult a professional hairstylist.
They can guide you in choosing the right shade and technique that suits your hair type and desired outcome.
