Having soft and supple hands can not only boost your confidence but also transform your overall appearance. However, constant exposure to harsh chemicals and weather conditions can leave your hands dry, cracked, and lifeless.
Investing in a nourishing hand cream can help bring life back to your hands but with many brands on the market, it can be hard to find one that works well for you.
But the good news is, you can make your own nourishing hand cream from ingredients you likely already have in your kitchen.
Making your own DIY hand cream not only saves you money but also allows you to create a cream that is tailored to your specific needs.
Benefits of a DIY Hand Cream
Using a homemade hand cream brings numerous benefits to your skin such as:.
Related Article
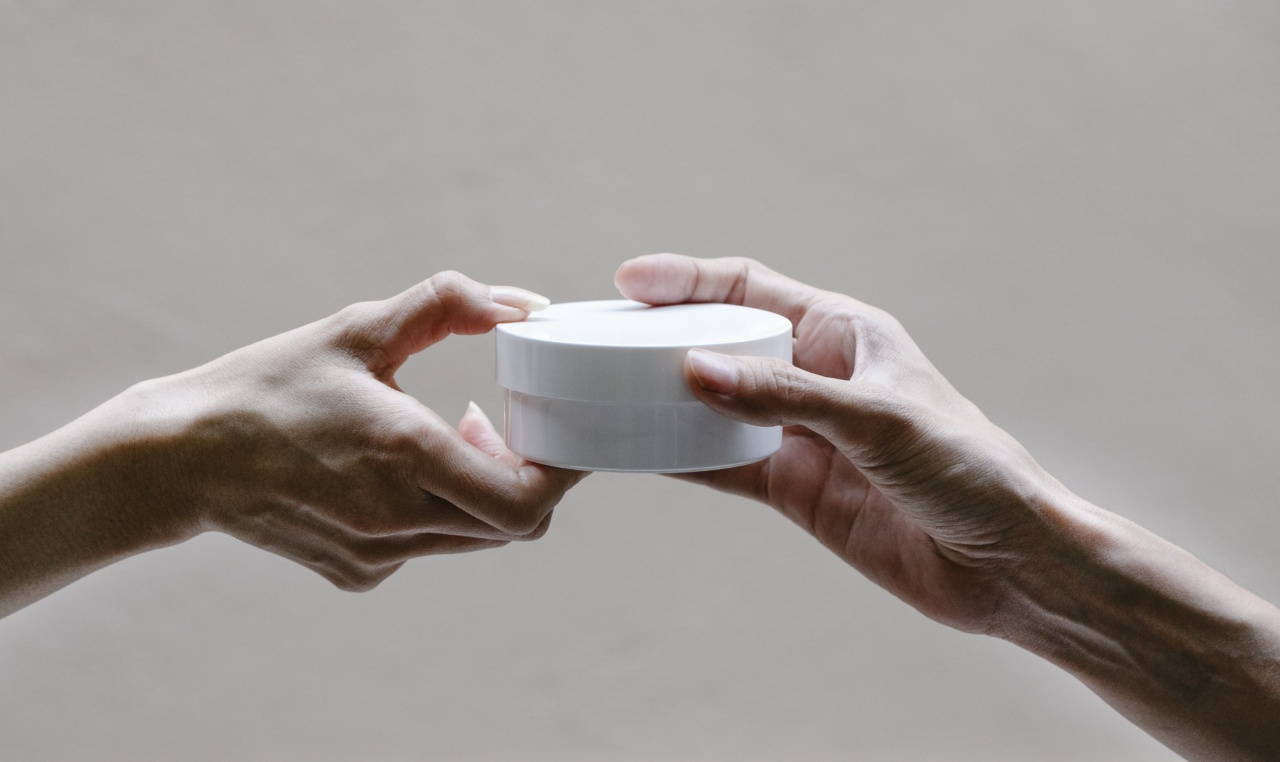
Homecrafted Hydrating Hand Lotion

- Fewer Chemicals: mass-produced hand creams often contain a long list of ingredients, many of which can be toxic to your skin. With a DIY hand cream, you can choose the ingredients and ensure that they are gentle, natural, and less harmful to your skin.
- Cost-Effective: A simple homemade hand cream will cost less than buying a similar quality of store-bought cream. With DIY creams, you can make a larger quantity without breaking the bank.
- Customizable: DIY hand creams can be tailored to meet your specific needs. You can add extra ingredients such as essential oils that cater to your skin’s particular needs, creating a unique hand cream that works best for you.
How to DIY a Nourishing Hand Cream
Here is a simple recipe for a nourishing hand cream that you can make at home.
: Ingredients
- 1 cup of Shea Butter
- 1/2 cup of Organic Coconut Oil
- 1/2 cup of Sweet Almond Oil
- 15 drops of Lavender Essential oil
: Instructions
- Melt the shea butter and coconut oil over a double boiler. Alternatively, you can place a glass jar with the oils in a hot water bath, and let them melt slowly.
- Remove from heat and let the mixture cool for about 30 minutes.
- Add the sweet almond oil and essential oil and mix well.
- Set the mixture aside to cool and harden for about 2-3 hours.
- Whip the mixture with an electric mixer until you get the desired whipped and creamy texture.
- Spoon the mixture into a clean glass jar with a lid and store in a cool and dry place.
How to use your Nourishing hand cream
To get the best results from your DIY hand cream, follow these simple steps:.
- Cleanse your hands properly, ensuring you remove any dirt, debris, or oil.
- Take a pea-sized amount of the hand cream and rub it in your palm and fingers.
- Gently massage the cream into your hands in a circular motion, ensuring that every part of your hands is covered.
- Allow the cream to absorb into your skin for about 2-3 minutes before continuing with your daily activities.
- Repeat this process every time you wash your hands or feel that they need extra moisture.
Conclusion
Creating a nourishing hand cream is a simple task that can visibly improve your skin’s appearance and health.
The recipe listed above is just a base and you can get creative by adding new ingredients that cater to your skin’s individual needs. With just a few natural ingredients, you can create a cream that delivers the same quality as high-end brands, but at a fraction of the cost, and with shorter ingredient lists.


