Are you tired of using hot curling irons or rollers to curl your hair? Do you want a natural, effortless way to achieve beautiful curls without damaging your hair? Then, you have come to the right place! In this article, we will teach you how to curl your hair with a ribbon easily and quickly. Using a ribbon to curl your hair is a simple method that doesn’t require any heat or special equipment. Plus, you can use any ribbon you have at home to achieve stunning curls. So, let’s get started!.
Materials Required
Before we dive into the curling process, let’s gather the materials we will require:.
- A ribbon of your choice
- Hairbrush
- Hairspray
- Bobby pins
Step-by-Step Process
Now that we have the materials ready, let’s move on to the step-by-step process of curling your hair with a ribbon.
Step 1: Prepare your hair
Firstly, start by brushing your hair properly to remove any knots or tangles. Apply a bit of hairspray to your hair to hold the curls in place.
Step 2: Take the ribbon
Now, take your ribbon and cut it according to your hair’s length and thickness. Keep in mind that the shorter your hair, the shorter the ribbon should be. Also, if you have thick hair, you should use a wider ribbon to cover more hair.
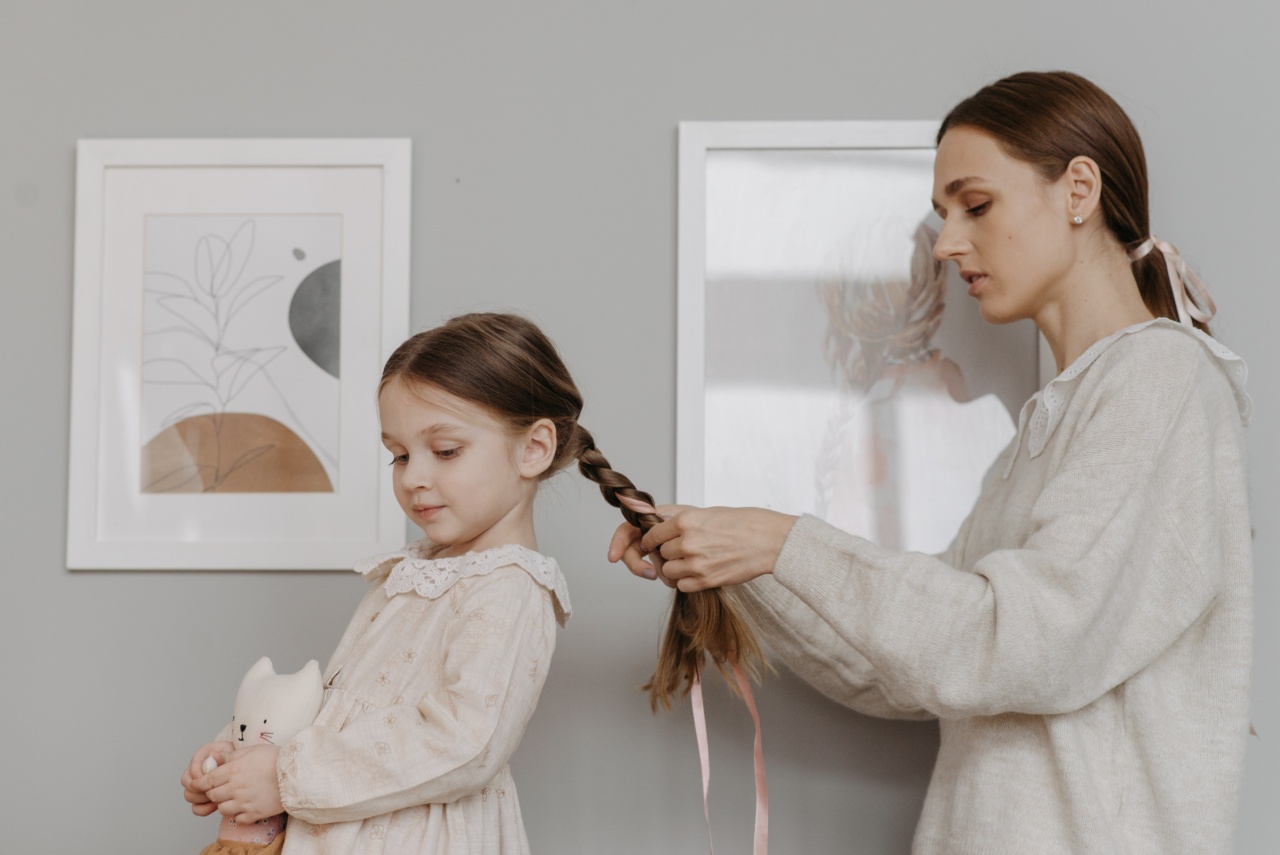
Step 3: Tie the ribbon onto your hair
Take the ribbon and tie a knot at the end. Now, divide your hair into small sections and wrap each section around the ribbon. Make sure to keep the ribbon in the center of the section and leave some space at the ends.
Once you have wrapped the section around the ribbon, tie the ends of the ribbon together to secure it in place.
Step 4: Repeat the process
Repeat the above step until all of your hair is wrapped around the ribbons. Make sure that the ribbon is tied tightly to avoid any loose curls.
Related Article
Get curls with just a ribbon

Step 5: Leave the ribbon overnight
Now, it’s time to leave your hair wrapped around the ribbon overnight. This will give your hair enough time to curl properly.
Step 6: Remove the ribbons
The next morning, carefully untie the ribbon to release your hair. Be gentle while removing the ribbons to avoid any tangles or knots. Use your fingers to loosen the curls and separate them according to your liking.
If you want tighter curls, you can use bobby pins to hold the curls in place.
Step 7: Finish with hairspray
Once you have released all the curls, finish off with a last spritz of hairspray to hold the curls all day long.
Tips and Tricks
Here are some tips and tricks to help you achieve perfect curls using a ribbon:.
- Use a narrow ribbon for short hair and a wide ribbon for long hair or thick hair.
- If you want tight curls, wrap the sections of hair tightly around the ribbon, and leave them overnight
- If you want loose curls, loosely wrap the sections around the ribbons and wrap them in a bun before going to sleep.
- Make sure the ribbon is tied tightly to avoid any loose curls.
- Use bobby pins to hold the curls in place for a longer time.
- Apply hairspray before wrapping your hair around the ribbon to hold the curls in place.
The Final Outcome
After following the above steps and tips, you will be left with beautiful, natural-looking curls. Using a ribbon to curl your hair is a simple method that doesn’t require any heat or special equipment.
So, go ahead, try it out, and let us know how it turned out for you!.


