Having beautiful nails doesn’t always mean going to the salon and spending lots of money. DIY nails can be achieved at home easily. In this article, we’ll cover some tips and tricks on how to achieve effortless DIY nails on the go.
Tools you’ll need
Before starting, you need to gather some essential tools that will help you achieve your desired look. Here are some tools you’ll need:.
- Nail clipper
- Nail file
- Cuticle pusher/remover
- Cotton balls/swabs
- Nail polish remover
- Base coat polish
- Nail polish of your choice
- Topcoat polish
Prepping Your Nails for polish
Now, let’s get started with DIY nails. The first thing you’ll need to do is to clean and prepare your nails for polish. Follow these steps:.
- Remove any previous nail polish using cotton balls/swabs and nail polish remover. Make sure to get every residue out.
- Cut and file your nails into the desired shape. File in one direction to avoid damage.
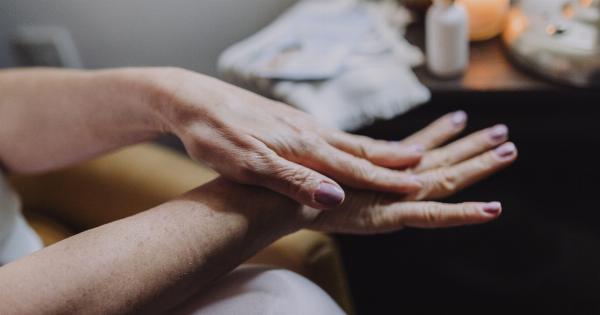
- Soak your nails in warm water for a few minutes. This will soften your cuticles and make it easier to push them back or remove them using a cuticle pusher/remover.
- Dry your nails off and apply a base coat polish.
Choosing Your Nail Polish
Choosing the right nail polish can be tricky, but don’t worry! Here are some tips to help you pick the perfect shade:.
- Consider your skin tone. Warm tones like orange, rose, and peach look best on warm skin tones while cool tones like blue, purple, and green suit cool skin tones best.
- Choose the right shade for the occasion. If you’re attending a formal event, neutral shades like white, nude, and pastels are ideal. For a more festive event, rich colors like red, gold, and burgundy are perfect.
Applying Nail Polish Perfectly
Here comes the fun part – applying nail polish. Follow these steps to ensure that your nail polish is applied flawlessly:.
- Always apply polish in thin layers. This will make the color look more even and prevent it from chipping easily. Allow each layer to dry for a few minutes before adding the next.
- When applying, use three strokes: one down the middle and one on each side. This will give you more control over the applicator brush and prevent any mistakes.
- Don’t forget to cap the tips. This means you should add a little polish to the ends of your nails and cover the edge. This will prevent chipping and make your polish last longer.
- Once the color polish has completely dried, apply the topcoat. It will add shine to your nails and protect your polish, making it last longer. Allow it to dry for a few minutes and voila! You’ve achieved DIY nails.
Tips and Tricks for Effortless DIY Nails
Get creative and experiment with different designs and colors! Here are some tips to add a personal touch to your nails:.
- If you don’t have a steady hand, try using tape as a guide when painting your nails.
- Add a little sparkle by applying glitter polish on top of your nail polish. Use a single coat for a subtle look or layer it on for a more dramatic effect.
- Try mixing and matching colors. You can paint each nail a different color or create a gradient by blending two colors together on your nails.
- Add designs like dots, stripes, or hearts. You can use a thin brush or toothpick to create unique designs on your nails.
Conclusion
Diy nails can be achieved easily with the right tools and techniques. By prepping your nails, finding the perfect color, and applying polish properly, you can have beautiful nails without leaving home.
Don’t forget to get creative and add a personal touch to your nails. Happy polishing!.
