Are you tired of using heat tools or chemical treatments to achieve beautiful curls? Look no further! In this article, we will show you a quick and easy method to get stunning curls using just a ribbon.
With minimal effort and zero damage to your hair, you can achieve the perfect curls you’ve always desired. Let’s get started!.
1. Choosing the Right Ribbon
When it comes to selecting a ribbon for curling your hair, it is important to consider the material and width. Opt for a ribbon made of silk or satin as these materials are gentle on the hair and help prevent frizz.
As for the width, choose one that is approximately two inches wide, allowing for more defined curls.
2. Preparing Your Hair
Before you start curling, make sure your hair is clean and dry. Apply a heat-protectant spray to safeguard your tresses from any potential damage.
Additionally, if you have naturally straight hair and want your curls to last longer, you can spray a bit of hairspray onto your strands.
3. Sectioning Your Hair
Divide your hair into several sections, depending on how many curls you want. The more sections you create, the tighter the curls will be. Use hair clips or ties to secure each section of hair, leaving one section free to work on at a time.
4. Ribbon Curling Technique
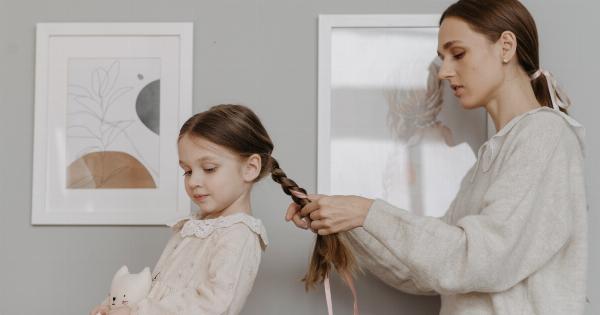
Take the free section of hair and comb through it to remove any tangles. Hold one end of the ribbon against the hair near the roots and start wrapping the hair around it, similar to wrapping a ribbon around a gift box.
Continue wrapping until you reach the end of your hair, then tie the ribbon into a knot to secure the curl.
5. Repeat the Process
Move on to the next section of hair and repeat the ribbon curling technique. Remember to comb through each section before wrapping it around the ribbon to ensure smooth and even curls.
Take your time and be gentle while handling your hair to avoid any breakage.
6. Letting the Curls Set
Once you have finished curling all sections of hair, leave the ribbon in place for at least an hour to allow the curls to set. You can use this time to pamper yourself or complete other tasks while your hair transforms into lovely curls.
7. Removing the Ribbon
Carefully untie the ribbon from each curled section. Start from the bottom and work your way up to avoid tangling or disturbing the curls. As you remove the ribbon, you will notice beautiful, bouncy curls taking shape.
8. Styling and Maintaining Your Curls
After removing the ribbon, style your curls as desired. You can leave them loose for an effortless look or create an updo for a more elegant appearance.
To make your curls last longer, consider applying a small amount of hair spray or mousse to hold the curls in place.
9. Sleeping with Ribbon Curls
If you want to preserve your curls overnight, consider tying your hair up in a loose bun using a satin scrunchie. This will help prevent frizz and keep your curls intact until the morning.
10. Removing the Curls
When you’re ready to remove your curls, simply wash your hair or dampen it. Gently comb through your hair with a wide-toothed comb to detangle and bring back your natural hair texture.
With this ribbon curling method, you can achieve gorgeous curls without relying on heat or chemicals. Embrace this simple, DIY technique to add volume and bounce to your hair while keeping it healthy and damage-free!.
