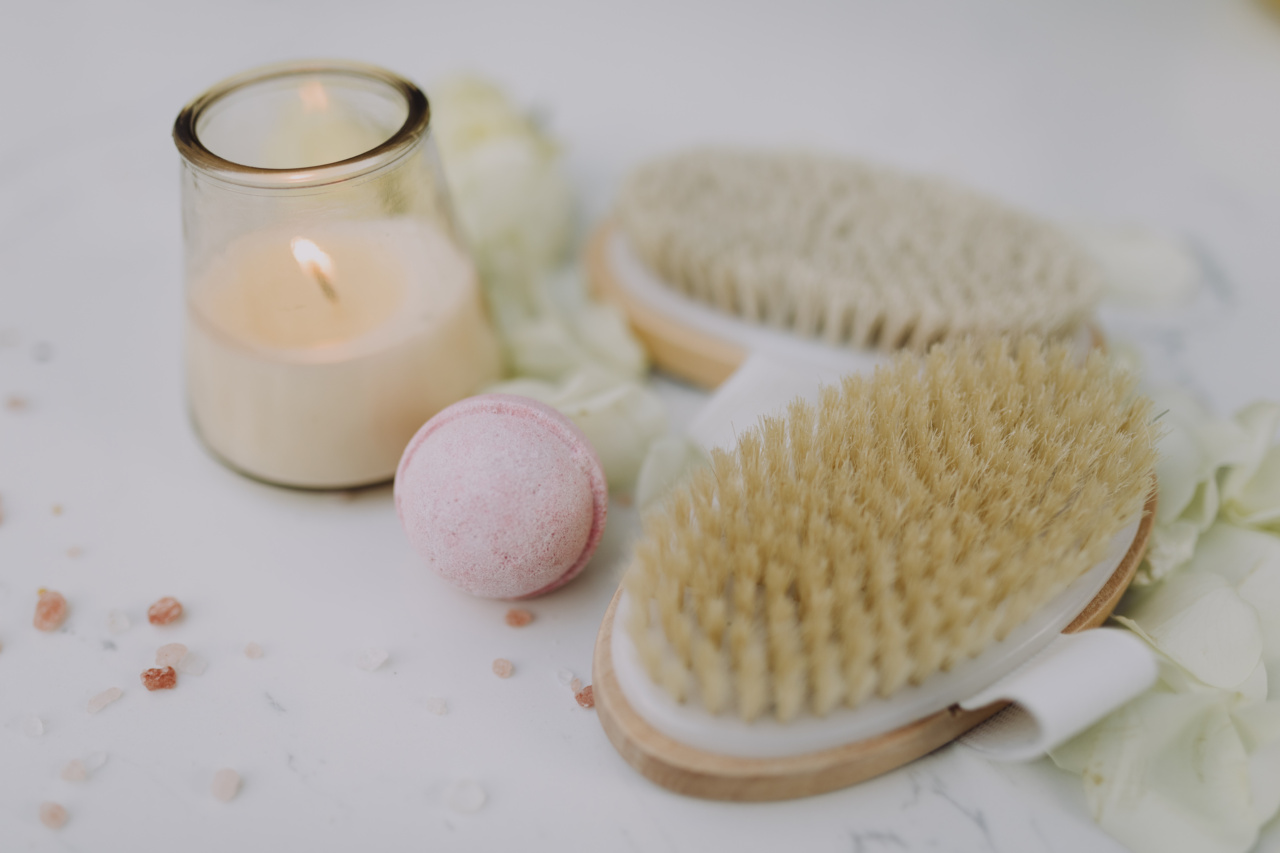
Are you looking for a natural and luxurious way to pamper your skin? Look no further! Homemade salt bath bombs are the perfect addition to your self-care routine.
Not only do they provide relaxation and stress relief, but they also offer numerous benefits for your skin. In this article, we will explore how to make these DIY bath bombs and their incredible effects on your skin.
Why Choose Salt Bath Bombs?
When it comes to self-care and skincare rituals, salt bath bombs are a popular choice. They are easy to make at home with simple ingredients and are an excellent alternative to commercial bath products that may contain harsh chemicals.
Salt bath bombs offer several advantages for your skin:.
1. Exfoliation:
The coarse texture of salt helps remove dead skin cells, leaving your skin feeling soft and smooth. It enhances the natural renewal process of your skin and promotes a healthy glow.
2. Detoxification:
Salt has natural detoxifying properties. When dissolved in warm water, it helps draw out impurities, toxins, and excess oil from your skin. This cleansing process can help reduce acne breakouts and improve the overall appearance of your complexion.
3. Hydration:
Salt bath bombs enable your skin to retain moisture, preventing it from becoming dry and flaky. They create a protective barrier that locks in hydration and maintains the skin’s natural moisture balance, resulting in soft and supple skin.
4. Relaxation and Stress Relief:
Soaking in a warm salt bath is incredibly relaxing. The soothing properties of salt help calm your mind, reduce muscle tension, and alleviate stress. Adding essential oils to your bath bombs can further enhance the relaxation experience.
How to Make Homemade Salt Bath Bombs
Now that you understand the benefits of salt bath bombs, let’s dive into the step-by-step process of making them at home. Follow these easy instructions:.
Step 1: Gather the Ingredients
To make salt bath bombs, you will need the following ingredients:.
– 1 cup Epsom salt
– 1 cup sea salt
– 1 cup baking soda
– 1/2 cup citric acid
– 2 tablespoons carrier oil (such as coconut oil or almond oil)
– 1 tablespoon water
– 10-15 drops of your favorite essential oil
– Bath bomb molds
– Optional: dried flower petals or herbs for decoration.
Related Article
DIY: Salt Scrubs for Glowing Skin

Step 2: Mix the Dry Ingredients
In a large mixing bowl, combine the Epsom salt, sea salt, baking soda, and citric acid. Use a whisk or spoon to blend the dry ingredients thoroughly.
Step 3: Add the Wet Ingredients
In a separate bowl, mix the carrier oil, water, and essential oil of your choice. Slowly pour the wet ingredients into the bowl with the dry ingredients while continuously stirring. This step requires patience to ensure the mixture is evenly moistened.
Step 4: Shape the Bath Bombs
The mixture should now be slightly damp and clumpy. If it feels too dry, add a small amount of water or carrier oil. It should hold its shape when squeezed together. Press the mixture firmly into the bath bomb molds, overfilling each half slightly.
Press the molds together to create a round bath bomb shape.
Step 5: Let Them Dry
After shaping the bath bombs, gently remove them from the molds and place them on a baking sheet or tray lined with parchment paper. Allow them to dry for at least 24 hours in a cool, dry place.
Drying times may vary depending on the humidity levels in your area.
Step 6: Enjoy Your Luxurious Bath
Once the bath bombs are completely dry, they are ready to be used. Simply drop one into a warm bath and watch it fizz and dissolve, releasing its beneficial properties into the water.
Soak in the bath for at least 20 minutes to allow your skin to absorb the minerals and let the stress melt away.
Additional Tips:
– Experiment with different essential oils to create unique scents that suit your preferences.
– Mix in dried flower petals or herbs to add a visually appealing element to your bath bombs.
– Store the bath bombs in an airtight container to maintain their freshness.
– Consider gifting homemade salt bath bombs to friends and family, as they make wonderful presents.
Your Skin Deserves the Best
Pampering your skin with homemade salt bath bombs is an excellent way to indulge in a spa-like experience at home. Not only will they make your skin feel amazing, but they will also provide relaxation and stress relief.
Say goodbye to dull, dry skin and hello to a healthier, more radiant complexion. Start creating your own batch of salt bath bombs today, and let your skin glow with natural beauty!.


