Having a sleek and polished hairstyle begins with well-groomed and neatly styled edges. Your edges, or baby hairs, frame your face and can greatly enhance the overall look of your hairstyle.
Whether you prefer a sleek ponytail, a chic updo, or a stylish braid, perfectly backed edges can add an extra touch of elegance and sophistication. In this article, we will guide you through the process of achieving flawlessly laid edges.
Gather Your Tools
Before getting started, make sure you have all the necessary tools at hand. Here are some items you may need:.
- A fine-toothed comb or a toothbrush (designated for your edges)
- Edge control gel, pomade, or wax
- A small, soft-bristle brush or an edge brush
- A scarf or a satin bonnet to wrap your hair
- A spray bottle filled with water (optional)
Prep and Moisturize Your Edges
Prior to sleeking your edges, it’s crucial to prep and moisturize them to prevent breakage and promote healthy hair growth. Follow these steps to prepare your edges:.
- Gently cleanse your edges using a mild shampoo or co-wash.
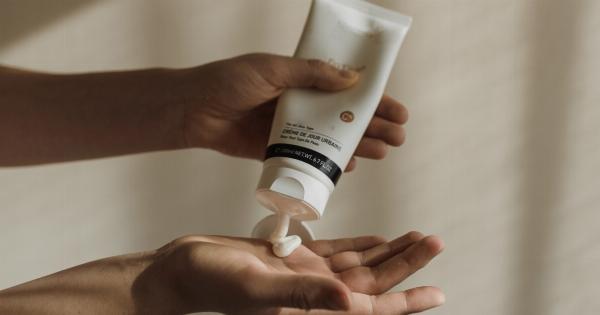
- Apply a leave-in conditioner or a moisturizing cream to your edges.
- Massage the product into your hairline and ensure it is evenly distributed.
- Use a wide-toothed comb to detangle any knots or tangles.
Select the Right Edge Control Product
Choosing the appropriate edge control product for your hair type is essential to achieving long-lasting results. Opt for a gel, pomade, or wax that offers a strong hold while remaining non-greasy.
Consider the texture and thickness of your hair when making this selection.
Section and Secure Your Hair
Before applying edge control, it’s important to secure the majority of your hair away to avoid interfering with the sleeking process. Here’s how:.
- Create a clean parting starting from the front of your hairline to the crown.
- Clip or tie the rest of your hair out of the way using hairpins or hairbands.
- If you have shorter hair, you can skip this step and move directly to the next one.
Apply Edge Control with Precision
Now that your hair is prepped and ready for styling, it’s time to apply the edge control product. Follow these steps for optimal results:.
- Dampen your edges by misting them with water from the spray bottle (optional).
- Take a small amount of edge control gel, pomade, or wax on your fingertip.
- Start applying the product at the front of your hairline, smoothing it along the edges.
- Use gentle brushing motions to distribute the product evenly and lay down any stray hairs.
- Continue working your way around your entire hairline until all edges are neatly slicked back.
Smooth and Shape Your Edges
To ensure a flawless finish, use a soft-bristle brush or an edge brush to create a sleek and polished look. Follow these steps:.
- Gently brush your edges in the desired direction, smoothing them down as you go.
- If needed, apply a bit more edge control product to stubborn or unruly hairs.
- Use your fingertips to mold and shape your edges into the desired style.
Wrap Your Hair
To set your edges and help them stay in place, wrap your hair using a scarf or satin bonnet. Follow these steps:.
- Wrap the scarf or bonnet around your hairline, ensuring all your edges are secured.
- Leave the scarf or bonnet on for at least 15-20 minutes, allowing the product to set.
- For longer-lasting results, you can leave the scarf or bonnet on overnight while you sleep.
Maintaining Your Perfectly Laid Edges
To maintain the sleekness of your edges throughout the day, follow these tips:.


