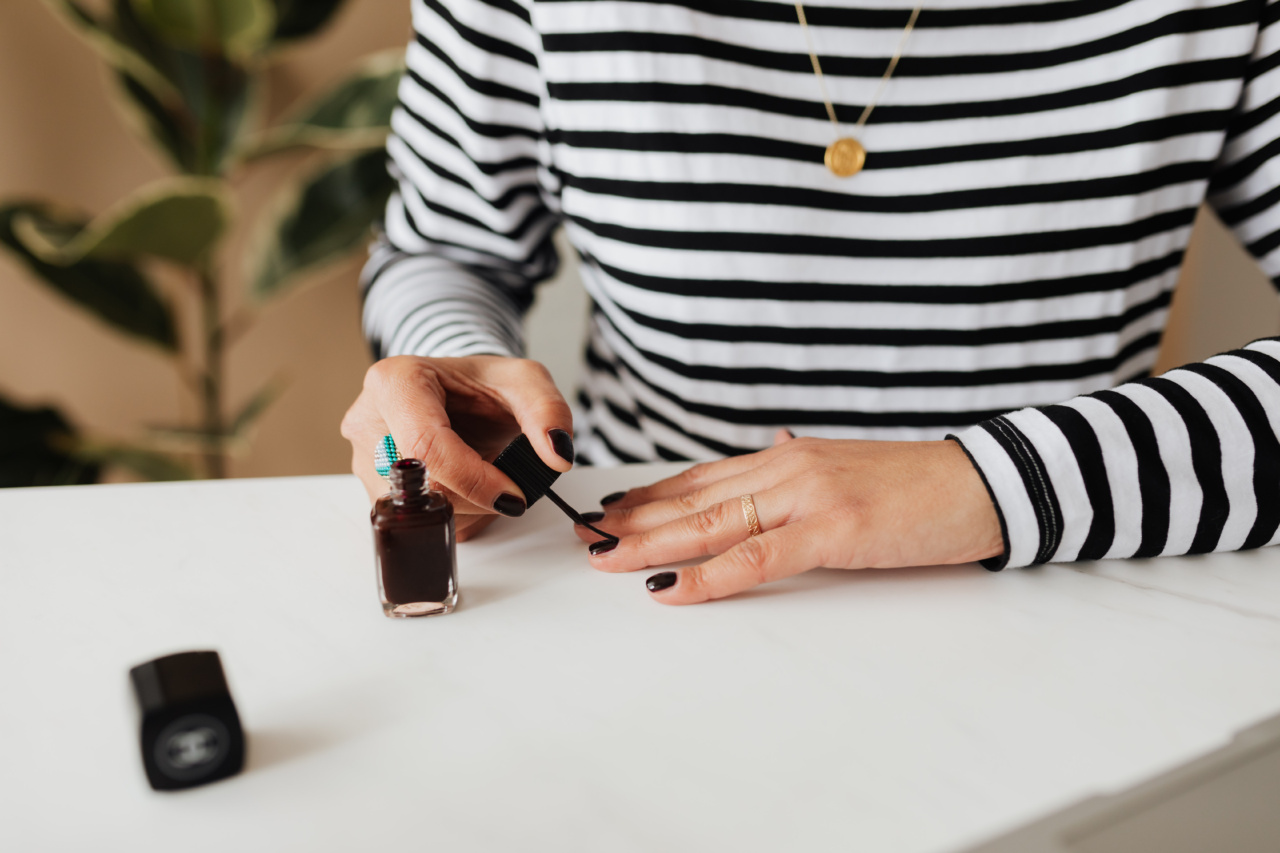
If you are a fan of doing your own nails, you know how important it is to have your favorite shades in your collection. However, purchasing new nail polish can become expensive over time. This is where making your own nail lacquer at home comes in handy.
It is an affordable and creative way to have an endless amount of colors.
What You Will Need
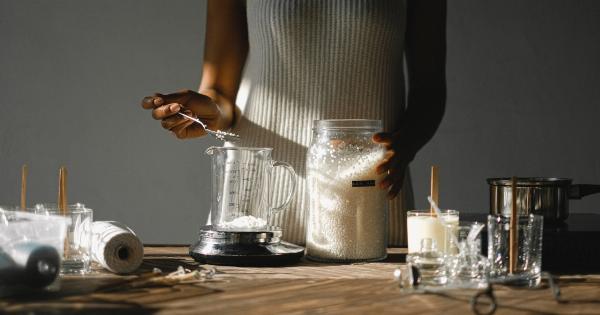
Making your own nail polish requires a mixture of glitter, pigment, or mica and a nail polish base. It’s essential to get the ingredients from a reputable supplier. Most ingredients are available online, or you can visit your local craft store.
You will also need some mixing tools, such as plastic spoons, plastic funnels, and empty nail polish bottles. A dropper is also useful as it helps to add the ingredients in precise amounts.
How to Make Nail Lacquer at Home
Here is a step-by-step guide to making your own nail lacquer at home:.
Step 1: Prep Your Workstation
Before you start mixing, it’s essential to prepare your workspace. Lay a piece of wax paper or a plastic sheet on a surface to avoid spills and messes. Keep a damp cloth handy to wipe up any spills or drips quickly.
Step 2: Choose Your Ingredients
Select the ingredients you want to use. You can choose from a variety of pigments or glitters to create your unique color combination. You can also use mica powders, which come in an array of colors and give a subtle shimmer effect.
Step 3: Mix the Ingredients
Add the desired amount of pigment, glitter, or mica to the nail polish bottle using a funnel. Use a dropper to add the nail polish base to the bottle. Start with a small amount of each ingredient, and add more as needed.
You can use a plastic spoon to stir the mixture gently. Test the color by applying it to a fake nail or swatch stick.
Step 4: Shake and Apply
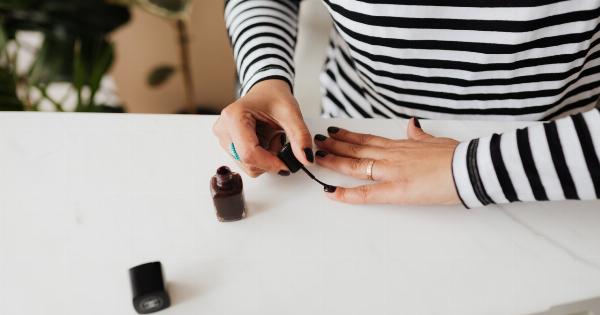
Once you’re happy with the color, shake the bottle well to mix the ingredients thoroughly. Apply the nail lacquer to your nails as usual. You can customize the nail polish by layering different colors or adding more glitter.
Tips for Making Nail Lacquer at Home
Here are some tips to make the process easier and enjoyable:.
- Test the color on a swatch stick before applying on your nails. This will help you adjust the color and consistency.
- Use a base coat before applying the nail polish to avoid staining your nails.
- Store the nail polish in a cool, dark place away from heat sources, sunlight, or direct heat.
- Use a funnel and dropper to avoid spills and make the process more accurate.
- Always follow the instructions when it comes to ingredient measurements. Adding too much pigment or glitter can cause the nail polish to clump or become too thick.
Conclusion
Creating your own nail lacquer at home is a fun and easy way to have a seemingly endless selection of colors. You can experiment with different pigments, glitters, or mica powders to create a unique shade that is all yours.
With these simple steps and tips, you can create a beautiful, professional-looking manicure in the comfort of your home!.
