Getting a perfect tan is all about following the right steps and utilizing the right products. While natural sun tanning is the most common way to get a tan, it can cause skin damage and sunburn.
That’s where self-tanning comes in! Self-tanners provide a safer alternative to natural sun tanning, and with the right techniques, they can provide a natural-looking, sun-kissed glow. In this article, we’ll provide some tips and tricks for self-tanning success.
Exfoliate, Exfoliate, Exfoliate
One of the most important steps to getting a perfect self-tan is exfoliating beforehand. Exfoliating removes dry skin and helps with even application. Use a body scrub in the shower, paying special attention to rough areas like knees, elbows, and ankles.
Afterward, pat your skin dry instead of rubbing it with a towel to avoid irritation or removing more skin.
Moisturize
After your shower, apply a light layer of moisturizer over your entire body. This will help prevent the self-tanner from clinging to dry patches or streaking.
Wait at least 10 minutes before applying a self-tanner to allow the moisturizer to fully absorb.
Choose a Quality Self-Tanner
When shopping for a self-tanner, keep in mind that quality matters. Choose a formula that is easy to spread, provides even coverage, and doesn’t leave a greasy residue.
Look for self-tanners that are specifically made for the body or face, depending on your needs. Some popular self-tanner brands include St. Tropez, Jergens, and L’Oreal. Always do a patch test first, applying a small amount of self-tanner to a small area of skin to check for adverse reactions, before using it on your entire body.
Apply in Sections
When applying self-tanner, it’s best to work in sections. Start at your feet and work your way up, one section at a time. Use sparingly on areas such as knees, elbows, hands, and feet to avoid dark, unnatural coloration.
Aim to apply evenly and blend quickly; this will ensure the tan looks natural and streak-free. Overlap each section slightly to prevent unevenness.
Use a Mitt
A self-tanning mitt is an excellent investment and can make application much easier and more controlled. The mitt helps prevent streaking or staining your palms, and it allows you to apply the product evenly.
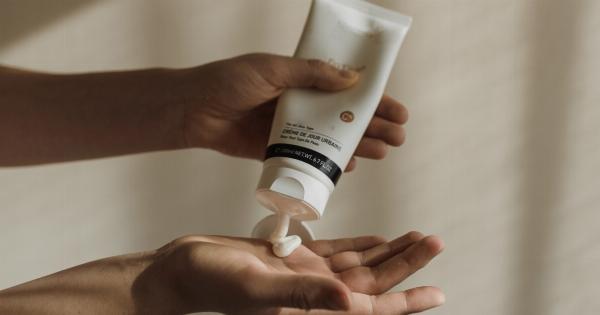
Simply squirt the self-tanner onto the mitt and then apply it to your skin. You’ll be able to get into all the hard-to-reach areas more easily, such as your back or the backs of your legs.
Start Light
It’s better to start light and build up rather than apply too much self-tanner at once. Apply a light layer of self-tanner using the mitt or your hands and wait to see the results. If you want a darker tan, you can always apply another layer later.
This also allows you to adjust the color for different occasions, so you can have a subtle glow for work and a deeper tan for going out at night.
Post-Tan Care
After applying self-tanner, evenly apply a lightweight oil-free moisturizer to your skin daily to keep your skin hydrated and healthy. Avoid exfoliating for at least 24 hours after applying self-tanner.
When showering, avoid hot water and instead use lukewarm to cool water to keep your tan intact. After a shower, pat your skin dry rather than rubbing it, and use a moisturizer to help prolong the tan’s lifespan.
Avoid Sun Exposure
Avoiding sun exposure is essential to maintaining your self-tan. While self-tanners are much safer than natural sun tanning, they offer no sun protection themselves.
Always use a sunscreen with a high SPF when heading outside to protect your skin from further damage.
Conclusion
Self-tanning can be tricky, but with the right tips and tricks, it’s a safe and effective way to achieve a beautiful glow. By following these steps, you’ll be on your way to the perfect tan in no time.
Remember, self-tanning is a process, and you may need to experiment with different products and techniques to find what works best for you. Don’t be afraid to ask for help or advice, and always read the instructions and warnings before applying a self-tanner.


