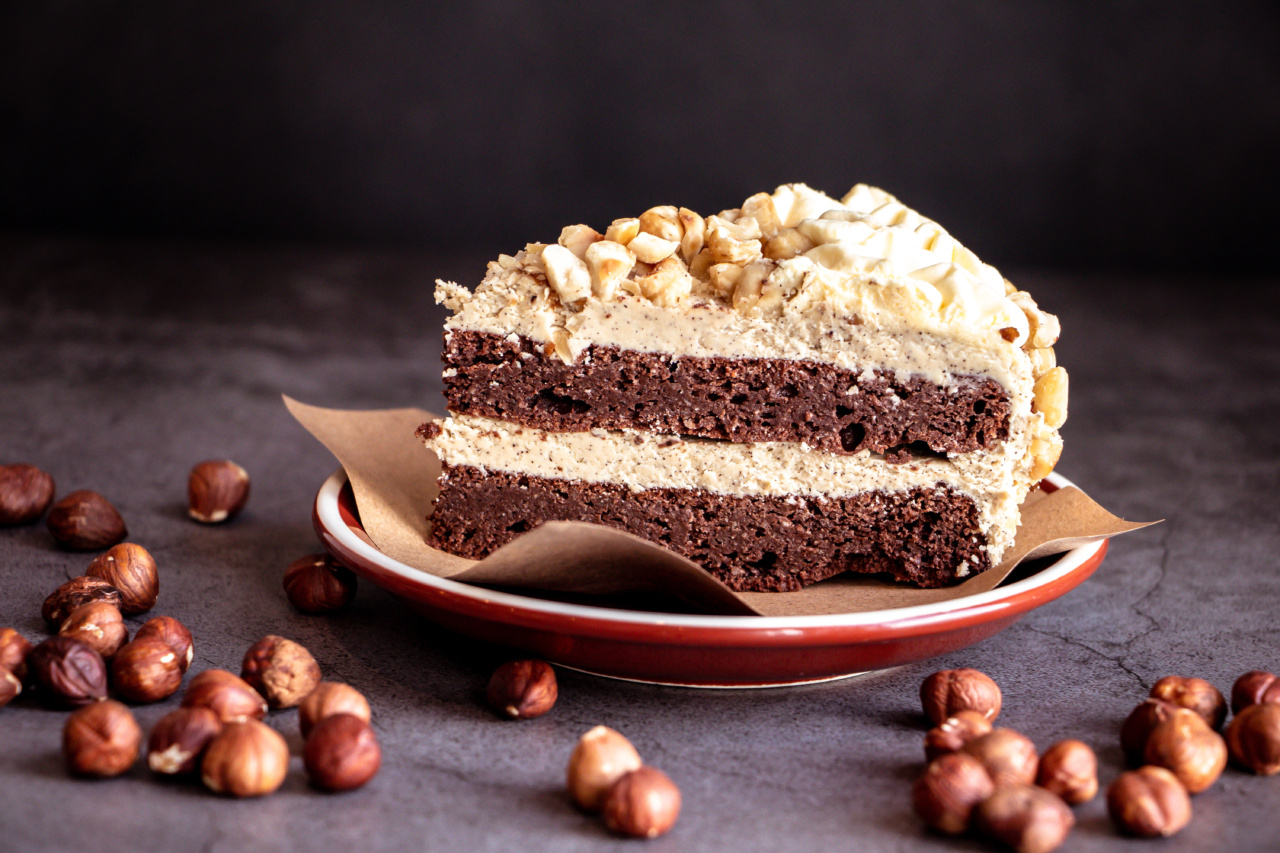
When it comes to desserts, the creamier, the better. And if you add hazelnuts to that, you have a winning combination. One dessert that is a perfect example of this is a creamy hazelnut cake roll.
It is a delicious dessert that is perfect for any occasion, be it a classic afternoon tea or a celebration. Let’s dive into the recipe and learn how to make this mouth-watering dessert.
Ingredients
- 1 1/4 cup Flour
- 1 tsp Baking Powder
- 1/2 tsp Salt
- 4 Eggs
- 1 cup Sugar
- 1/3 cup Milk
- 1 tsp Vanilla Extract
- 1/4 cup Powdered Sugar
- 1 cup Hazelnuts (chopped)
- 1 1/2 cups Whipped Cream
- 1 tsp Hazelnut Extract
- Extra Powdered Sugar (for dusting)
Instructions
- Preheat your oven to 350°F.
- Sift flour, baking powder, and salt in a bowl. Keep aside.
- In a separate bowl, beat eggs and sugar on high speed until the mixture becomes fluffy and light in color. It should take around 5 minutes.
- Add the dry ingredients to the egg mixture and gently fold it in. Do not stir the mixture too much as it will cause the cake to become dense.
- Add milk and vanilla extract to the mixture and stir it in gently.
- Grease a jelly roll pan with cooking spray. Pour the cake batter into it and spread it evenly.
- Bake the cake for 12-15 minutes or until the edges turn golden brown. Do not over-bake the cake as it will become dry.
- Take the cake out of the oven and let it cool down for 5 minutes.
- While the cake is still warm, lay a clean tea towel onto your working surface. Sprinkle a generous amount of powdered sugar over it. This will help to prevent the cake from sticking.
- Carefully turn the cake out onto the tea towel. Gently peel off the parchment paper from the bottom of the cake.
- Sprinkle chopped hazelnuts onto the cake. Reserve a few to sprinkle on top of the whipped cream later.
- Carefully roll the cake up along with the tea towel. Let it cool down to room temperature.
- Meanwhile, make the whipped cream. In a bowl, whisk the whipping cream, powdered sugar, and hazelnut extract until soft peaks form.
- Carefully unroll the cake. Spread the whipped cream evenly over the cake using a spatula. Leave a 1-inch border on the edges.
- Sprinkle the reserved hazelnuts over the whipped cream.
- Carefully roll the cake back up, this time without the tea towel. The creamy hazelnut cake roll is ready!
- Dust some powdered sugar over the cake to make it look more attractive.
- Wrap the cake up in plastic wrap and keep it in the fridge for 1-2 hours to set.
- Once set, cut the creamy hazelnut cake roll into slices and serve.
Variations
If you want to make this dessert more indulgent, you can add some chocolate to the recipe. Add 1/2 cup of chocolate chips to the cake batter to make it chocolatey.
You can also drizzle some melted chocolate over the whipped cream before rolling the cake up.
Related Article
Cake roll with chocolate hazelnut filling

Another great variation is to add some espresso powder to the whipped cream. This will give a nice coffee flavor to the dessert.
Tips
- To make sure that the cake does not stick to the jelly roll pan, line it with parchment paper before pouring in the cake batter.
- While rolling up the cake, make sure to pull the tea towel underneath it tightly to avoid any cracks in the roll.
- Use a serrated knife to cut the cake. This will help to get a clean cut without smudging the filling.
- If you do not have hazelnut extract, you can use almond extract or vanilla extract instead.
- If you do not like your desserts too sweet, you can reduce the amount of sugar used in the whipped cream.
Conclusion
A creamy hazelnut cake roll is a perfect dessert for any occasion. It is easy to make and tastes amazing. The hazelnuts give a nice crunch to the creamy filling, making it a perfect texture combination.
You can experiment with the recipe by adding chocolate or espresso powder to make it more indulgent. Follow these simple instructions and impress your guests with this mouth-watering dessert.


