Do you love the charred, smoky flavor of a well-done burger? If you’re tired of serving up overcooked and dry patties, it’s time to learn how to burn your burgers like a pro.
While burning might sound like a culinary catastrophe, when done right, it can actually enhance the taste and texture of your burgers. In this article, we will share some expert tips and techniques to help you achieve that perfect, slightly blackened exterior with a juicy, flavorful center. So, let’s get started!.
1. Choosing the Right Meat
The first step in burning your burgers like a pro is selecting the right meat. Look for ground beef with a higher fat content, preferably around 80% lean and 20% fat.
The fat helps to keep the patties moist during the cooking process and provides that succulent taste. Avoid using extra lean meat, as it tends to dry out quickly when exposed to high heat.
2. Prepping the Patties
Once you have the right meat, it’s time to prep your patties. Start by gently shaping the ground beef into round balls, being careful not to overwork the meat. Overworking can result in tough burgers.
After shaping, use your hands or a burger press to flatten each ball into a patty of your desired thickness, keeping in mind that thinner patties tend to cook faster and can burn easily.
3. Seasoning with Care
Proper seasoning is crucial to achieving flavorful burgers. Salt your patties generously just before cooking, as salt helps to enhance the natural flavors of the meat.
You can also add other seasonings like black pepper, garlic powder, or onion powder to suit your taste. However, avoid adding breadcrumbs or any fillers that can hinder the burning process.
4. Preheating the Grill
When it comes to burning burgers like a pro, you need a blazing-hot grill. Preheat your grill to high heat, around 400-450°F (200-230°C).
This high temperature will help sear the burgers quickly, creating a flavorful crust while retaining the juiciness inside.
5. Oil the Grates
To prevent the patties from sticking to the grill, it’s essential to oil the grates. Using tongs and a folded paper towel soaked in vegetable oil, carefully coat the grates before placing the burgers on them.
Related Article
Learn how to make your burger extra crispy

An alternative method is to spray non-stick cooking spray directly onto the grates. This step ensures that your burgers won’t tear apart when you attempt to flip them.
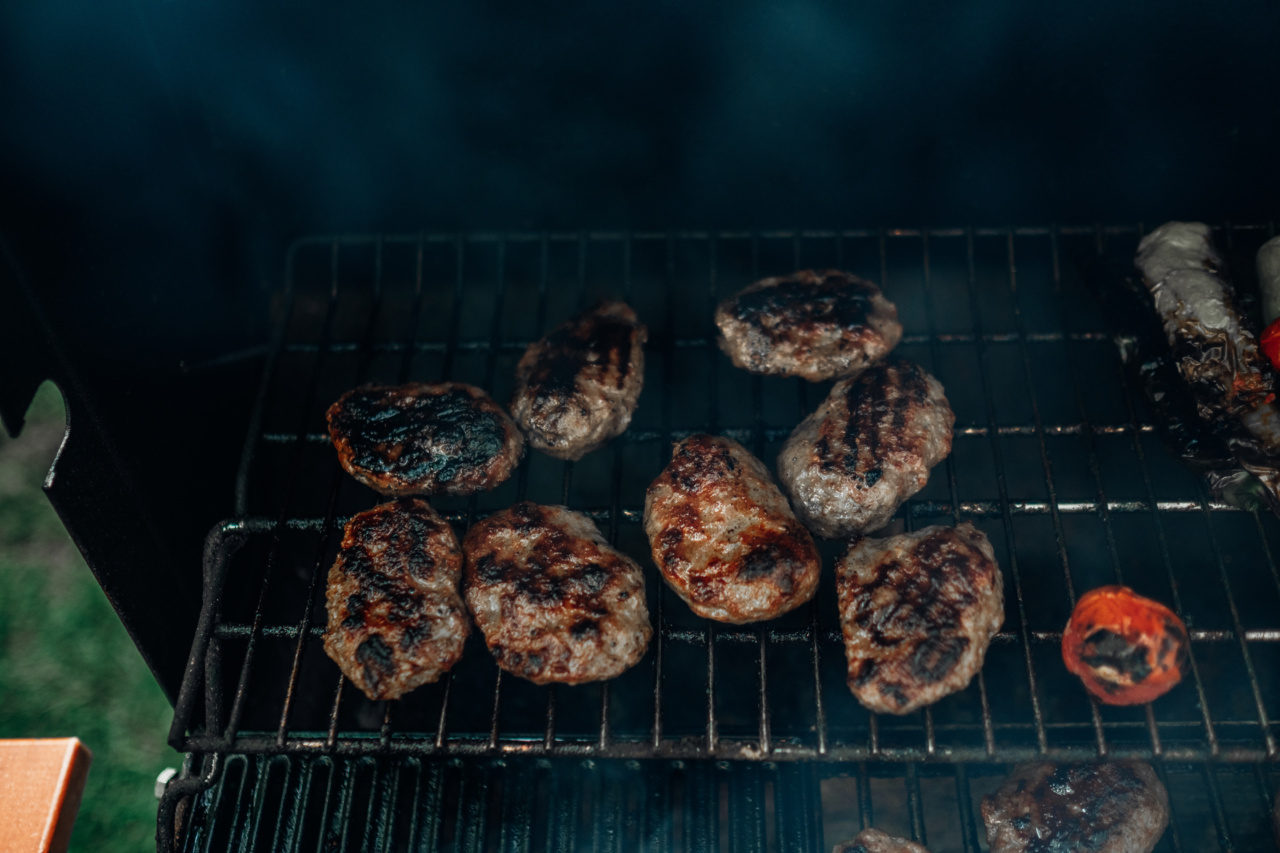
6. Grilling Technique
Now that your grill is preheated and oiled, it’s time to start cooking your burgers. Place the patties on the hot grill and close the lid.
Avoid the temptation to press down on the patties while they cook, as this can squeeze out the flavorful juices. Allow the burgers to cook undisturbed for about 3-4 minutes per side for medium doneness.
7. Monitoring the Doneness
It’s crucial to monitor the doneness of your burgers to avoid burning them too much. Use a meat thermometer inserted into the center of the patty to check the internal temperature.
For a medium burger, aim for an internal temperature of 160°F (71°C). Remember that the temperature will continue to rise a few degrees while resting.
8. Flipping and Finishing
When it’s time to flip the burgers, avoid using a fork. Instead, use a spatula or tongs to gently turn them over. Flipping too often can interrupt the cooking process and prevent that beautiful char from developing.
Once both sides are cooked to your desired level, you can add cheese, if desired, during the final moments of grilling and let it melt over the patties.
9. Resting and Assembly
Once the burgers are cooked to perfection, remove them from the grill and allow them to rest for a few minutes. This resting period allows the juices to redistribute throughout the meat, ensuring a juicier and more flavorful burger.
While the burgers rest, prepare your buns and any additional toppings or condiments you prefer.
10. Enjoying Your Burnt Masterpiece
Now that your burgers are perfectly burnt, assemble them with your favorite toppings and take that first delightful bite. The slightly charred exterior, combined with the juicy, flavorful center, will make you feel like a true burger connoisseur.
Whether you prefer classic toppings or get creative with unique flavors, your burnt masterpiece is sure to impress everyone at your next cookout!.


