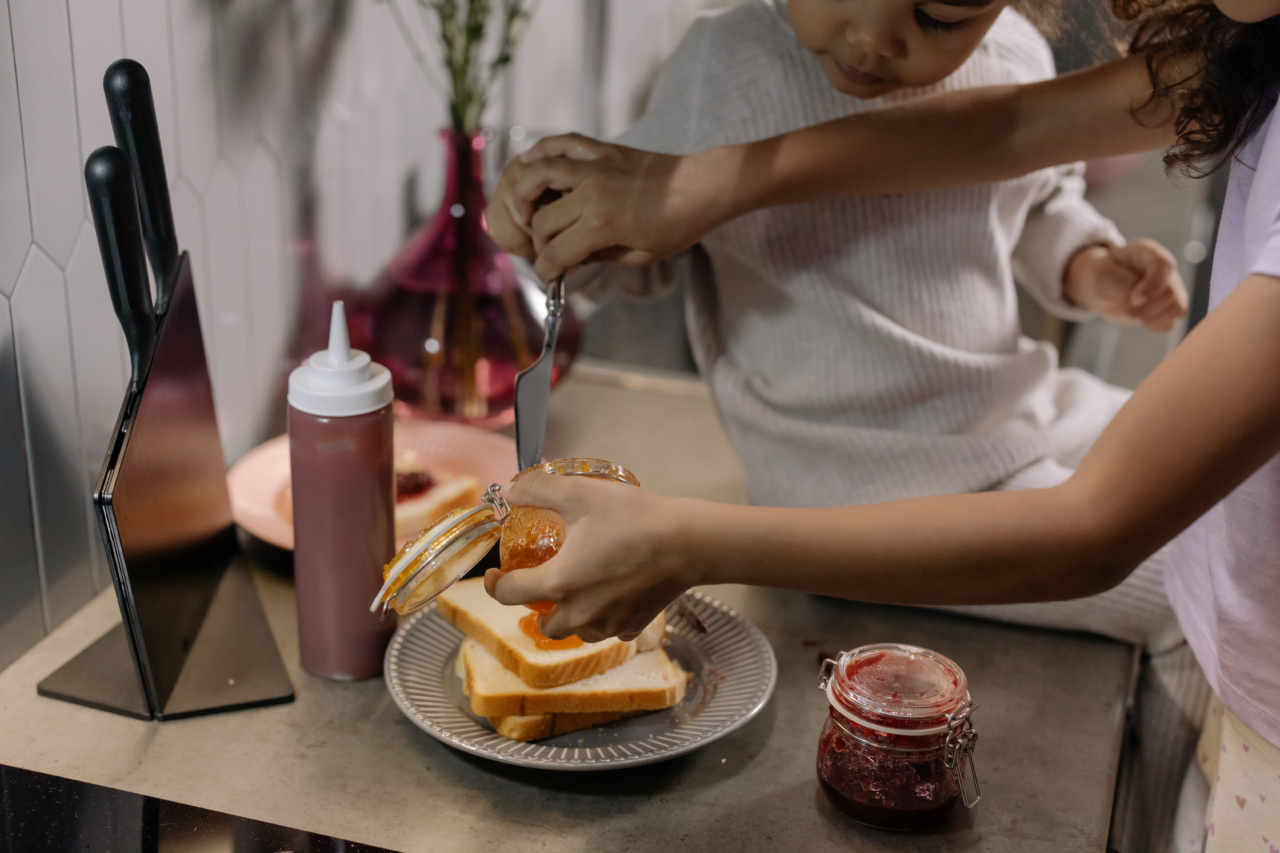
Making homemade jam is a rewarding and delicious way to preserve fruits at their peak freshness.
Whether you have an abundant harvest from your garden or found a great deal on seasonal fruits at the local farmers’ market, making your own jam allows you to enjoy the flavors of summer all year round. In this comprehensive guide, George Tsoulis shares his expertise and top tips for jam making beginners.
1. Gather the Essential Equipment
Before diving into the wonderful world of jam making, it’s important to have the necessary equipment on hand. Here are some key items to gather:.
– Large, heavy-bottomed pot or jam pan.
– Canning jars with lids and bands.
– A canning kit, including tongs and a funnel.
– A wooden spoon or heat-resistant spatula.
– A ladle for transferring the jam.
– A thermometer.
– A timer.
2. Choose the Right Fruit
The first step to creating a delicious jam is selecting the right fruit. Choose ripe fruits that are at their peak flavor. Berries, stone fruits like peaches and plums, and citrus fruits are popular choices for homemade jams.
Wash and prepare the fruit by removing any stems, pits, or seeds.
3. Understand the Basics of Pectin
Pectin is a natural thickening agent found in fruit that helps the jam set. Some fruits, like apples and citrus fruits, are naturally high in pectin and can create a firm jam without the need for additional pectin.
However, others like strawberries and peaches may require added pectin. There are different types of pectin available in stores, including powdered and liquid forms. Follow the instructions on the pectin package for best results.
4. Follow a Reliable Recipe
When it comes to jam making, it’s crucial to follow a reliable recipe. Stick to tried-and-true recipes from reputable sources. These recipes have been thoroughly tested to ensure successful jam making results.
Related Article
George Tsoulis: An Introduction to Jams

Make sure to measure your ingredients accurately and follow the cooking times and temperatures specified in the recipe.
5. Prepare the Jars and Lids
Cleanliness is key when it comes to canning and preserving. Wash the canning jars, lids, and bands with hot soapy water and rinse them well. You can also sterilize them by placing them in a large pot of boiling water for a few minutes.
Allow the jars and lids to air dry on a clean towel.
6. Cook the Fruit and Sugar Mixture
In a large pot or jam pan, combine the prepared fruit with sugar. The sugar helps preserve the fruit and adds sweetness to the jam. Cook the mixture over medium heat, stirring frequently, until it comes to a boil.
Skim off any foam that forms on the surface. Reduce the heat and let it simmer until the jam thickens and reaches the desired consistency.
7. Determine the Jam’s Set Point
As the jam cooks, it’s important to monitor its set point. To check if the jam has reached the desired consistency, you can use a thermometer or the “wrinkle test”.
Dip a spoon into the hot jam, let it cool briefly, then push it with your finger. If the surface wrinkles and holds its shape, the jam is ready to be canned. If not, let it simmer for a little longer and repeat the test.
8. Fill and Seal the Jars
Using a heat-resistant ladle or a canning funnel, carefully fill the hot jam into the prepared jars, leaving a ¼-inch headspace. Wipe the rims of the jars with a clean, damp cloth to ensure a proper seal.
Place the lids on the jars and screw on the bands until they are fingertip tight. This will create a vacuum seal during the canning process.
9. Process the Jars in a Water Bath
To ensure the jars are properly sealed, process them in a water bath. Fill a large pot or canner with enough water to cover the jars by at least 1 inch. Bring the water to a boil and carefully place the jars in the pot using canning tongs.
Process the jars for the recommended amount of time specified in the recipe. Remove the jars from the water bath and let them cool on a towel.
10. Store and Enjoy Your Homemade Jam
After the jars have cooled, check that each one has sealed properly. You should hear a satisfying “pop” as the lids seal. Label the jars with the name of the jam and the date of canning.
Store the sealed jars in a cool, dark place for up to a year. Once opened, refrigerate the jam and consume it within a few weeks for optimal flavor.
Now that you have the basics of jam making for beginners, it’s time to unleash your creativity and experiment with different fruits and flavor combinations.
With George Tsoulis’ expert tips and guidance, you’ll be well on your way to creating delicious homemade jams that will impress your family and friends.


