As we age, our skin undergoes various changes, and one of the most noticeable signs of aging is the appearance of fine lines and wrinkles around the eyes.
While there are countless anti-aging eye creams available on the market, they can often be expensive and filled with chemical ingredients. However, you can supercharge your skincare routine by creating your own DIY anti-aging eye cream using natural ingredients.
Not only will it save you money, but it will also give you the satisfaction of knowing exactly what you are putting on your skin.
The Benefits of DIY Anti-Aging Eye Cream
Before we delve into the recipe for a DIY anti-aging eye cream, let’s explore some of the benefits of using one:.
1. Customizable Ingredients
When you make your own eye cream, you have complete control over the ingredients you use. You can tailor the cream to suit your specific needs, whether it’s to combat puffiness, reduce dark circles, or minimize the appearance of wrinkles.
Plus, you can avoid potentially harmful chemicals that are often found in store-bought creams.
2. Cost-Effective
Creating your own eye cream can be much more cost-effective in the long run. Many store-bought creams come in small containers with hefty price tags, but when you make your own, you can prepare larger quantities at a fraction of the cost.
3. All-Natural and Chemical-Free
Commercial skincare products often contain synthetic chemicals and preservatives that may cause irritation or have adverse effects on the skin.
With a homemade eye cream, you can use natural ingredients that are gentle on the delicate skin around your eyes. This reduces the risk of allergic reactions and sensitivities.
4. High in Antioxidants
A homemade anti-aging eye cream can include ingredients rich in antioxidants, such as vitamin C and vitamin E. These antioxidants help protect the skin from free radical damage, promote collagen production, and reduce the signs of aging.
DIY Anti-Aging Eye Cream Recipe
Now that you understand the benefits of making your own anti-aging eye cream, here’s a simple and effective recipe to get you started:.
Ingredients:
– 1 tablespoon of shea butter.
– 1 teaspoon of coconut oil.
– 2 teaspoons of rosehip oil.
– 5 drops of vitamin E oil.
– 3 drops of lavender essential oil.
– 3 drops of frankincense essential oil.
Instructions:
1. In a double boiler or a heat-safe bowl placed over a pot of simmering water, melt the shea butter and coconut oil until they are fully combined. Stir gently with a spatula.
Related Article
DIY Eye Cream Recipe with Vitamin E for Wrinkle Reduction

2. Once melted, remove the mixture from the heat and let it cool for a few minutes.
3. Add the rosehip oil, vitamin E oil, lavender essential oil, and frankincense essential oil to the mixture. Stir well to combine.
4. Transfer the mixture to a clean, airtight container, such as a small glass jar.
5. Allow the mixture to cool completely and solidify. This may take a few hours, depending on the temperature of your room.
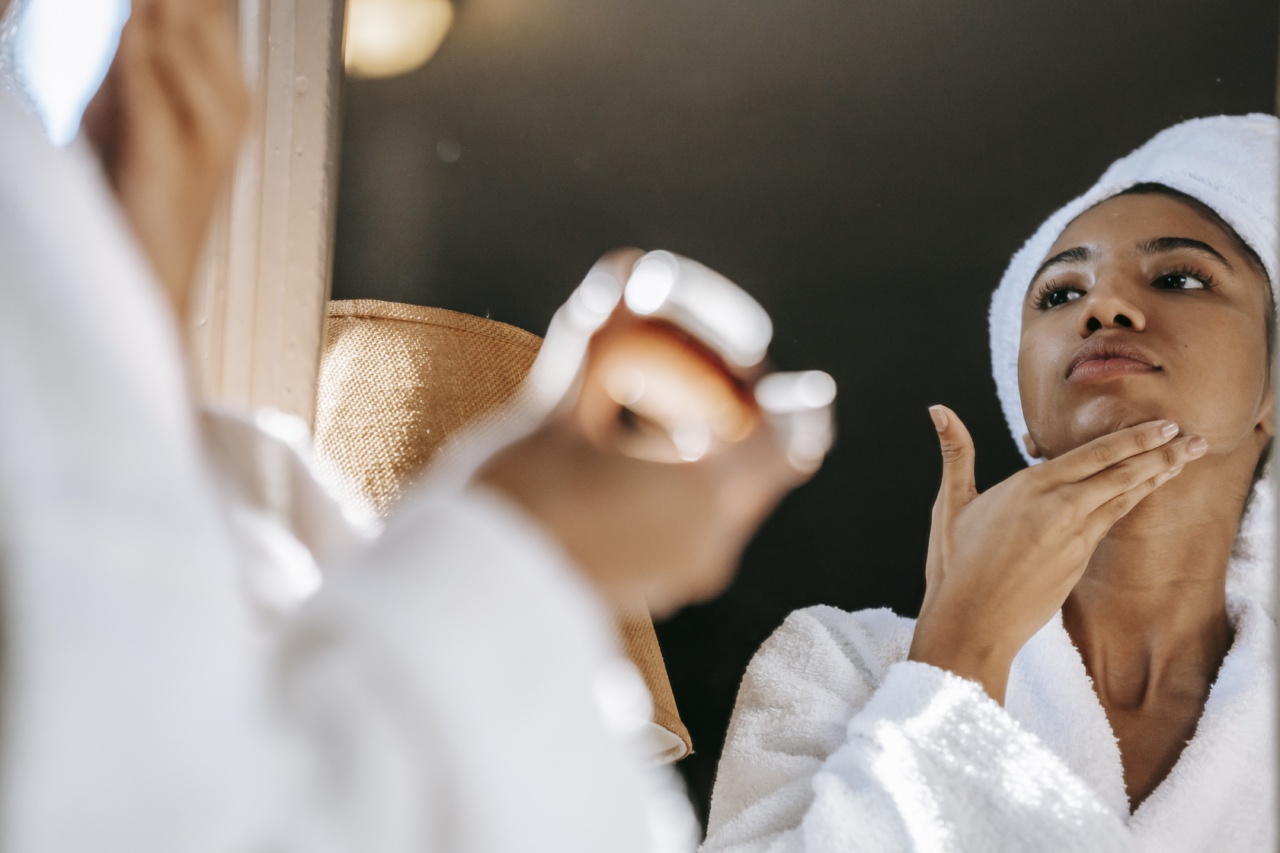
How to Use the DIY Anti-Aging Eye Cream
Now that you have your homemade eye cream, here’s how to incorporate it into your skincare routine:.
1. Cleanse Your Face
Before applying the eye cream, cleanse your face thoroughly to remove any dirt, makeup, or impurities.
2. Pat Dry
Gently pat your face dry with a clean towel. Avoid rubbing the skin, as this can cause irritation.
3. Apply a Small Amount
Using your ring finger, take a small amount of the DIY eye cream and dab it around the eye area. Start from the outer corner of the eye and work your way inwards.
4. Gently Massage
Using your ring finger, gently massage the eye cream into the skin using circular motions. Be careful not to tug or pull on the delicate skin.
5. Let It Absorb
Allow the eye cream to absorb into the skin for a few minutes before applying any other products or makeup.
6. Use Twice Daily
For best results, use the DIY eye cream twice daily – once in the morning and once at night before bed.
Additional Tips
Here are a few additional tips to boost the effectiveness of your DIY anti-aging eye cream:.
1. Store in a Cool Place
Since this eye cream does not contain any synthetic preservatives, it’s important to store it in a cool place away from direct sunlight. The refrigerator is an excellent option.
2. Patch Test
Before applying the eye cream to your entire eye area, do a patch test on a small area of your skin. This will help you determine if you have any sensitivities or allergies to the ingredients.
3. Be Consistent
Consistency is key when it comes to skincare. Use the DIY eye cream regularly to see the best results. It may take a few weeks to notice significant improvements.
4. Protect Your Skin
In addition to using the eye cream, protect your skin from harmful UV rays by wearing sunglasses and using a broad-spectrum sunscreen specifically designed for the delicate eye area.
Conclusion
Making your own DIY anti-aging eye cream is a fantastic way to supercharge your skincare routine. By using natural ingredients, customizing the cream to your needs, and avoiding harsh chemicals, you can achieve healthier, younger-looking skin.
Give it a try, and enjoy the benefits of a homemade eye cream that will leave your eyes looking refreshed and rejuvenated.


