Are you tired of the same old nail polish colors available in stores? Do you want to create your own unique shades that reflect your personal style? Look no further – in this guide, we will show you how to create your very own custom nail polish colors right in the comfort of your own home. With just a few simple steps and some basic ingredients, you can have a collection of beautiful, one-of-a-kind nail polishes that are sure to impress. Let’s dive in!.
Gather Your Supplies
Before we get started, let’s make sure you have all the necessary supplies to create your custom nail polish colors. Here’s what you’ll need:.
- A clear nail polish base
- Pigments or mica powders in various colors
- A small jar or container
- A plastic dropper or pipette
- A mixing tool (a toothpick or a small spoon will work just fine)
- A small funnel (optional, but helpful)
- A label or sticker for the jar
Choose Your Colors
Now that you have your supplies ready, it’s time to choose the colors for your custom nail polishes. The beauty of making your own nail polish is that you have complete control over the colors and can mix and match to create endless possibilities.
Experiment with different pigments or mica powders to achieve the desired shades. Take inspiration from fashion trends, nature, or simply let your imagination run wild.
Prepare Your Jar
Start by cleaning the jar or container you will be using to store your nail polish. Make sure it is completely dry before moving on to the next step. If you’re using a jar with a narrow opening, a funnel can make pouring easier and less messy.
Mix the Nail Polish Base
Open your clear nail polish base and give it a good shake to ensure that all the ingredients are well combined. This will serve as the transparent medium for your custom nail polish colors.
If you prefer a matte finish, you can add a matte top coat later.
Add Your Pigments or Mica Powders
Using your plastic dropper or pipette, start by adding a small amount of pigment or mica powder to the clear nail polish base.
The amount of pigment you add will determine the intensity of the color, so start with a little and gradually add more until you achieve the desired shade. Remember, it’s always easier to add more pigment than to lighten the color, so start with caution.
Mix It Up!
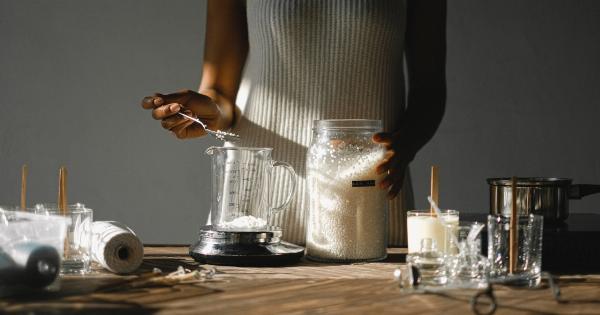
Now it’s time to mix the pigment or mica powder into the nail polish base. Use your mixing tool to gently swirl the color around until it is evenly distributed. Be careful not to create bubbles in the polish as this can affect the application.
If you’re not satisfied with the color, you can add more pigment and continue mixing until you achieve your desired shade.
Try Different Combinations
Don’t be afraid to experiment with different combinations of pigments or mica powders. Mix two or more colors together to create unique shades. Remember to start with a small amount of pigment and gradually build up to avoid overpowering the color.
The possibilities are endless, so let your creativity shine!.
Label Your Creation
Once you’re happy with your custom nail polish color, use a label or sticker to mark the jar with the name or color description. This will make it easier to identify your creations later on and help you keep track of your favorite shades.
Apply and Enjoy!
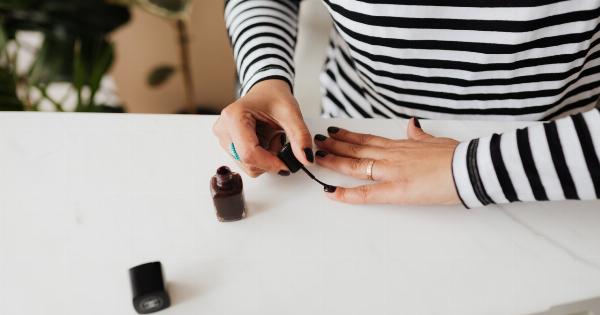
Your custom nail polish is now ready to be applied and enjoyed! Apply a base coat to your nails and let it dry completely before carefully applying your custom polish color. You can finish with a clear top coat for added shine and longevity.
Clean and Store
After you’ve finished applying your custom nail polish color, clean any excess polish from the rim of the jar to ensure a tight seal for future uses.
Store your nail polish in a cool, dry place away from direct sunlight to preserve its quality and prevent it from drying out.
Conclusion
Congratulations on creating your own custom nail polish colors! With just a few simple steps and some creativity, you can have a unique collection of nail polishes that perfectly match your style and personality.
Have fun experimenting with different pigments and creating your own custom shades. Whether you’re looking for a subtle and sophisticated look or a bold and vibrant statement, the possibilities are endless. So go ahead, unleash your inner nail polish chemist, and enjoy your stunning custom creations!.
