Creating your own nail polish in a jar can be a fun and creative way to express your unique style. Instead of purchasing pre-made nail polish at the store, you can customize your own colors and textures with just a few simple steps.
In this tutorial, we’ll show you how to make your own DIY nail polish in a jar using easy-to-find ingredients.
What You’ll Need
- A small jar or bottle with a lid
- Clear nail polish
- Mica powder or eyeshadow in the desired color
- A small funnel
- A toothpick or small stick for stirring
Step-by-Step Instructions
Step 1: Clean Your Jar
Before you begin, make sure your jar or bottle is clean and dry. You don’t want any dirt or debris getting into your polish mixture, so give it a thorough cleaning before you begin.
Step 2: Add Mica Powder
Take your desired color of mica powder or crushed eyeshadow and use a small funnel to add a small amount to your jar. You can always add more later if needed, so start with a small amount and build up from there.
Step 3: Pour in Clear Nail Polish
Fill your jar with clear nail polish, leaving a small amount of space at the top. You’ll want to leave some room for shaking and mixing later on.
Step 4: Mix Well
Using a toothpick or small stick, carefully stir the mixture until the mica powder is fully incorporated into the clear polish. Make sure there are no clumps or bubbles in the mixture.
Step 5: Test the Color
Once your mixture is fully mixed, you can test the color by applying a small amount to a clear nail polish swatch. If you’re happy with the color, you’re done! If not, you can add more mica powder or eyeshadow to adjust the color as needed.
Step 6: Seal the Jar and Shake Well
Once you’ve achieved your desired color, seal the jar tightly and shake well. Make sure all of the ingredients are mixed together thoroughly.
Step 7: Apply and Enjoy!
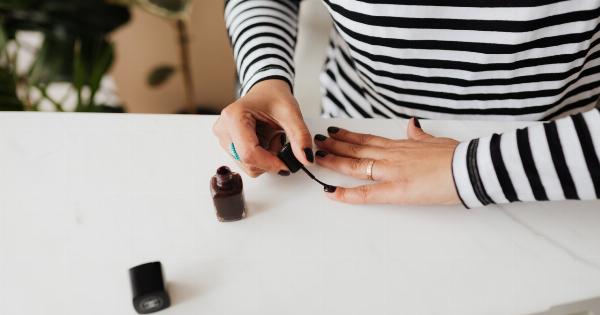
Your DIY nail polish in a jar is now ready to use! You can apply it to your nails using a brush, just like you would with any other nail polish. Enjoy your new custom color!.
