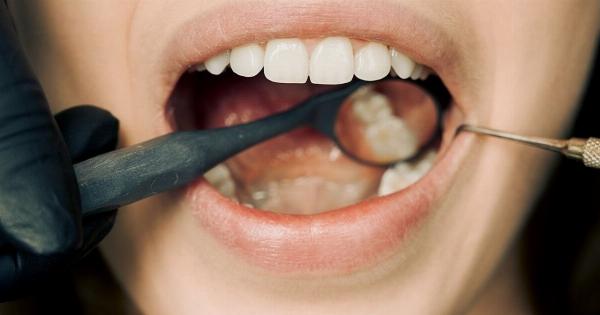
Having a bright and white smile is something that many people desire. However, professional teeth whitening treatments can be expensive and sometimes contain harsh chemicals that may cause sensitivity.
Luckily, there are natural alternatives available, and one of the most effective ones is DIY teeth whitening with coarse salt. In this article, we will explore the benefits of using coarse salt for teeth whitening and provide you with a simple step-by-step guide on how to achieve a whiter smile at home.
What is Coarse Salt?
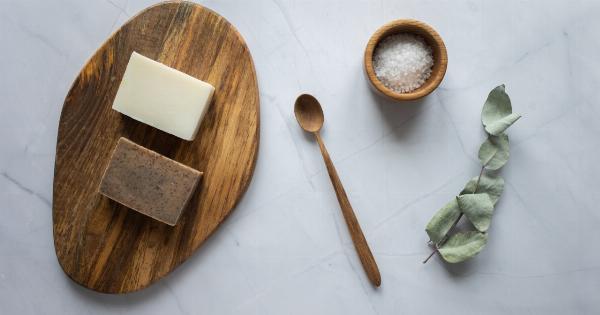
Coarse salt, also known as rock salt or kosher salt, is a natural form of salt that has larger granules compared to normal table salt. It is commonly used in cooking, preserving food, and even in beauty routines.
One of the benefits of coarse salt is its ability to act as a mild abrasive, making it an excellent ingredient for teeth whitening.
Benefits of DIY Teeth Whitening with Coarse Salt
Using coarse salt for teeth whitening offers several advantages over commercial whitening products. Here are some of the key benefits:.
1. Cost-Effective
One of the main advantages of DIY teeth whitening with coarse salt is its affordability. Coarse salt is inexpensive and easily available at most grocery stores.
Compared to professional teeth whitening treatments, which can cost hundreds of dollars, using coarse salt is a budget-friendly option.
2. Natural and Chemical-Free
Commercial teeth whitening treatments often contain harsh chemicals such as hydrogen peroxide, which can cause tooth sensitivity and gum irritation.
DIY teeth whitening with coarse salt is a natural and chemical-free alternative, making it suitable for those with sensitive teeth or gums.
3. Effective Stain Removal
Coarse salt acts as a mild abrasive, helping to remove surface stains from teeth. These stains are often caused by factors such as smoking, drinking coffee, tea, or red wine, and consuming certain foods.
By gently scrubbing your teeth with coarse salt, you can effectively remove these stains and reveal a whiter smile.
4. Improved Oral Health
In addition to teeth whitening, using coarse salt can also promote better oral health. Salt has natural antibacterial properties that help kill bacteria in the mouth and reduce the risk of gum infections.
It can also help to freshen breath and neutralize acidity, which can be beneficial for overall oral hygiene.
DIY Teeth Whitening with Coarse Salt – Step-by-Step Guide
Now that you know the benefits, let’s explore how to whiten your teeth using coarse salt. Follow these simple steps to achieve a brighter smile:.
Step 1: Gather the Ingredients
To get started, you will need the following:.
- 1 tablespoon of coarse salt (rock salt or kosher salt)
- 1 teaspoon of baking soda
- A few drops of water
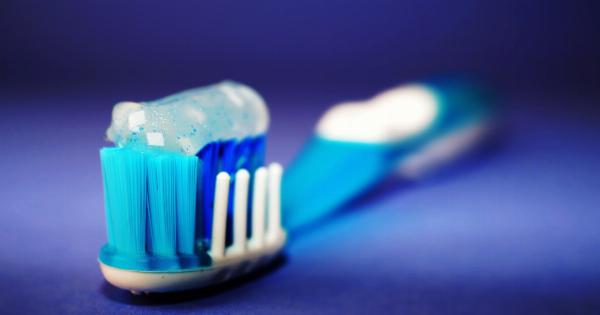
- A toothbrush
Step 2: Prepare the Mixture
In a small bowl, combine the coarse salt and baking soda. Mix them well until they are evenly blended.
Step 3: Wet Your Toothbrush
Wet your toothbrush under running water to dampen the bristles. Make sure it is not soaking wet, as you don’t want the mixture to become too runny.
Step 4: Dip and Brush
Dip the damp toothbrush into the salt and baking soda mixture, coating the bristles evenly.
Step 5: Gently Brush Your Teeth
Using gentle circular motions, brush your teeth with the salt and baking soda mixture. Concentrate on the visible surfaces of your teeth, spending at least two minutes brushing.
Step 6: Rinse Thoroughly
After brushing, rinse your mouth thoroughly with water to remove any leftover mixture and residue.
Step 7: Regular Dental Hygiene
It is important to note that DIY teeth whitening with coarse salt should not replace your regular dental hygiene routine.
Brush your teeth at least twice a day with a fluoride toothpaste, floss daily, and visit your dentist regularly for check-ups and professional cleanings.
Precautions and Tips
While DIY teeth whitening with coarse salt is generally safe, it’s important to keep in mind the following precautions and tips:.
1. Limit Frequency
Using coarse salt as a teeth whitening method should be done in moderation. Excessive or frequent use may wear down the enamel and lead to tooth sensitivity. Limit the use of coarse salt to once or twice a week.
2. Monitor Sensitivity
If you experience any tooth sensitivity or gum irritation while using coarse salt, discontinue use immediately. Consult your dentist if the symptoms persist.
3. Use a Soft Toothbrush
When brushing your teeth with the coarse salt mixture, opt for a soft-bristled toothbrush to avoid causing any damage to your gums or enamel.
4. Maintain a Healthy Diet
While DIY teeth whitening can help remove stains, it’s essential to maintain a healthy diet to prevent further discoloration.
Limit the consumption of foods and drinks that can stain your teeth, such as coffee, tea, red wine, and dark-colored berries.
Conclusion
DIY teeth whitening with coarse salt can be an effective, affordable, and natural way to achieve a whiter smile at home.
The mild abrasive properties of coarse salt help remove surface stains, while its antibacterial properties promote better oral health. By following the step-by-step guide and taking the necessary precautions, you can enjoy the benefits of DIY teeth whitening with coarse salt while maintaining a healthy and bright smile.

