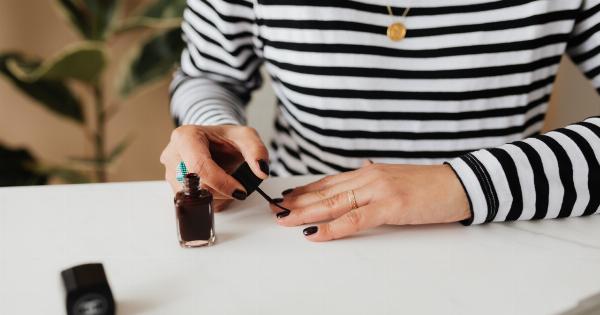
Proper nail care is essential for maintaining healthy and strong nails. One important aspect of nail care is cutting your nails the right way.
Many people overlook the importance of this seemingly simple task, but improper nail cutting techniques can lead to a variety of issues such as ingrown nails, infections, and nail damage. In this article, we will discuss the best practices for cutting your nails to keep them in optimal condition.
The Tools You Need
Before we dive into the step-by-step process of cutting your nails, it is important to have the necessary tools ready. Here are the essential tools for a successful nail cutting session:.
- Nail clippers or nail scissors: Choose a pair that is sharp and specifically designed for cutting nails.
- Nail file: Use a nail file to shape and smooth the edges of your nails after cutting.
- Cuticle pusher: This tool helps in gently pushing back the cuticles for a clean look.
- Cuticle nipper (optional): If you have overgrown or stubborn cuticles, a cuticle nipper can be used to carefully trim them.
Step-by-Step Guide to Cutting Your Nails
Step 1: Prepare Your Nails
Start by removing any nail polish or coatings you may have on your nails. Use a gentle nail polish remover and cotton pads for this purpose. Make sure your nails are clean and dry before you proceed.
Step 2: Choose the Right Time
It is best to cut your nails after a shower or bath when they are soft and more pliable. This makes the cutting process easier and minimizes the risk of nail breakage.
Step 3: Decide on the Nail Shape
Consider the shape you want for your nails before cutting them. Popular options include square, round, oval, or a combination of these shapes. Different shapes suit different finger types and personal preferences.
Step 4: Trim With Care
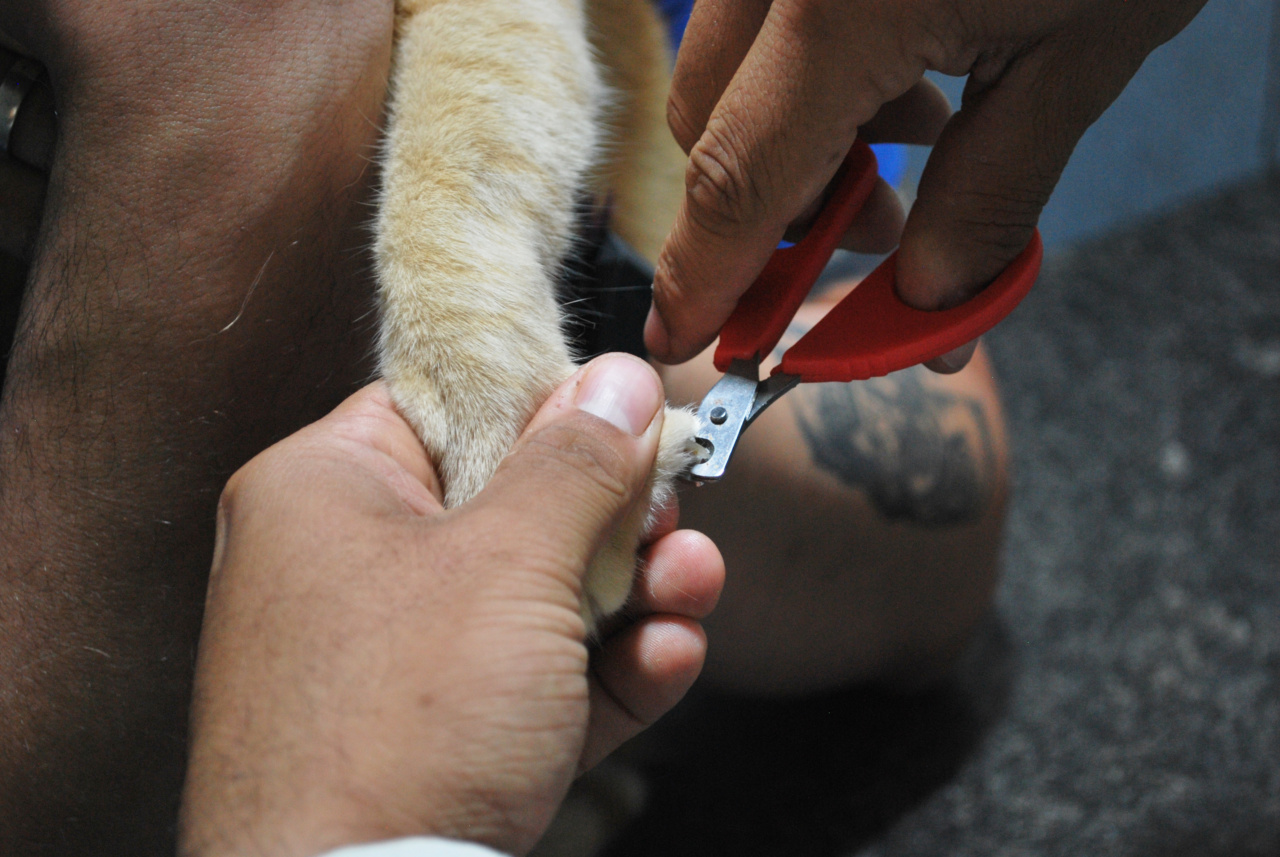
Hold the nail clippers or scissors with a firm grip. Start by trimming your nails straight across. It is generally advised not to cut too close to the nail bed to avoid ingrown nails. Leave a small white edge to prevent this issue.
If you prefer a rounded or oval shape, carefully follow the natural curve of your nail.
Step 5: Smooth the Edges
After cutting, use a nail file to gently shape and smooth the edges of your nails. File in one direction, rather than back and forth, to prevent nail splitting. This step helps to refine the shape and make your nails appear neat and clean.
Step 6: Push Back the Cuticles
Using a cuticle pusher, gently push back your cuticles. This step helps to create a more manicured and elongated look for your nails. It is important to be gentle and avoid pushing too hard, as it can cause damage and lead to infections.
Step 7: Optional – Trim Stubborn Cuticles
If you have overgrown or stubborn cuticles that were not easily pushed back, you can use a cuticle nipper. Carefully trim the excess cuticle, making sure not to cut too close to the nail or damage the surrounding skin.
Step 8: Moisturize Your Nails
After completing the cutting process, it is essential to moisturize your nails and cuticles. Apply a nourishing cuticle oil or cream to keep them hydrated and healthy. Massage the product into your nails and surrounding skin for best results.
Step 9: Keep a Nail Care Routine
Cutting your nails is not a one-time task. To maintain strong and healthy nails, it is important to establish a regular nail care routine. Trim your nails every 1-2 weeks and follow the same steps to ensure they stay in their best condition.
Conclusion
Properly cutting your nails is an essential part of nail care. By following the steps outlined in this article, you can ensure that your nails remain healthy, strong, and free from issues like ingrown nails or infections.
Remember to use the right tools, trim with care, and maintain a regular nail care routine for optimal nail health.
