Aloe vera is widely known for its numerous benefits for the skin. It is known to soothe, moisturize, and heal the skin. Because of this, many people incorporate it into their skincare routine.
You can make your own aloe vera facial soap for a more natural and cost-effective solution. Here’s a step-by-step guide to help you make your own aloe vera facial soap.
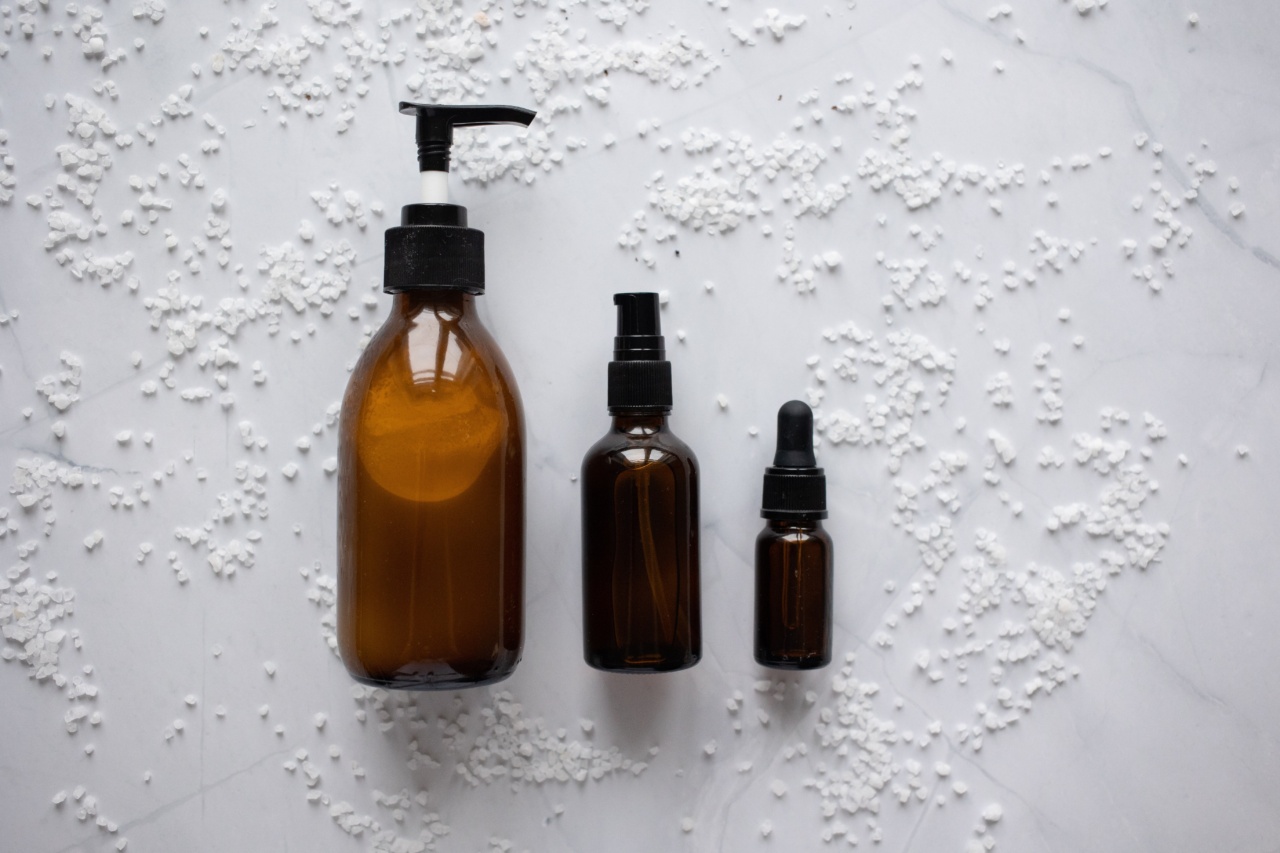
Materials Needed
Before we start making the soap, let’s gather all of the materials we’ll need:.
- 1 pound melt-and-pour soap base
- 1/4 cup aloe vera gel
- 1/4 teaspoon green colorant
- 1/4 teaspoon fragrance oil
- Pyrex measuring cup
- Sharp knife
- Cutting board
- Wooden spoon
- Candy thermometer
- Soap mold
Step-by-Step Guide to Making Aloe Vera Facial Soap
Step 1: Prepare Your Work Space
Clean and sanitize your work space and all of your materials and tools. This is important to avoid contamination and ensure the soap’s purity.
Step 2: Cut Your Soap Base
Using a sharp knife and a cutting board, cut the soap base into small cubes. This will help it melt evenly and quickly.
Step 3: Melt the Soap Base
In a Pyrex measuring cup, melt the soap base in the microwave or over a double boiler. Make sure to melt the soap base slowly and stir it frequently to avoid boiling.
Step 4: Add Aloe Vera Gel
Add 1/4 cup of aloe vera gel to the melted soap base. Stir it thoroughly to make sure it’s well combined.
Related Article
DIY Aloe Facial Soap Tutorial

Step 5: Add Green Colorant
Add 1/4 teaspoon of green colorant to the melted soap base. Be careful not to add too much, as it can result in an overly colored soap.
Step 6: Add Fragrance Oil
Add 1/4 teaspoon of fragrance oil to the melted soap base. Mix it well so it’s evenly distributed. Make sure not to add too much fragrance oil, as this can cause the soap to become too oily and soft.
Step 7: Test the Temperature
Using a candy thermometer, test the temperature of the melted soap base. It should be between 120 and 140 degrees Fahrenheit. This is the ideal temperature when adding additional ingredients to the soap base.
Step 8: Pour the Soap Mixture into the Mold
When the melted soap base reaches the ideal temperature, pour it into the soap mold. Make sure to pour it slowly to avoid air bubbles. If there are any air bubbles, pop them with a toothpick.
Step 9: Let the Soap Cool and Harden
Allow the soap to cool and harden for at least an hour. You can speed up the process by placing it in the refrigerator for 30 minutes.
Step 10: Remove the Soap from the Mold
When the soap has hardened, carefully remove it from the mold. Place it on a clean surface and allow it to dry for a few hours or overnight.
Conclusion
Making your own aloe vera facial soap is easy, and it’s an excellent way to incorporate natural and beneficial ingredients into your skincare routine. Follow this step-by-step guide to create your own aloe vera facial soap at home.


