There’s no denying that a well-manicured set of nails can make a statement. Whether you prefer a classic look or something more daring and innovative, the condition of your nails plays a crucial role in your overall appearance.
But achieving flawless nails doesn’t have to involve a trip to the salon or breaking the bank. With this easy technique, you can transform your nails in the comfort of your own home and save both time and money.
Gather Your Materials
Before diving into the technique, it’s essential to gather all the necessary materials. You’ll need:.
- Cotton balls
- Nail polish remover
- Nail file
- Nail buffer
- Base coat
- Nail polish in your desired color
- Top coat
- Cuticle oil
- Cuticle pusher
Prep Your Nails
The first step in transforming your nails is prepping them. Start by removing any existing nail polish using cotton balls and nail polish remover. Make sure to thoroughly clean each nail to ensure a smooth base for your new manicure.
Once your nails are clean, take a nail file and shape them to your preferred length and style. Whether you like them short and squared or long and oval, filing your nails properly is key to achieving the desired look.
Smooth and Buff
Next, grab a nail buffer and gently buff the surface of your nails. This step helps to remove any ridges or imperfections, resulting in a smooth and even canvas for your polish. Be careful not to over-buff, as this can weaken the nails over time.
A light touch is all you need.
Applying the Base Coat
Now that your nails are prepped, it’s time to apply the base coat. The base coat not only helps the polish adhere better to your nails but also protects them from staining.
Apply a thin layer of base coat to each nail, making sure to cover the entire surface. Allow the base coat to dry completely before moving on to the next step.
Choose Your Color
With countless nail polish shades available, it’s easy to feel overwhelmed when selecting a color. Consider your personal style, the occasion, and your outfit to narrow down the options.
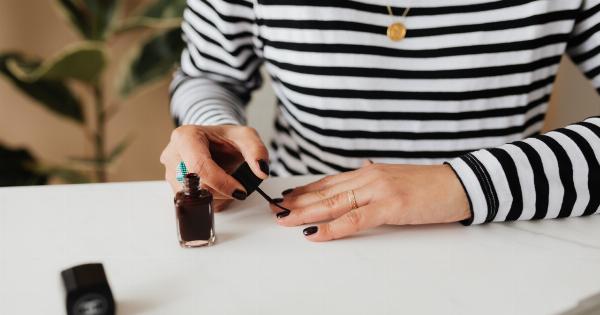
Whether you prefer classic red, bold blue, or trendy neon, the choice is yours. Once you’ve decided, carefully apply two coats of your chosen nail polish color, allowing each coat to dry completely.
The Power of Top Coat
An often overlooked but crucial step in any manicure is the application of the top coat. Not only does the top coat add shine and prolong the life of your manicure, but it also helps to prevent chipping and smudging.
Apply a thin layer of top coat to each nail, ensuring complete coverage and sealing in the color. Let the top coat dry completely before moving on to the final step.
Nourish Your Cuticles
To complete your at-home nail transformation, treat your cuticles with some TLC. Apply a few drops of cuticle oil to each nail and gently massage it in. The cuticle oil hydrates the skin around the nails, promoting healthy growth and preventing dryness.
Use a cuticle pusher to gently push back any excess skin around your nails for a clean and polished look.
Show Off Your Transformed Nails
Now that you’ve completed the easy nail transformation technique, admire your stunning nails and show them off with confidence. Whether it’s a special occasion or just a regular day, your nails will be the envy of others.
Remember to maintain your manicure by using gloves when performing household chores and being gentle with your nails. A well-maintained manicure can last up to two weeks with proper care.


