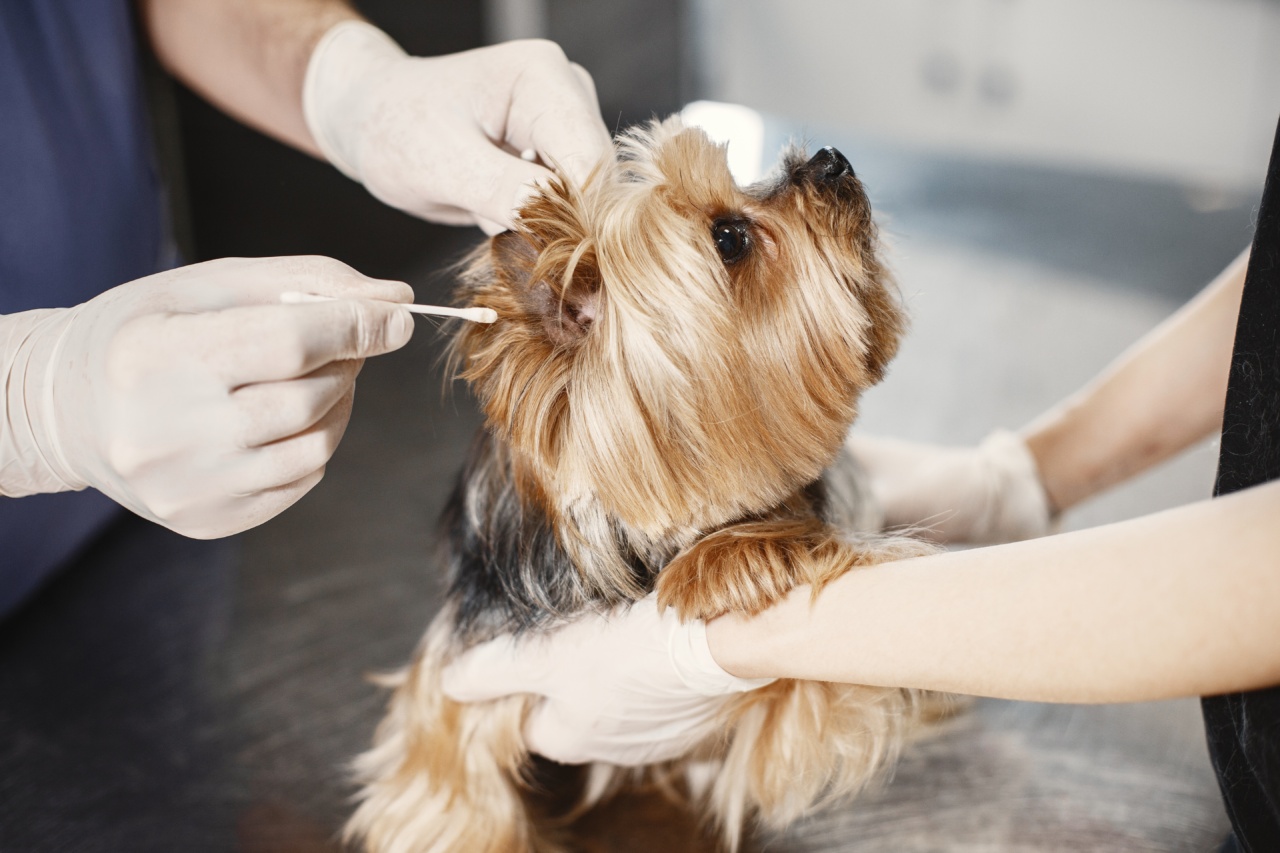
While it may be tempting to stick a cotton swab in your ear to clean it, that technique can actually push earwax deeper into your ear canal and cause damage to your eardrum.
Here are some proper techniques for cleaning your ears that are not only safe but also effective:.
1. Use Earwax Softeners
Before attempting to clean your ears, it’s important to soften the earwax first. You can use earwax softeners, such as mineral oil, baby oil, glycerin, or over-the-counter ear drops.
Simply tilt your head to one side and put a few drops into your ear canal. Gently massage the area around your ear to help the solution reach deep into your ear canal. Follow the instructions on the product label for the duration of the application.
You may need to use the solution for a few days before attempting to clean your ears.
2. Warm Water Rinse
After several days of softening your earwax, you can use warm water to rinse your ears. Tilt your head to one side while standing in the shower or leaning over the sink.
Use a bulb syringe or a plastic squeeze bottle filled with warm water to gently flush out the earwax. Make sure the water is not too hot, as it can cause damage to your ear canal or eardrum. If you have a perforated eardrum, do not use this method.
3. Use a Saline Solution
If you have excess earwax buildup, you can use a saline solution to soften and remove the wax. Mix one teaspoon of salt with one cup of warm water.
Tilt your head to one side and use a bulb syringe or a plastic squeeze bottle to gently squirt the solution into your ear canal. Allow the solution to sit in your ear for a few minutes, and then tilt your head the opposite way to let the solution drain out. Repeat the process on the other ear.
4. Use Hydrogen Peroxide
Hydrogen peroxide can help soften and remove earwax buildup. Mix equal parts of water and hydrogen peroxide in a bowl. Tilt your head to one side and use a dropper to put a few drops of the solution into your ear canal.
Allow the solution to sit in your ear for a few minutes. Then, tilt your head the opposite way to let the solution and earwax drain out. Repeat the process on the other ear.
5. Seek Professional Help
If you have a lot of earwax buildup or it has hardened and become difficult to remove, it’s best to seek professional help.
A doctor or an audiologist can perform an ear cleaning procedure using specialized tools that can safely and effectively remove the earwax. They can also examine your ears to ensure there are no other underlying issues that may be causing hearing problems.
6. Do Not Use Cotton Swabs
Avoid using cotton swabs or any other hard object to clean your ears, as they can push earwax further into your ear canal. These objects can also scratch or damage the eardrum, causing inflammation, pain, and even hearing loss.
7. Do Not Overdo It
While it’s important to maintain good ear hygiene, it’s important not to overdo it. Excessive cleaning can strip your ears of their natural oils, leading to itchiness, dryness, and more earwax buildup.
Avoid cleaning your ears more than once a week, unless recommended by a doctor.
8. When to See a Doctor
If you experience any sudden or severe pain, bleeding or discharge from your ears, or sudden hearing loss, you should seek medical attention immediately.
These symptoms may indicate an ear infection or other serious ear problems that require prompt treatment.
9. Use Earplugs to Prevent Wax Buildup
If you often experience earwax buildup, you can use earplugs to prevent wax from accumulating in your ears. Be sure to use earplugs made of soft material that fits comfortably into your ear canal.
Avoid earplugs that are too tight or made of wax or foam, as they can push earwax deeper into your ear canal.
10. Conclusion
When it comes to ear cleaning, simple is often best. By using the techniques outlined above, you can safely and effectively remove excess earwax buildup without damaging your ears.
Remember, if you experience any unusual symptoms or have concerns about your ear health, consult a doctor or an audiologist.
