When it comes to personal grooming, our nails play a significant role in enhancing our overall appearance. Neatly manicured nails can not only boost our self-confidence but also make a lasting impression.
While there are numerous nail art designs and techniques available, sometimes all you need is a simple trick to make your nails stand out. In this article, we will explore an effortless yet effective way to jazz up your nails and add that touch of glamor to your fingertips.
What You Will Need
Before we get started, here are the items you will need:.
- Base coat
- Nail polish in desired color
- Sponge
- Glitter nail polish in a complementary shade
- Top coat
Step-by-Step Guide
Step 1: Prepare Your Nails
Start by removing any previous nail polish or residue using nail polish remover. Trim and file your nails to your desired shape, ensuring they are clean and well-maintained.
Step 2: Apply Base Coat
Apply a thin layer of base coat to your nails. This will not only protect your nails but also help the nail polish adhere better, resulting in a longer-lasting manicure.
Step 3: Choose Your Nail Polish Color
Select a nail polish color that best complements your skin tone or matches your outfit. For a bold and vibrant look, opt for deep reds, vibrant pinks, or rich burgundy shades.
If you prefer a more subtle effect, nude shades or soft pastels work beautifully.
Step 4: Apply the Base Color
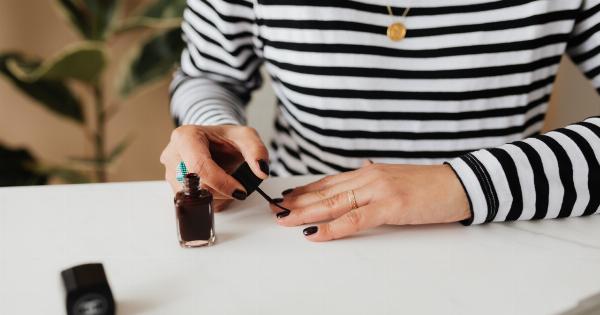
Apply two coats of your chosen nail polish color to each nail, allowing each coat to dry completely before applying the next. This will ensure a smooth and even finish.
Step 5: Prepare the Sponge
Take a clean sponge and tear off a small piece, ensuring it is slightly larger than the size of your nail. This will be used for the next step to create the gradient effect.
Step 6: Apply the Glitter Polish
Apply a generous amount of the glitter nail polish to the torn piece of sponge. Make sure the sponge is evenly coated but not saturated.
Step 7: Dab the Sponge on Your Nails
Gently press the sponge onto your nails, focusing on the tips of your nails. The sponge will transfer the glitter polish, creating an eye-catching gradient effect. Repeat this step on each nail until the desired level of glitter is achieved.
Step 8: Seal the Design
Once the glitter polish has dried, apply a layer of top coat to seal and protect the design. The top coat will also add a glossy finish, giving your nails a professional look.
Step 9: Clean Up Excess Polish
Use a cotton swab dipped in nail polish remover to clean up any excess glitter polish on your skin or cuticles. This will leave your nails looking flawless.
Step 10: Show Off Your Dazzling Nails
After following these simple steps, your nails will be transformed into a work of art. Now it’s time to flaunt your beautiful and eye-catching nails with confidence!.
Conclusion
With this simple trick, you can take your nail game to the next level. By adding a touch of glitter to your nails, you can instantly make them stand out and grab attention.
Experiment with different base colors and glitter shades to create unique and stunning designs. Whether you’re going for a casual day look or getting dolled up for a special occasion, this technique is versatile and easy to master. So go ahead, give your nails the attention they deserve, and make a statement with this effortless trick!.


