Having perfectly manicured nails is the ultimate accessory to complete any outfit. However, with our busy schedules, it can be challenging to find the time to go to the salon and get our nails done.
The good news is, achieving professional-looking nails at home doesn’t have to be hard or time-consuming. With the right tools and techniques, you can have high-end nails in no time!.
Step 1: Clean and Shape Your Nails
The first step to achieving professional-looking nails is to make sure they are clean and well-shaped. Use a file to shape your nails into the desired shape.
Whether you prefer square, oval, or stiletto-shaped nails, make sure they are all the same length and shape.
Next, soak your nails in warm water for a few minutes to soften the cuticles. Use a cuticle pusher to push back the cuticles gently. Don’t cut or trim the cuticles as this can lead to infections or inflammation.
Step 2: Apply a Base Coat
Before applying your nail polish, make sure you have a good-quality base coat. A base coat protects your natural nails from discoloration and makes your polish last longer. Apply a thin layer of base coat to your nails and let it dry for a few minutes.
Step 3: Apply Your Nail Polish
When it comes to achieving a professional-looking manicure, the key is to use high-quality nail polish. Choose a color that complements your skin tone and style. For a classic look, try a red or neutral color.
For a trendy look, go for a bold or neon shade.
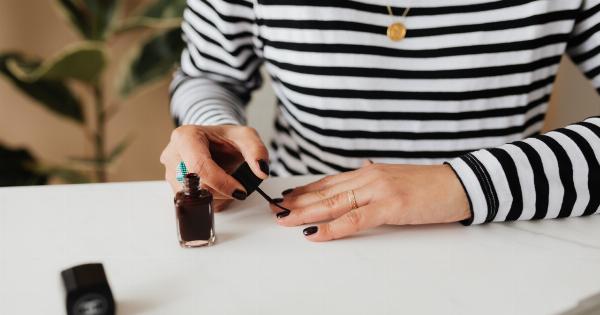
Apply a thin layer of nail polish to your nails, starting from the middle and then moving to the sides. Don’t apply too much nail polish on the brush as this can lead to streaks or smudges.
Let the first coat dry for a few minutes before adding a second coat.
Step 4: Add a Top Coat
After applying your second coat of nail polish, wait a few minutes before adding a top coat. A top coat not only adds shine and gloss to the nails but also helps to protect them from chipping.
Apply a thin layer of top coat to your nails and let it dry completely.
Step 5: Clean Up Around the Edges of Your Nails
After applying your top coat, clean up any nail polish that may have gotten on the skin around your nails. Use a small brush or a cotton swab dipped in nail polish remover to get rid of any excess polish.
This will give your manicure a neat and professional look.
Step 6: Moisturize Your Nails and Cuticles
Now that your nails are done, it’s important to moisturize them regularly to keep them looking healthy and shiny. Use a moisturizing cream or oil specifically designed for nails and cuticles.
Massage the cream or oil into your nails and cuticles to keep them healthy and hydrated.
Step 7: Maintenance
To extend the life of your manicure, it’s important to take care of your nails properly. Avoid doing activities that can damage your nails, like typing with your nails or using your nails to open things.
Wear gloves when doing household chores or other activities that can damage your nails. Touch up your nail polish every few days to keep it looking fresh and new.
Conclusion
With these simple steps, you can achieve professional-looking nails at home quickly and easily. By following these tips, you’ll have nails that look like you just stepped out of the salon!.

