Having sparkling nails adds a touch of glamour to your overall look. Whether it’s for a special occasion or just to pamper yourself, achieving sparkling nails doesn’t have to be a complicated process.
With just four easy steps, you can have dazzling nails that will make heads turn. So, let’s dive into these simple yet effective techniques that will leave your nails looking absolutely stunning!.
Gather Your Supplies
Before you begin, make sure you have all the necessary supplies. Here’s what you’ll need:.
- Nail polish remover
- Nail file and buffer
- Cuticle pusher and trimmer
- Base coat
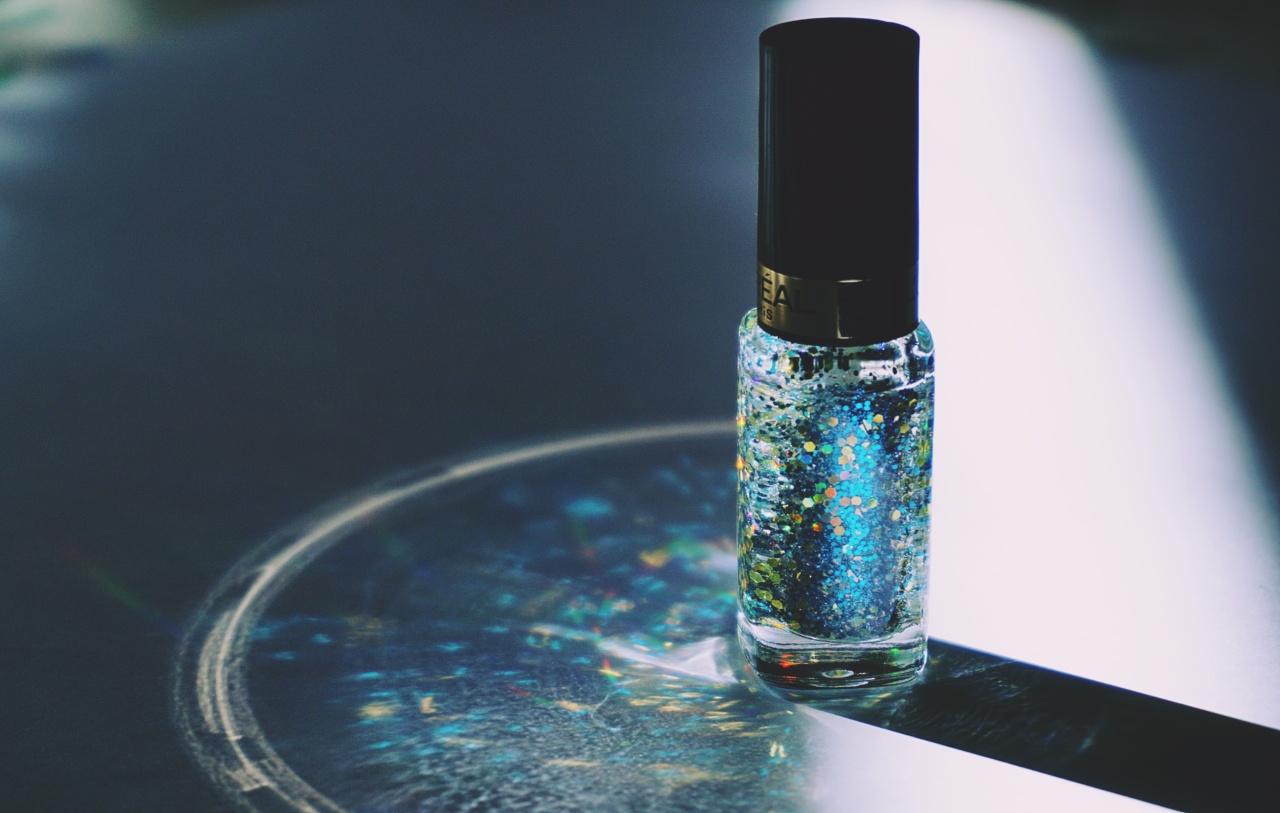
- Sparkly nail polish
- Top coat
- Nail art tools (optional)
- Cotton pads or balls
- Nail polish remover
- Hand cream or cuticle oil
Step 1: Prepare Your Nails
The first step towards achieving sparkling nails is to prepare your nails properly. Start by removing any existing nail polish using a cotton pad or ball soaked in nail polish remover.
Once your nails are clean, shape them using a nail file according to your preference. Make sure to file in one direction to prevent any damage to your nails.
Next, use a buffer to gently buff the surface of your nails. This step helps to smooth out any ridges or imperfections, creating the perfect canvas for your sparkling nail polish. Be careful not to buff too aggressively, as it can weaken your nails.
Step 2: Tend to Your Cuticles
Healthy cuticles contribute to the overall appearance of your nails. To ensure your nails look their best, gently push back your cuticles using a cuticle pusher. Be gentle during this process to avoid causing any damage or pain.
If you have any excess cuticle skin, carefully trim it using a cuticle trimmer.
Once your cuticles are taken care of, apply a small amount of hand cream or cuticle oil and massage it into your nails and cuticles. This step will nourish your nails and keep them moisturized, promoting their health and flexibility.
Step 3: Apply the Base Coat
Applying a base coat is a crucial step as it not only protects your nails from staining but also helps your nail polish adhere better and last longer. Choose a base coat that suits your needs and apply a thin layer evenly across each nail.
Related Article
Whiten Your Nails with These 4 Simple Steps

Allow sufficient drying time before moving on to the next step.
Step 4: Sparkle and Shine
Now, it’s time to add some sparkle to your nails! Select a sparkly nail polish of your choice and apply it evenly over the base coat. Depending on the opacity of the polish, you may need to apply two to three coats for maximum effect.
Take your time and allow each coat to dry before applying the next one.
If you’re feeling creative, you can also use nail art tools to create stunning designs on your nails. From glitter gradients to intricate patterns, the possibilities are endless. Let your imagination run wild and have fun with it!.
Once you’re satisfied with the appearance of your nails, finish off with a top coat. This will seal in the sparkly polish, add shine, and extend the longevity of your manicure.
Apply a thin layer of top coat to each nail and allow it to dry completely.
Congratulations! You now have sparkling nails that are sure to make a statement. Flaunt them proudly and embrace the compliments that come your way.
Final Thoughts
Sparkling nails are a surefire way to elevate your overall style. By following these four easy steps, you can achieve dazzling nails without much hassle.
Remember to gather your supplies, prepare your nails, tend to your cuticles, apply the base coat, and finish off with the sparkly polish and top coat. With a little time and effort, you’ll have nails that shine brilliantly and leave a lasting impression.


